Under $100
The average cost of a post-mastectomy bra is under $100.00.
$200 to $500
Prostheses costs can range between $200.00 – $500.00.
Health Care Plan
Depending on where you live, your provincial healthcare plan may reimburse some costs of breast prostheses.
Private Health Insurance
Depending on the plan, they often will cover prostheses as well as post-operative bras once per year.
Let’s navigate this together
Join a community that understands. Receive expert advice, useful resources, and compassionate tips throughout your cancer journey in the LGFB newsletter
Newsletter Form
Before Radiation
Start A Routine:
If you haven’t started radiation yet, now is an excellent time to start a skincare routine. It will help protect your moisture barrier and give you a good starting point.
Follow these simple steps:
Cleanse
Moisturize
Protect
Make sure you choose products that are labeled with words like:
Gentle
Fragrance-free
ph-balancing
For eczema
During Radiation Treatment
Here are some easy-to-follow tips to help your skin during treatment:
- Keep showers or baths short and use lukewarm water; avoid extreme temperatures.
- Use gentle, fragrance free and ph-balancing products daily to cleanse and moisturize.
- Protect your skin from sun because treatment areas will be extra-sensitive.
- Cover the treated area with sun-protective clothing or items you cannot see through when you hold them up to the light. If you can’t cover the area, ask your care team about sunscreen options.

Be Gentle with the Treatment Area
- Don’t rub, massage or scratch the area.
- Avoid using facecloths. The friction can damage the skin.
- Use a soft towel to pat skin just enough to remove water – don’t rub completely dry.
- Prevent rubbing and friction by wearing loose-fitting clothing, ideally cotton or other soft, breathable fabrics.

Things to Consider
- Save shaving or use hair removal creams for after treatment. Don’t try to remove hair from a treatment area.
- Consider products with thermal water, which have been shown to reduce radiation’s negative impacts on the skin.
- Keep areas under your breast dry to avoid fungal infections in the folds.
Cornstarch (not talcum powder) or an antifungal powder can help manage itchiness and redness.

Experiencing skin side effects?
Learn how to minimize and manage them in our Advanced Skincare Workshop.
Let’s navigate this together
Join a community that understands. Receive expert advice, useful resources, and compassionate tips throughout your cancer journey in the LGFB newsletter
Newsletter Form
What to Wear During Radiation and/or After Breast Surgery
It’s possible you’re feeling a mix of different emotions during treatment or after a mastectomy or lumpectomy. As your body continues to change, your relationship with your body may as well.
Right After Breast Cancer Surgery & During Radiation Treatment
For the first four to six weeks, it is best to opt for: compression-free & wire-free bras and camisoles.
Compression and wire-free bras are often made from soft fabrics and known as ‘leisure bras.’ When shopping for a leisure bra online or in-person, look for something that closes in the front rather than the back.
After a mastectomy your body is still in recovery, and it can be difficult to pull anything over your head or reach behind to clasp the bra. If it is possible to try the garment on, ensure that the bra fits comfortably on the loosest hook. This is so it can be worn looser to begin with and gradually tightened as the swelling goes down.
When to Introduce Breast Forms
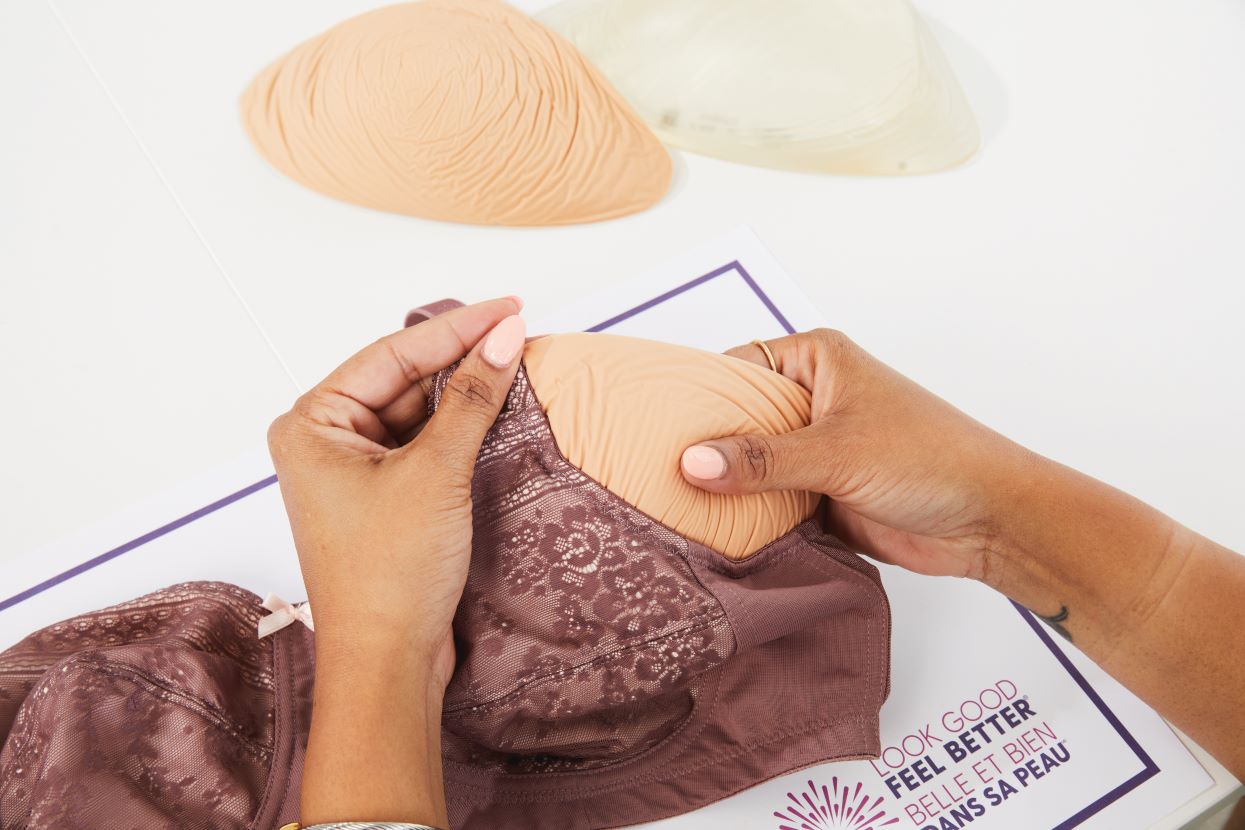
A light, fiberfill breast form (also called an initial breast form) can be worn in a bra or camisole if you so choose.
Some initial breast forms allow you to adjust the amount of fill inside to match the size of your other breast if you had a single mastectomy.
"I am having a Lumpectomy."
Follow the information above, however it is good to keep in mind that your medical team may advise you to wear a bra for 24-hours a day for the first week or two after surgery. Like with a mastectomy, look for a bra with:
Soft fabric
No compression
Underwire free
Easy to put on
"Radiation is part of my Care Plan."
Skin and tissue can be sensitive and tender during radiation, so when searching for bras or other garments, look for:
Soft fabric
Underwire free
No compression
Ideally fastens in the front
Other things to consider:
Fitted, but not tight, tank tops made from bamboo cotton offer support and are a great option for many women
While others prefer loose-fitting button up shirts and go without a bra or camisole.
What works best for you might come with some trial and error but having a few different options will be helpful.
You may need to wash the garments often because of regular use of creams and ointments on the treatment site.
"I've had Reconstruction."
Compression bras will be your friend after reconstruction! A compression bra helps to maintain shape and holds the breast(s) in place, preventing pressure points and tissue irritation from forming.
Look for a compression bra made from:
Strong fabric
No seams on the skin
A longer line for comfort
A front closure so you don’t have to stretch to reach a back closure or pull Anything over your head
Lymphedema
Post-Recovery “Everyday Bras”
Recovery time can vary greatly. People can be ready to move into an everyday bra anywhere from two months to one year after treatment is complete.
Mastectomy bras are available in many styles including lingerie, sport and everyday bras. These are specific for post-mastectomy or post- lumpectomy because they come with pockets to hold breast forms. Many have a higher neckline for support and to help cover scars.
If you sew, or know someone who can, you can have pockets sewn into any bra as well – but you may need to experiment a bit to get the right design to hold the breast form.
Remember that your size and shape may have changed post-treatment and post-surgery. A specialized bra retailer can help you find the right size – or check out our bra-fitting tips on our Breast Form Fitting and Bra Tips page.
Still have questions?
Get practical advice and connect with people who understand in our Bras & Prostheses Workshop.
Let’s navigate this together
Join a community that understands. Receive expert advice, useful resources, and compassionate tips throughout your cancer journey in the LGFB newsletter
Newsletter Form
What Breast Form is Right for You?
Here’s what to consider based on your unique journey:
Had a mastectomy? Soft, wire-free bras or camisoles with front closures can be gentler on healing skin. Some come with built-in pockets for drainage tubes or breast forms.
Had a lumpectomy? Your medical team may recommend wearing a bra 24/7 for the first week or two. Look for soft, seamless, and wire-free options that offer gentle support without compression.
Going through radiation? Skin sensitivity is common, so breathable, seamless fabrics are key. Bamboo cotton tanks or front-closing wire-free bras help minimize irritation.
Had reconstruction? Compression bras provide support, reduce swelling, and help maintain breast shape during recovery. Look for strong, seamless fabrics with a longer band for added comfort.
Considering a breast form? Some women use breast forms while waiting for reconstruction, as a long-term option, or just for certain occasions.
Considering “Living Flat?” Many people choose not to wear forms or have reconstructive surgery. They feel comfortable with their body after surgery and decide to live as they are. Talk it through with your healthcare team, friends, family, or other participants in our workshop.
Want to talk with the pros?
Get personalized guidance and support in our Bras & Prostheses Workshop.
Let’s navigate this together
Join a community that understands. Receive expert advice, useful resources, and compassionate tips throughout your cancer journey in the LGFB newsletter
Newsletter Form
How to Choose?
Choosing a wig takes some time and effort, but it will be worth it to find the wig that feels right.
A wig feels different than your natural hair and will take some getting used to. Commit to giving yourself time to adjust to this change. Over time, it can become as familiar as any other accessory in your wardrobe.
The first question that many women consider is what fibre or material to choose. Both can be cut and styled by a hairdresser with wig experience.
When Making the Decision:
Most people choose a wig that matches their colour, texture, and style as closely as possible
Both synthetic and human hair wigs can look natural—fit and placement are key
Consider maintenance and comfort—synthetic wigs are easier to care for, while human hair wigs offer more styling options
Let’s navigate this together
Join a community that understands. Receive expert advice, useful resources, and compassionate tips throughout your cancer journey in the LGFB newsletter
Newsletter Form
Buying Tips
Make an appointment – it can take 45 minutes to an hour to discuss options, choose the right wig, and get fitted
Ask if the salon provides clients with nylon caps to wear when trying on wigs, which is important for hygienic reasons
Take a friend or family member for support and second opinions
Bring a photo of yourself with your favourite hairstyle and colour for reference
Keep hair short to ensure the best wig fit. Experts suggest that your own hair should only be ¼ inch or shorter
Try a variety of styles and colours – having choices is really empowering
Take your time making decisions
Let’s navigate this together
Join a community that understands. Receive expert advice, useful resources, and compassionate tips throughout your cancer journey in the LGFB newsletter
Newsletter Form
Wig Care: What do you need?
A wire stand that allows air to circulate through the wig
If your wig is synthetic, special cleansers and leave-in conditioners (available at all wig salons), and a wide-tooth comb
If your wig is human hair, salon-quality shampoo and conditioner for chemically treated hair
About an hour for your first wig-cleaning experience
It will eventually take less time as you practice and gain experience caring for your wig
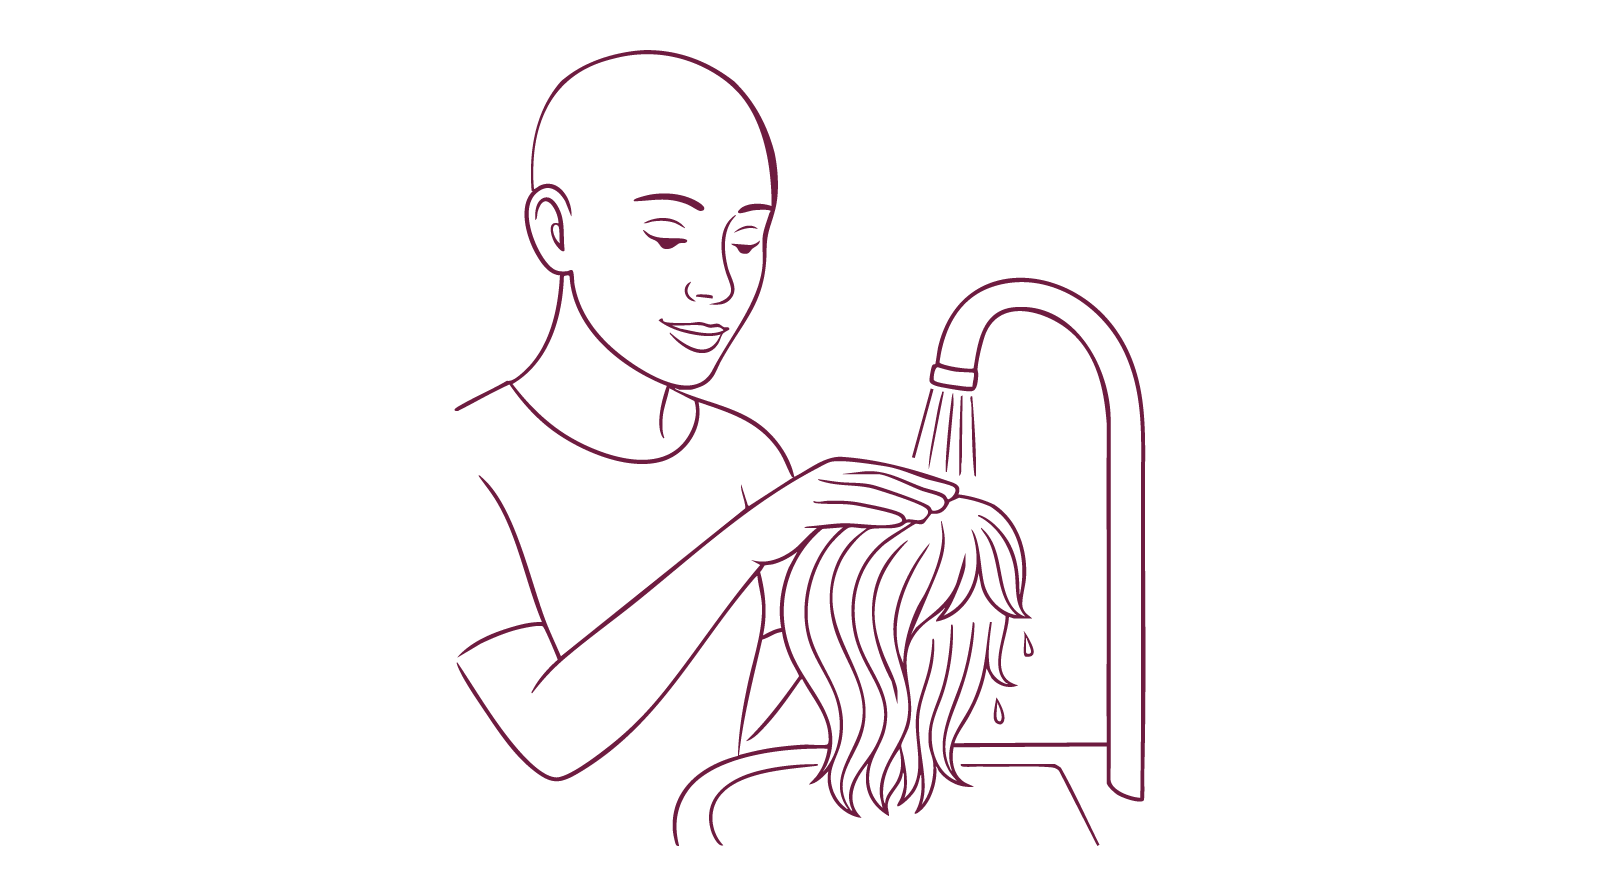
Cleaning Your Wig
Synthetic-Hair Wig:
- With a wide-tooth comb, gently but thoroughly brush or comb your wig before washing.
- Fill sink with cold water and thoroughly mix in 1 to 2 tbsp. (15–30 ml) of appropriate shampoo.
- Turn wig inside out, swish through water, and submerge a few times.
- Drain sink and refill with fresh cold water, then immerse wig a few times to rinse.
- Gently shake water from wig over the sink – do not squeeze or twist.
- Place on wire stand to dry – about eight to 12 hours.
- Never comb or brush a wig when it’s wet; wait until it’s completely dry.

Human-Hair Wig:
- Run wig under warm water.
- Place a small amount of shampoo on fingers and gently work into the hair, stroking downward from the weft (base) to the ends.
- Rinse thoroughly under warm running water until water runs clear.
- Place a small amount of conditioner in your hand; gently work into hair and let sit for three to five minutes.
- Rinse thoroughly in warm water.
- Gently comb wet hair with a wide-tooth comb from weft to ends.
- Place on wire stand to dry.
Let’s navigate this together
Join a community that understands. Receive expert advice, useful resources, and compassionate tips throughout your cancer journey in the LGFB newsletter
Newsletter Form
Styling Tips
Taking the extra time and effort to style your wig will make you feel more confident.
Use your fingers to create a slightly tousled style which looks more natural
Avoid brushing your wig flat
Try a wig cap and a grip to help protect your natural hair and keep the wig in place
Be creative when styling your hair
If you have a long-hair wig, try a head band or put the hair in a ponytail
Synthetic wig fibers units can melt under too-hot temps, so use heatless styling options like pins, combs, or braids
Human-hair wigs can withstand heat styling, though applying a heat-protectant spray beforehand is a good rule
Putting on your Wig
-
Determine the front and back of the wig; there should be a label at the back
-
Once your hair has fallen out, you need to know where your hairline was and where the wig should sit
-
Use the four-finger rule: place your pinky at your brow bone and your index finger will indicate where the wig should sit
-
Put your wig on your head and find the side tabs on either side and align the tabs with your temples
-
Expose your ears
Fitting your Wig
These are a few tips to help your wig fit and feel its best.
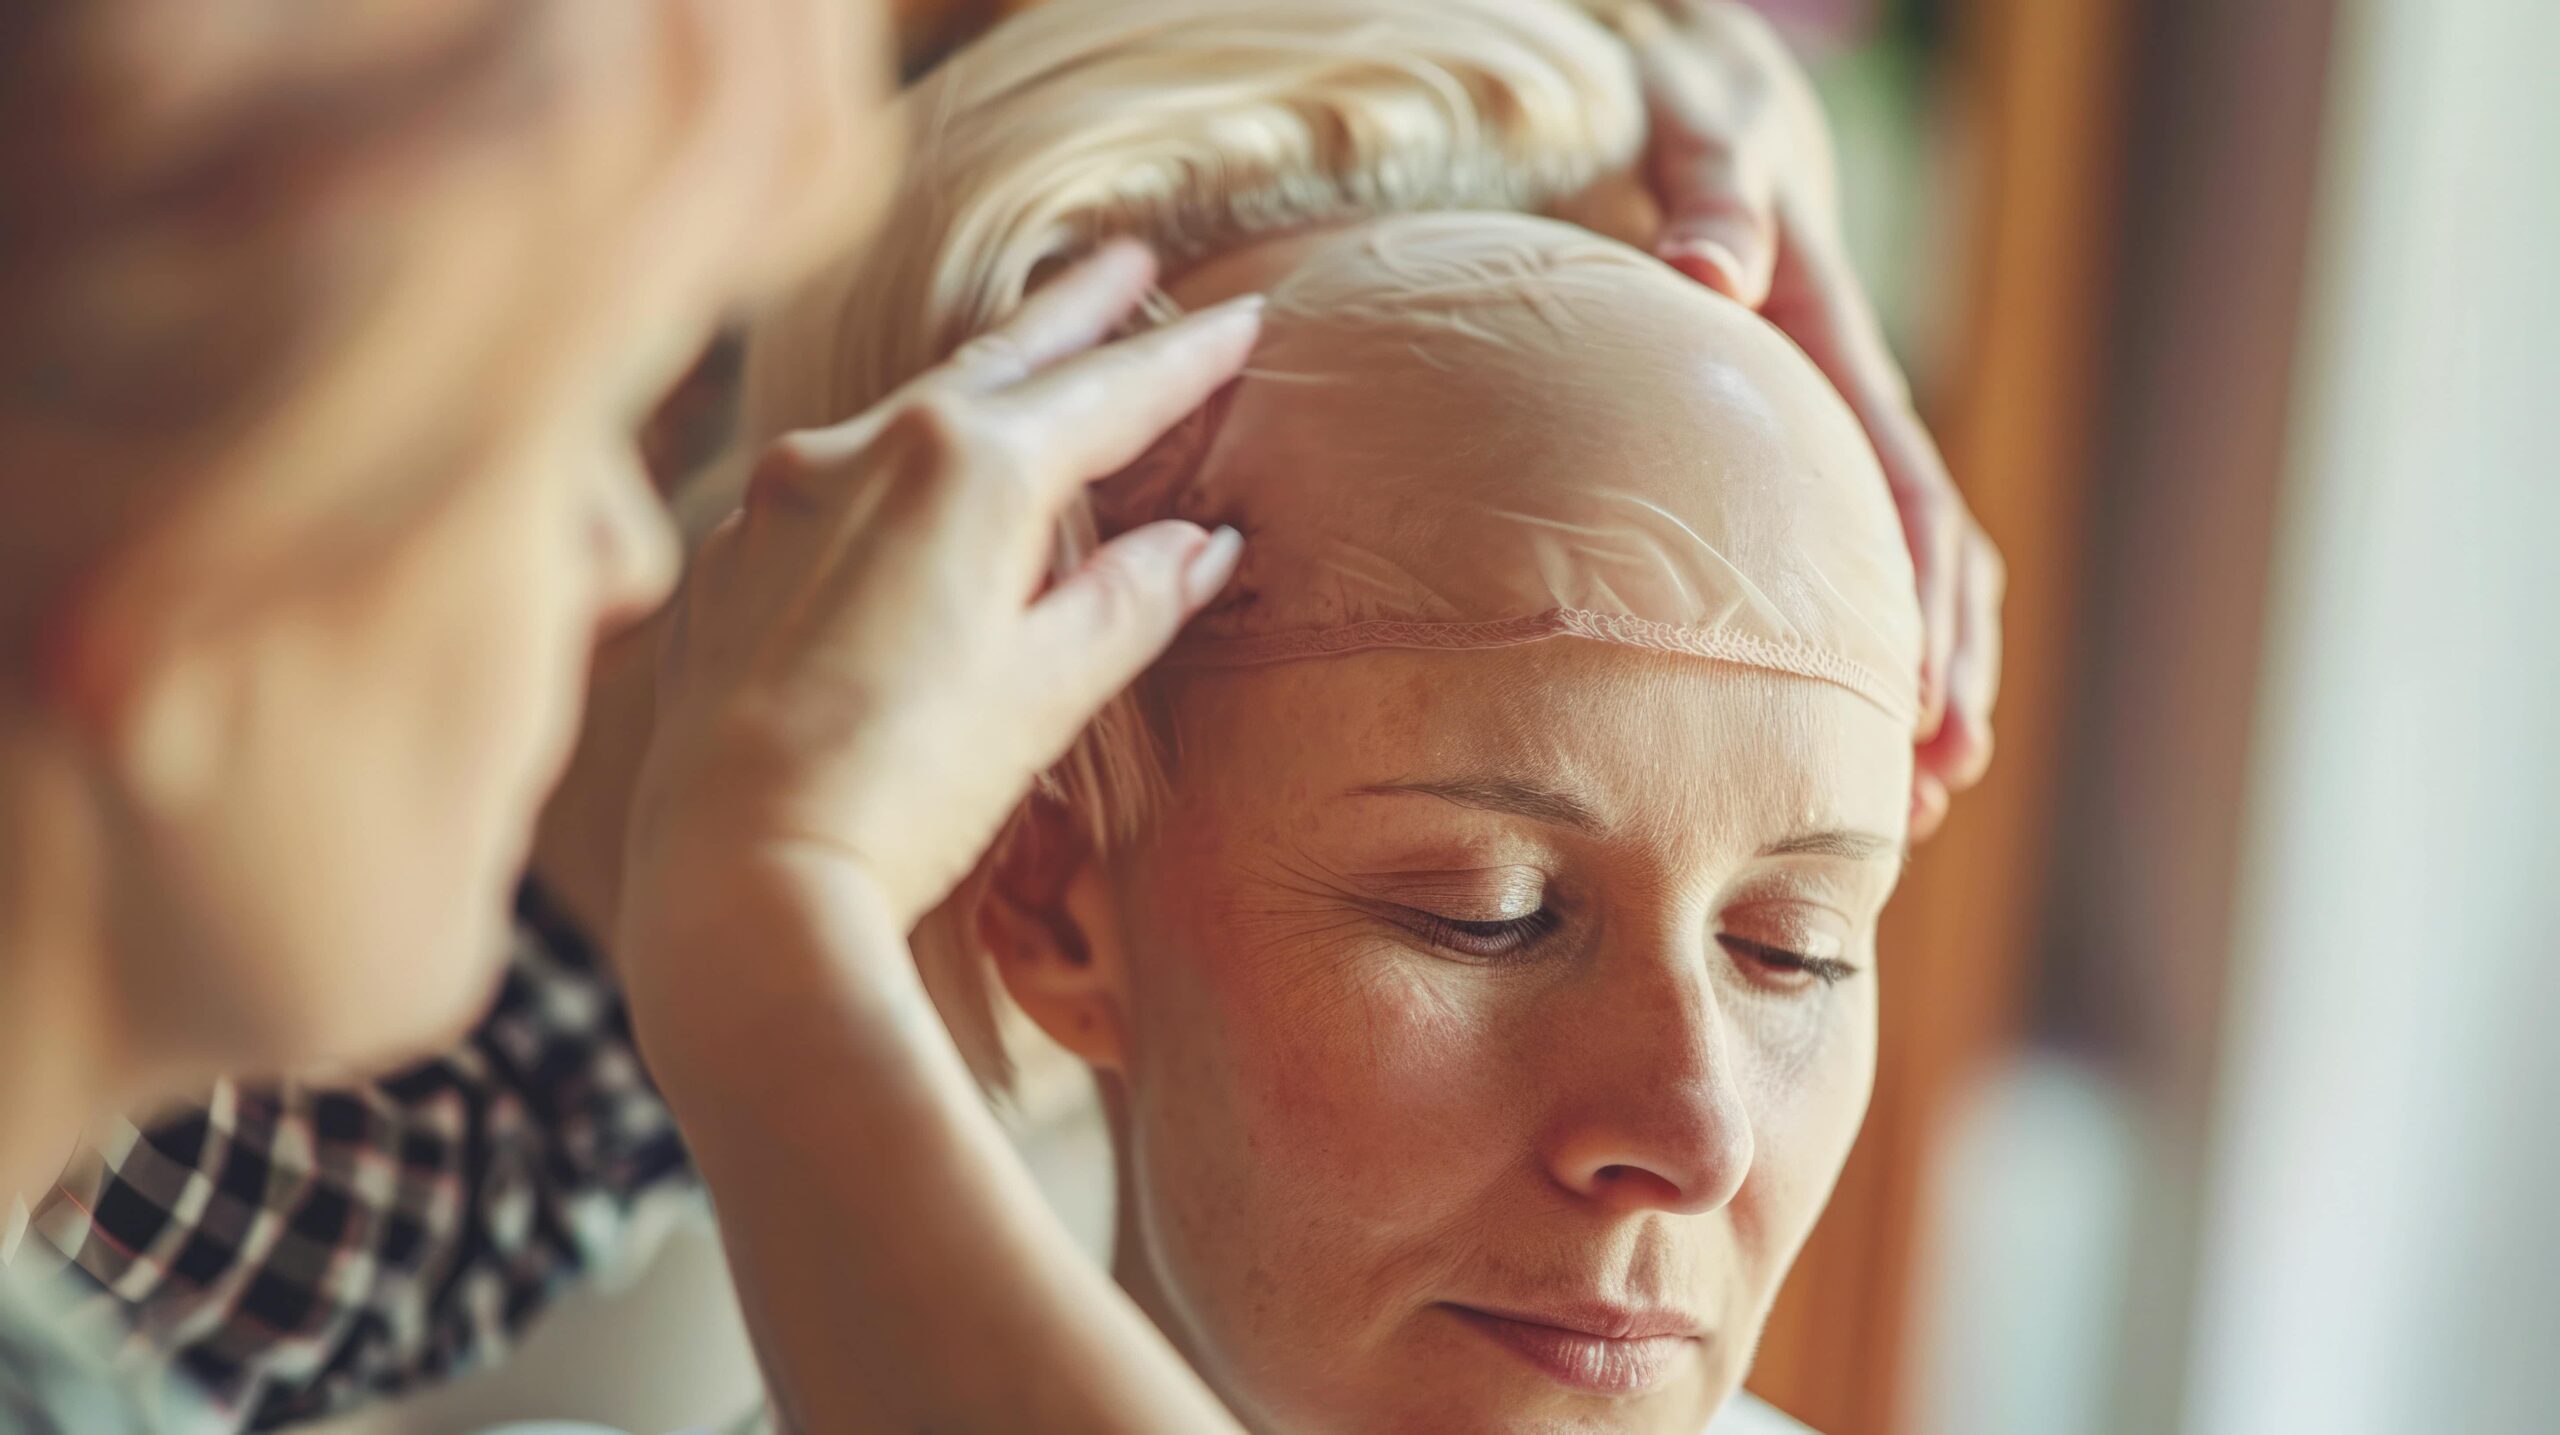
Have your wig fitted by a wig consultant once your hair has fallen out
If you bought a wig before hair loss, an adjustment may be needed later
Use the adjustment tabs to secure the wig for a snug fit
Grip bands or wig liners can provide added security and comfort
Some wig consultants have the expertise to make alterations for a better fit
You’re not alone in this.
Get styling advice and support in our Wigs & Scarves Workshop.
Let’s navigate this together
Join a community that understands. Receive expert advice, useful resources, and compassionate tips throughout your cancer journey in the LGFB newsletter
Newsletter Form
Dry mouth, sores, and other mouth issues
Depending on your treatment, you may experience mouth sores, bacterial build up in the mouth (called thrush) or a metallic taste that lingers. There are steps you can take to prevent infections and keep your mouth feeling good, making it easier to eat and maintain good nutrition.
Brush your teeth with a soft toothbrush using toothpaste formulated for sensitive teeth
Rinse your mouth several times a day using an alcohol-free mouthwash, a solution of baking soda and water, or a weak saltwater mixture to help prevent mouth sores or ease discomfort if they have developed
Combat a bad taste in your mouth or dry mouth with a fruit-flavoured popsicle or sugarless hard candy
Manage and minimize side effects.
Find support and expert advice in our Skincare & Makeup Workshop.
Let’s navigate this together
Join a community that understands. Receive expert advice, useful resources, and compassionate tips throughout your cancer journey in the LGFB newsletter
Newsletter Form
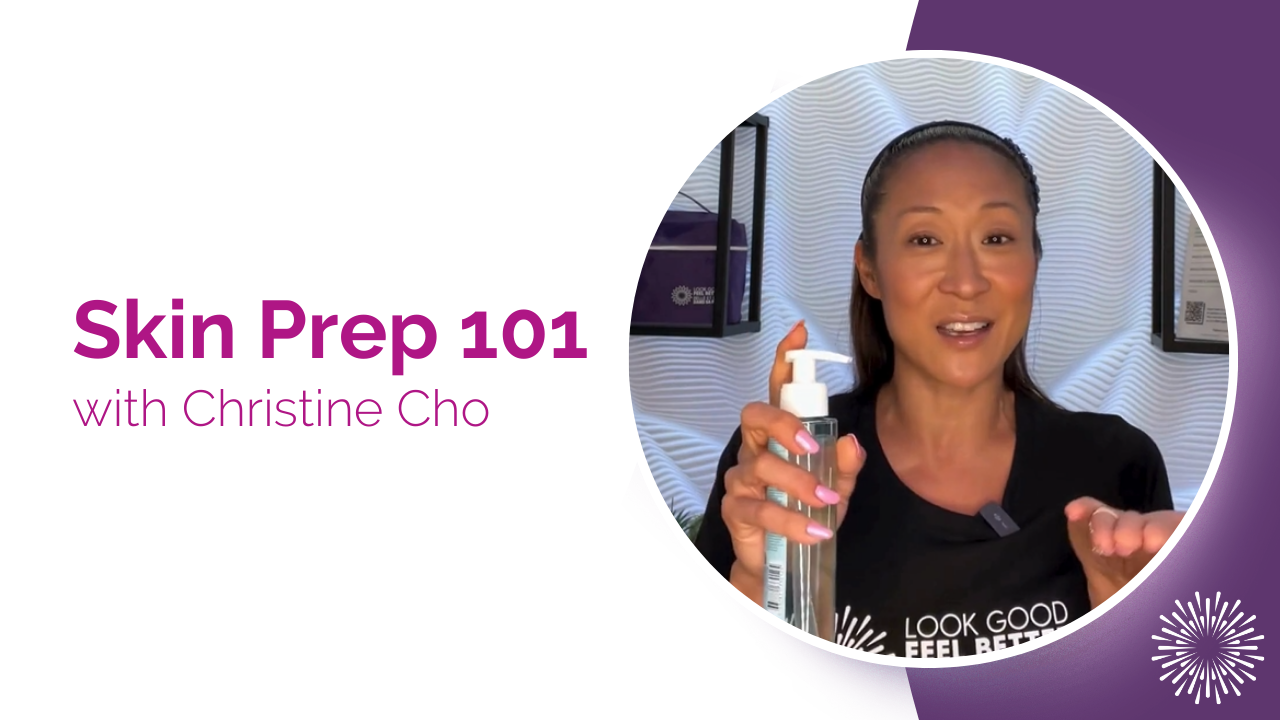
Step 1 – Cleanse
The benefit of cleaning: Removes makeup, impurities, and dry flaky skin and helps stimulate circulation resulting in skin that is clean and feels pampered.
Eyes:
Remove eye makeup with a non- irritating makeup remover and a cotton pad
Hold the pad on the eyelid for a few seconds and then wipe downwards over the lashes, gently moving the pad from the inner corner of the eye towards the outer corner
Use a fresh cotton pad for each eye
Lips:
The same eye makeup remover can be used to gently wipe the lips until all colour has been removed
Face and Throat:
Apply dots of cleanser (either a lotion or cream) to your forehead, nose, chin, cheeks and throat
Gently massage in small outward circles to help stimulate circulation; on the neck, use an upward motion
Gently tissue off the cleanser or rinse thoroughly with lukewarm water and pat dry
Step 2 – Tone (optional)
The benefit of toner: Removes any lingering traces of cleanser or makeup and prepares the skin for moisturizer while restoring the skin’s pH balance.
Using a cotton pad and a gentle downward motion, apply a non- stimulating, alcohol-free toner being careful to avoid the eyes and mouth
Only use toners for sensitive skin that are alcohol and fragrance-free
Avoid any toners that exfoliate or contain “actives” like AHA or other acids
Step 3 – Moisturizer
The benefit of moisturizer: Helps your skin maintain its optimum moisture balance and alleviates dryness.
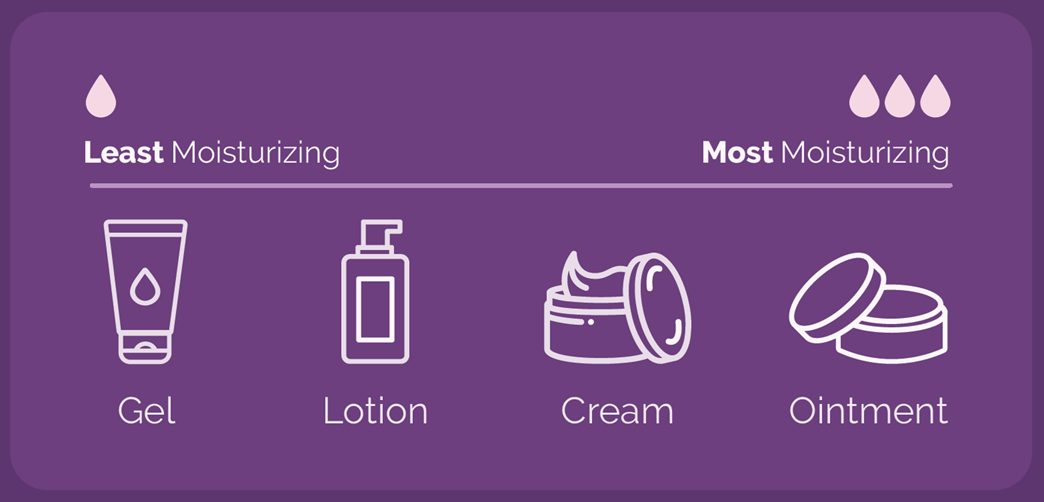
If you find that your skin is unusually dry, use the guide below to find the most moisturizing options available.
Eyes:
Using your ring finger (your weakest – and therefore gentlest), lightly tap eye cream on the orbital bone, above and below the eye – less is more
Don’t go too close to the eye
Lips:
Apply a hydrating lip balm several times a day and before bed
If your lips are very dry and cracked, try a thick ointment lip product (ointments seal in moisture longer than other products)
Face and Throat:
Apply dots of moisturizer to your forehead, nose, chin, cheeks, and throat
Gently smooth over your face and throat, using upward motions
Want to know more about moisturizers?
Least Moisturizing to Most:
- Gels (the lightest / least moisturizing)
- Lotions
- Creams
- Balms
- Ointments (the most moisturizing)
Oils can be used as an added step after moisturizing to seal in moisture. If you choose to use an oil, perform test to make sure it’s not causing irritation and look for an oil that doesn’t clog pores (one option is rosehip seed extract).
Step 4 – Sunscreen
After your morning moisturizer, apply sunscreen. Radiation and chemotherapy treatments (and some medications) can increase your susceptibility to sunburn and skin damage.
As a general rule, avoid sun exposure as much as possible when in treatment
Use sunscreen specifically for your face that delivers both UVA and UVB protection in a broad spectrum SPF 30 or higher
How to Prep Your Skin
Let’s navigate this together
Join a community that understands. Receive expert advice, useful resources, and compassionate tips throughout your cancer journey in the LGFB newsletter