What Breast Form is Right for You?
Here’s what to consider based on your unique journey:
Had a mastectomy? Soft, wire-free bras or camisoles with front closures can be gentler on healing skin. Some come with built-in pockets for drainage tubes or breast forms.
Had a lumpectomy? Your medical team may recommend wearing a bra 24/7 for the first week or two. Look for soft, seamless, and wire-free options that offer gentle support without compression.
Going through radiation? Skin sensitivity is common, so breathable, seamless fabrics are key. Bamboo cotton tanks or front-closing wire-free bras help minimize irritation.
Had reconstruction? Compression bras provide support, reduce swelling, and help maintain breast shape during recovery. Look for strong, seamless fabrics with a longer band for added comfort.
Considering a breast form? Some women use breast forms while waiting for reconstruction, as a long-term option, or just for certain occasions.
Considering “Living Flat?” Many people choose not to wear forms or have reconstructive surgery. They feel comfortable with their body after surgery and decide to live as they are. Talk it through with your healthcare team, friends, family, or other participants in our workshop.
Want to talk with the pros?
Get personalized guidance and support in our Bras & Prostheses Workshop.
Let’s navigate this together
Join a community that understands. Receive expert advice, useful resources, and compassionate tips throughout your cancer journey in the LGFB newsletter
Newsletter Form
How to Choose?
Choosing a wig takes some time and effort, but it will be worth it to find the wig that feels right.
A wig feels different than your natural hair and will take some getting used to. Commit to giving yourself time to adjust to this change. Over time, it can become as familiar as any other accessory in your wardrobe.
The first question that many women consider is what fibre or material to choose. Both can be cut and styled by a hairdresser with wig experience.
When Making the Decision:
Most people choose a wig that matches their colour, texture, and style as closely as possible
Both synthetic and human hair wigs can look natural—fit and placement are key
Consider maintenance and comfort—synthetic wigs are easier to care for, while human hair wigs offer more styling options
Let’s navigate this together
Join a community that understands. Receive expert advice, useful resources, and compassionate tips throughout your cancer journey in the LGFB newsletter
Newsletter Form
Buying Tips
Make an appointment – it can take 45 minutes to an hour to discuss options, choose the right wig, and get fitted
Ask if the salon provides clients with nylon caps to wear when trying on wigs, which is important for hygienic reasons
Take a friend or family member for support and second opinions
Bring a photo of yourself with your favourite hairstyle and colour for reference
Keep hair short to ensure the best wig fit. Experts suggest that your own hair should only be ¼ inch or shorter
Try a variety of styles and colours – having choices is really empowering
Take your time making decisions
Let’s navigate this together
Join a community that understands. Receive expert advice, useful resources, and compassionate tips throughout your cancer journey in the LGFB newsletter
Newsletter Form
Wig Care: What do you need?
A wire stand that allows air to circulate through the wig
If your wig is synthetic, special cleansers and leave-in conditioners (available at all wig salons), and a wide-tooth comb
If your wig is human hair, salon-quality shampoo and conditioner for chemically treated hair
About an hour for your first wig-cleaning experience
It will eventually take less time as you practice and gain experience caring for your wig
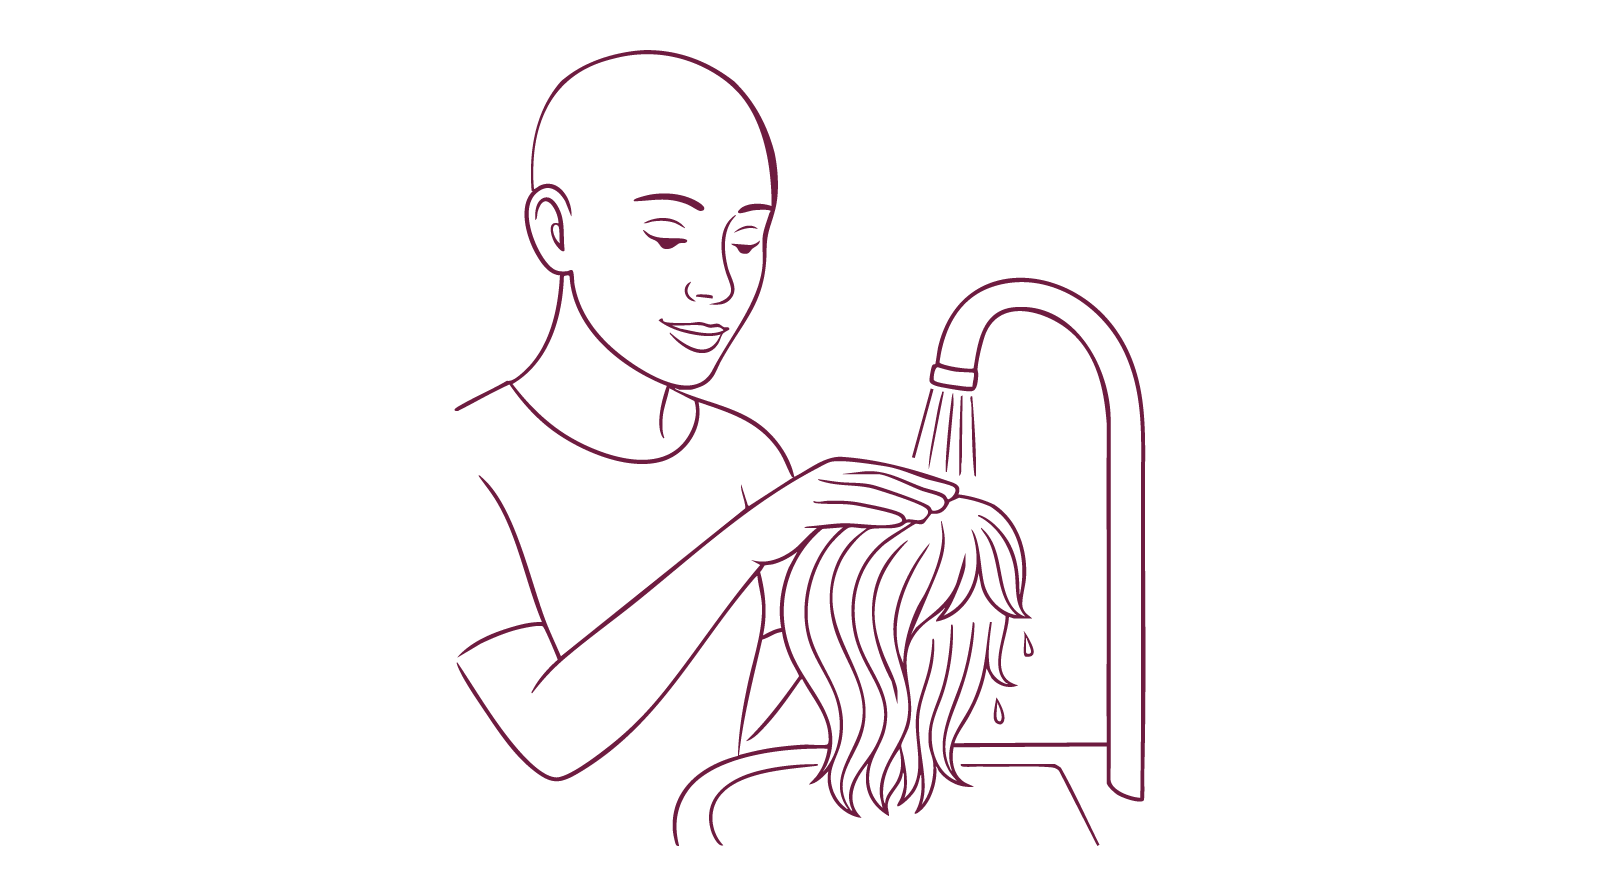
Cleaning Your Wig
Synthetic-Hair Wig:
- With a wide-tooth comb, gently but thoroughly brush or comb your wig before washing.
- Fill sink with cold water and thoroughly mix in 1 to 2 tbsp. (15–30 ml) of appropriate shampoo.
- Turn wig inside out, swish through water, and submerge a few times.
- Drain sink and refill with fresh cold water, then immerse wig a few times to rinse.
- Gently shake water from wig over the sink – do not squeeze or twist.
- Place on wire stand to dry – about eight to 12 hours.
- Never comb or brush a wig when it’s wet; wait until it’s completely dry.

Human-Hair Wig:
- Run wig under warm water.
- Place a small amount of shampoo on fingers and gently work into the hair, stroking downward from the weft (base) to the ends.
- Rinse thoroughly under warm running water until water runs clear.
- Place a small amount of conditioner in your hand; gently work into hair and let sit for three to five minutes.
- Rinse thoroughly in warm water.
- Gently comb wet hair with a wide-tooth comb from weft to ends.
- Place on wire stand to dry.
Let’s navigate this together
Join a community that understands. Receive expert advice, useful resources, and compassionate tips throughout your cancer journey in the LGFB newsletter
Newsletter Form
Styling Tips
Taking the extra time and effort to style your wig will make you feel more confident.
Use your fingers to create a slightly tousled style which looks more natural
Avoid brushing your wig flat
Try a wig cap and a grip to help protect your natural hair and keep the wig in place
Be creative when styling your hair
If you have a long-hair wig, try a head band or put the hair in a ponytail
Synthetic wig fibers units can melt under too-hot temps, so use heatless styling options like pins, combs, or braids
Human-hair wigs can withstand heat styling, though applying a heat-protectant spray beforehand is a good rule
Putting on your Wig
-
Determine the front and back of the wig; there should be a label at the back
-
Once your hair has fallen out, you need to know where your hairline was and where the wig should sit
-
Use the four-finger rule: place your pinky at your brow bone and your index finger will indicate where the wig should sit
-
Put your wig on your head and find the side tabs on either side and align the tabs with your temples
-
Expose your ears
Fitting your Wig
These are a few tips to help your wig fit and feel its best.
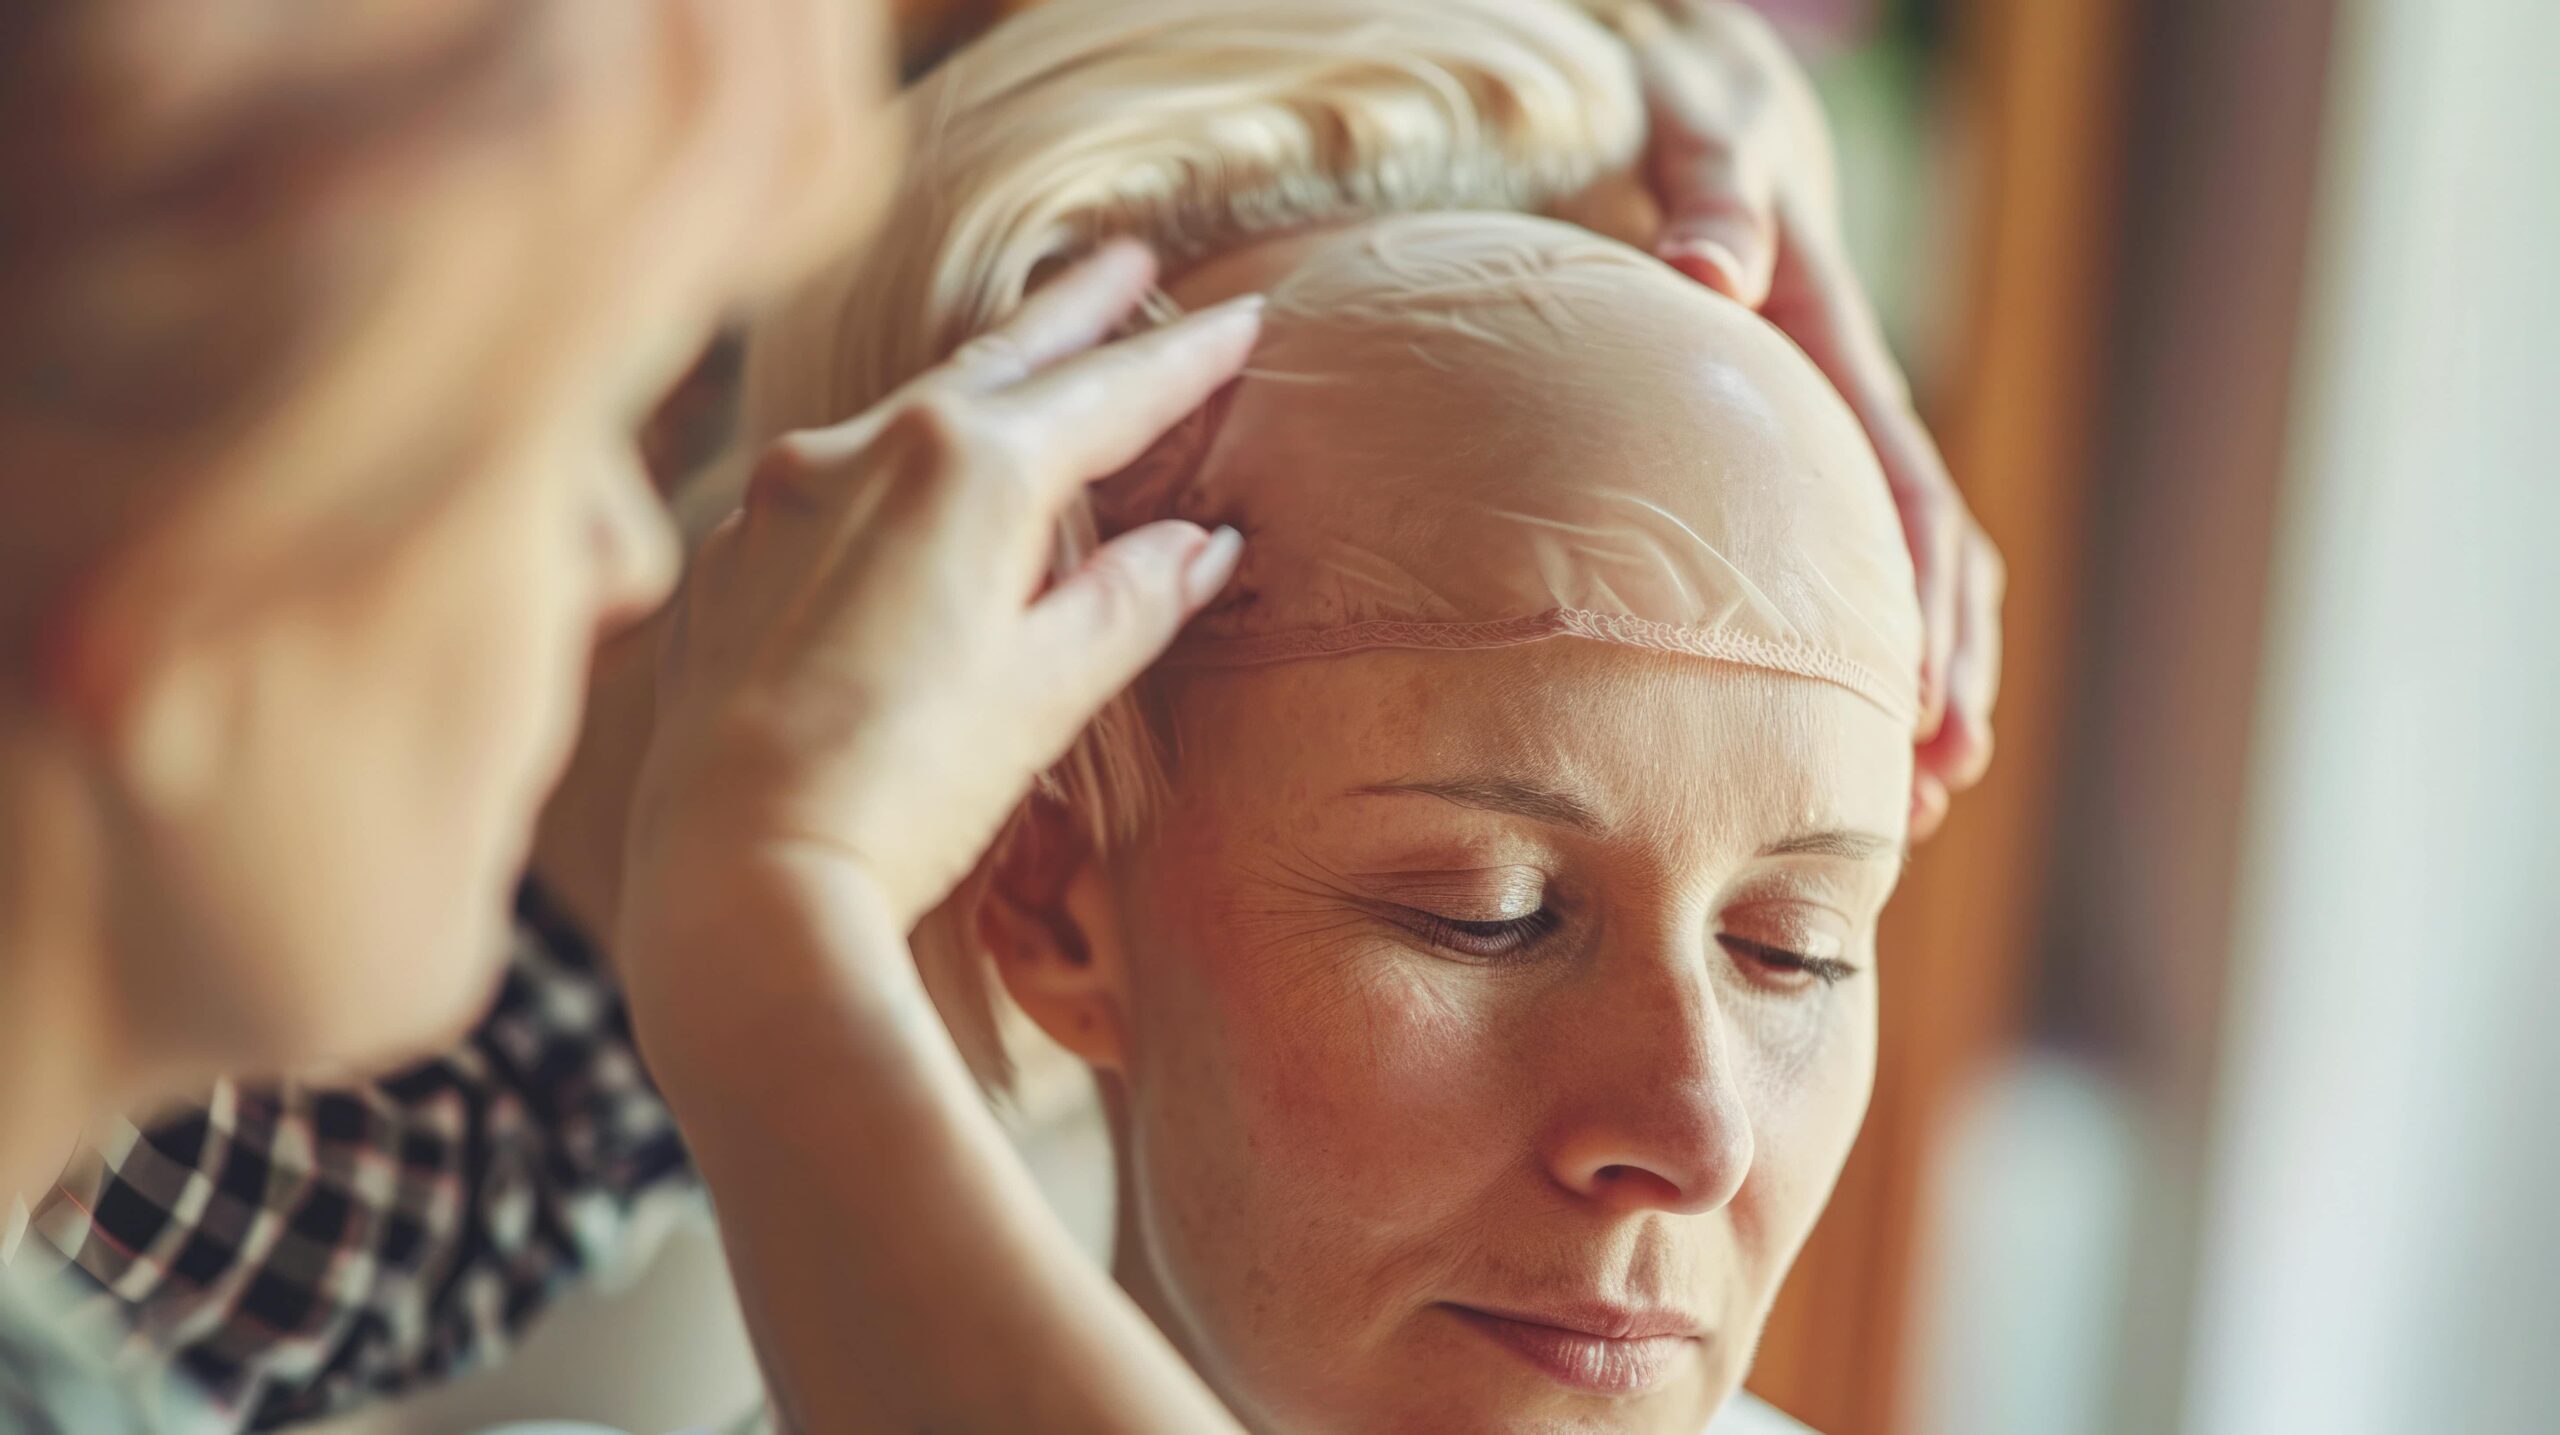
Have your wig fitted by a wig consultant once your hair has fallen out
If you bought a wig before hair loss, an adjustment may be needed later
Use the adjustment tabs to secure the wig for a snug fit
Grip bands or wig liners can provide added security and comfort
Some wig consultants have the expertise to make alterations for a better fit
You’re not alone in this.
Get styling advice and support in our Wigs & Scarves Workshop.
Let’s navigate this together
Join a community that understands. Receive expert advice, useful resources, and compassionate tips throughout your cancer journey in the LGFB newsletter
Newsletter Form
Dry mouth, sores, and other mouth issues
Depending on your treatment, you may experience mouth sores, bacterial build up in the mouth (called thrush) or a metallic taste that lingers. There are steps you can take to prevent infections and keep your mouth feeling good, making it easier to eat and maintain good nutrition.
Brush your teeth with a soft toothbrush using toothpaste formulated for sensitive teeth
Rinse your mouth several times a day using an alcohol-free mouthwash, a solution of baking soda and water, or a weak saltwater mixture to help prevent mouth sores or ease discomfort if they have developed
Combat a bad taste in your mouth or dry mouth with a fruit-flavoured popsicle or sugarless hard candy
Manage and minimize side effects.
Find support and expert advice in our Skincare & Makeup Workshop.
Let’s navigate this together
Join a community that understands. Receive expert advice, useful resources, and compassionate tips throughout your cancer journey in the LGFB newsletter
Newsletter Form
Conceal
What does concealer do?
It diminishes the appearance of dark circles, covers broken capillaries, blemishes, and facial redness, brightens the eye area, and helps eye shadow last longer.
How to apply:
Lightly apply with a clean ring finger, product applicator, or disposable wedge sponge
For eyelid discolouration, apply dots of concealer starting from the inner corner of the eye and gently blend the dots to the outer corner of the eye
For dark under-eye circles, start at the inner eye corner and work outward toward the iris. Apply dots of concealer or colour corrector under eye using a clean ring finger or a disposable wedge
Foundation
What does foundation do?
It evens out skin tone, gives a soft touch of colour, protects the skin from the environment, and gives a more flawless appearance.
How to apply:
Choose a shade of foundation to match the colour of skin at your jawline
Apply dots of foundation to your forehead, nose, chin, and cheeks with clean fingers or a disposable cosmetic sponge
Blend outward and downward from the centre of your face to the edge
Blend well at the hairline and the jawline
Powder (optional)
What does powder do?
It sets foundation, evens out skin tone, and helps makeup last longer.
How to apply:
Apply a light application of translucent powder over face with a clean cotton ball
Gently dust downward and outward to remove excess powder and smooth facial hair
Let’s navigate this together
Join a community that understands. Receive expert advice, useful resources, and compassionate tips throughout your cancer journey in the LGFB newsletter
Newsletter Form
Step 1 – Cleanse
The benefit of cleaning: Removes makeup, impurities, and dry flaky skin and helps stimulate circulation resulting in skin that is clean and feels pampered.
Eyes:
Remove eye makeup with a non- irritating makeup remover and a cotton pad
Hold the pad on the eyelid for a few seconds and then wipe downwards over the lashes, gently moving the pad from the inner corner of the eye towards the outer corner
Use a fresh cotton pad for each eye
Lips:
The same eye makeup remover can be used to gently wipe the lips until all colour has been removed
Face and Throat:
Apply dots of cleanser (either a lotion or cream) to your forehead, nose, chin, cheeks and throat
Gently massage in small outward circles to help stimulate circulation; on the neck, use an upward motion
Gently tissue off the cleanser or rinse thoroughly with lukewarm water and pat dry
Step 2 – Tone (optional)
The benefit of toner: Removes any lingering traces of cleanser or makeup and prepares the skin for moisturizer while restoring the skin’s pH balance.
Using a cotton pad and a gentle downward motion, apply a non- stimulating, alcohol-free toner being careful to avoid the eyes and mouth
Only use toners for sensitive skin that are alcohol and fragrance-free
Avoid any toners that exfoliate or contain “actives” like AHA or other acids
Step 3 – Moisturizer
The benefit of moisturizer: Helps your skin maintain its optimum moisture balance and alleviates dryness.
If you find that your skin is unusually dry, use the guide below to find the most moisturizing options available.
Eyes:
Using your ring finger (your weakest – and therefore gentlest), lightly tap eye cream on the orbital bone, above and below the eye – less is more
Don’t go too close to the eye
Lips:
Apply a hydrating lip balm several times a day and before bed
If your lips are very dry and cracked, try a thick ointment lip product (ointments seal in moisture longer than other products)
Face and Throat:
Apply dots of moisturizer to your forehead, nose, chin, cheeks, and throat
Gently smooth over your face and throat, using upward motions
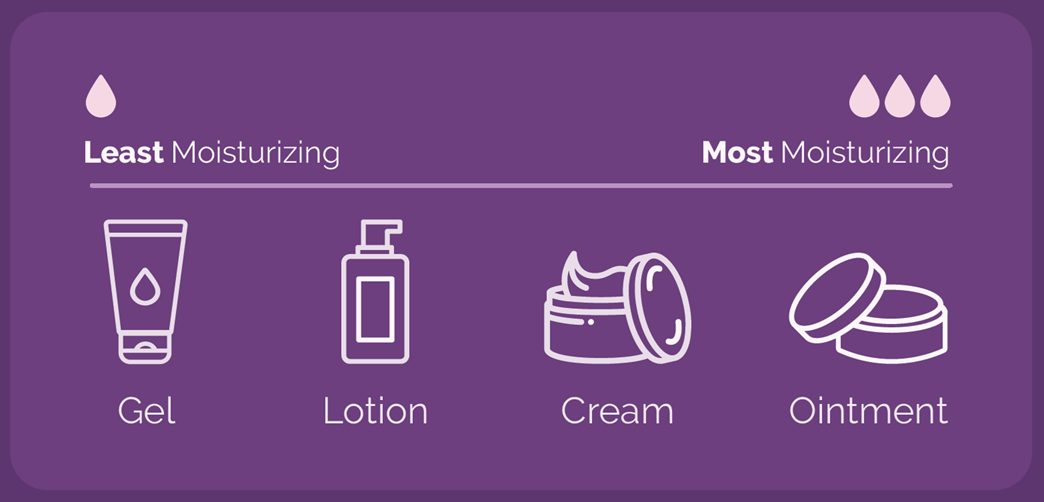
Want to know more about moisturizers?
Least Moisturizing to Most:
- Gels (the lightest / least moisturizing)
- Lotions
- Creams
- Balms
- Ointments (the most moisturizing)
Oils can be used as an added step after moisturizing to seal in moisture. If you choose to use an oil, perform test to make sure it’s not causing irritation and look for an oil that doesn’t clog pores (one option is rosehip seed extract).
Step 4 – Sunscreen
After your morning moisturizer, apply sunscreen. Radiation and chemotherapy treatments (and some medications) can increase your susceptibility to sunburn and skin damage.
As a general rule, avoid sun exposure as much as possible when in treatment
Use sunscreen specifically for your face that delivers both UVA and UVB protection in a broad spectrum SPF 30 or higher
How to Prep Your Skin
Let’s navigate this together
Join a community that understands. Receive expert advice, useful resources, and compassionate tips throughout your cancer journey in the LGFB newsletter
Newsletter Form
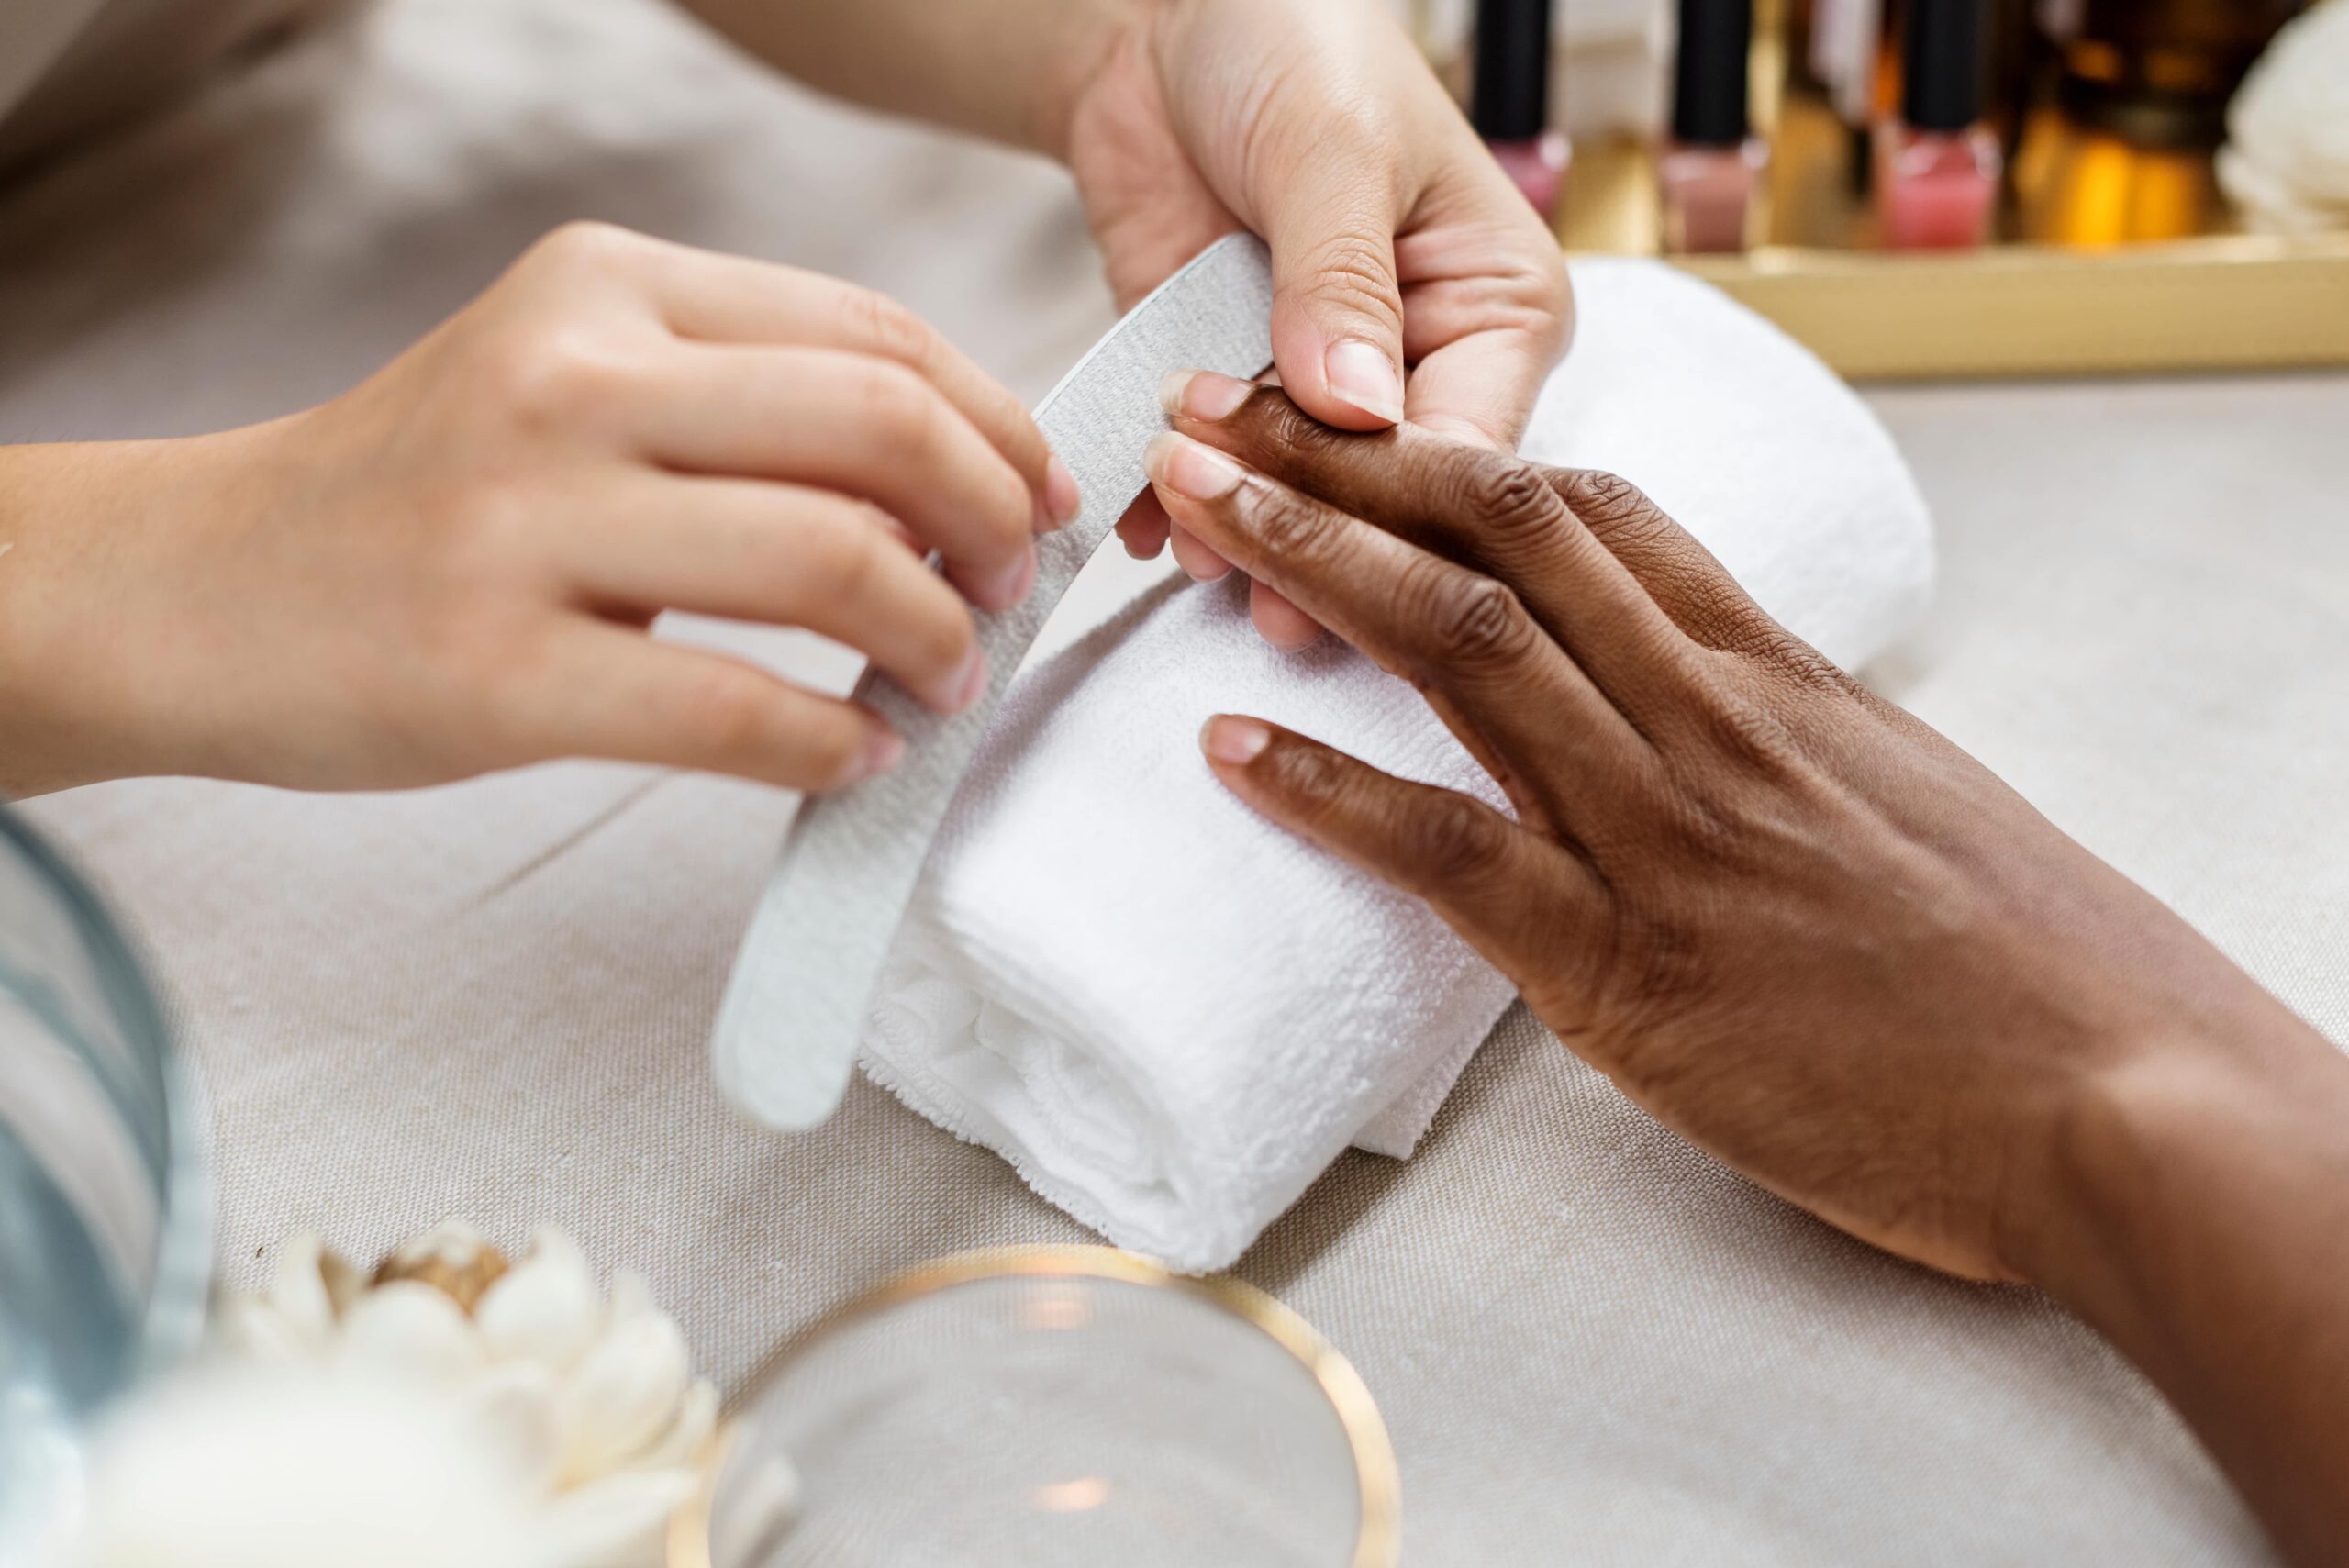
Tips to keep your hands and feet healthy:
-
Avoid cutting your cuticles. Instead, use cuticle cream to help combat dryness, splitting and hangnails.
-
Moisturize with a rich hand cream.
-
Keep nails short.
-
Wear rubber gloves while doing chores as excessive exposure to water can lead to fungal infection of the nail bed.
Nail Polish and Nail Salons
If you’d like to use polish, soft, neutral shades of pink will lend a healthy- looking finish
Use an oily acetone-free polish remover. Acetone is very drying and can make nail problem worse during treatment
When visiting a salon, make sure the staff has worked with clients undergoing cancer treatment (or at least knows how to take extra precautions to keep you safe and healthy)
Let’s navigate this together
Join a community that understands. Receive expert advice, useful resources, and compassionate tips throughout your cancer journey in the LGFB newsletter
Newsletter Form
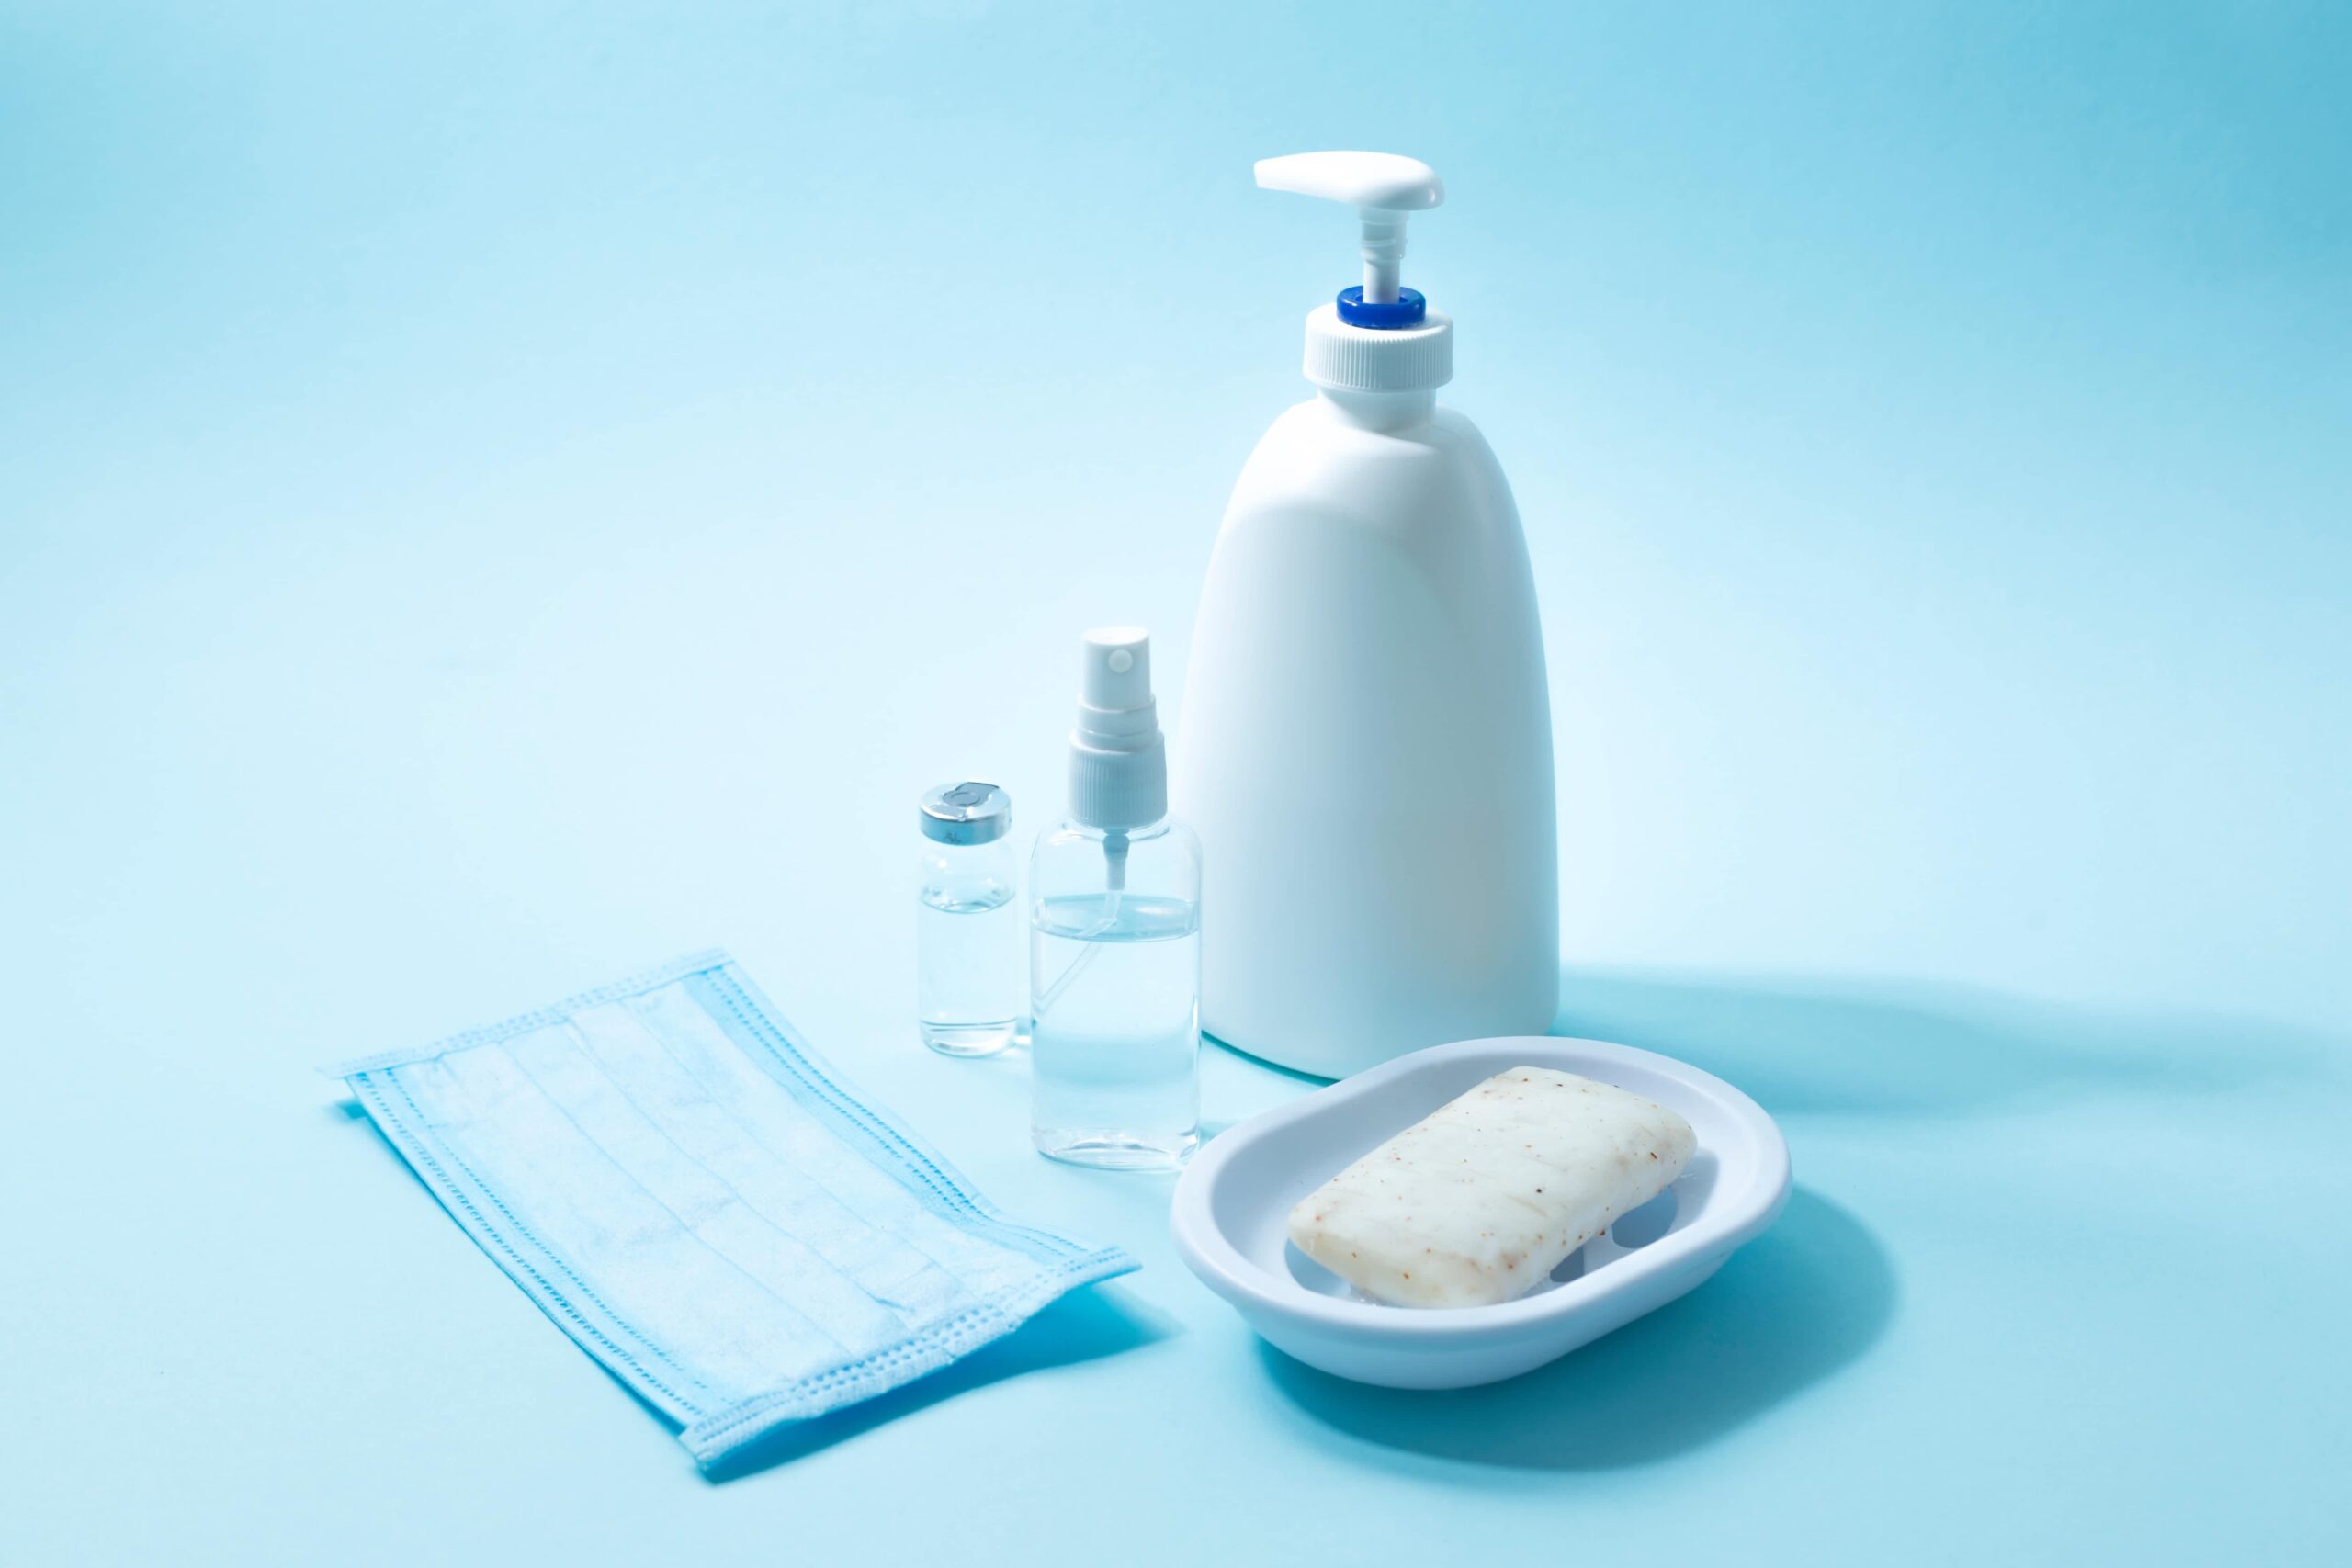
Before applying or removing makeup or skincare products…
Wash your hands thoroughly in lukewarm water with antibacterial soap
Use a disposable hand cloth or a clean towel to dry your hands. When on the go, use travel-size hand sanitizers to protect against germs.
Only use clean hands or clean disposable cotton balls, pads, sponges, cotton swabs, or cosmetic spatulas to apply cosmetics
Throw them away after each use
Once treatment is over, you can switch back to your regular makeup brushes. But, make sure they are cleaned often with a mild soap or a specialty brush cleaner.
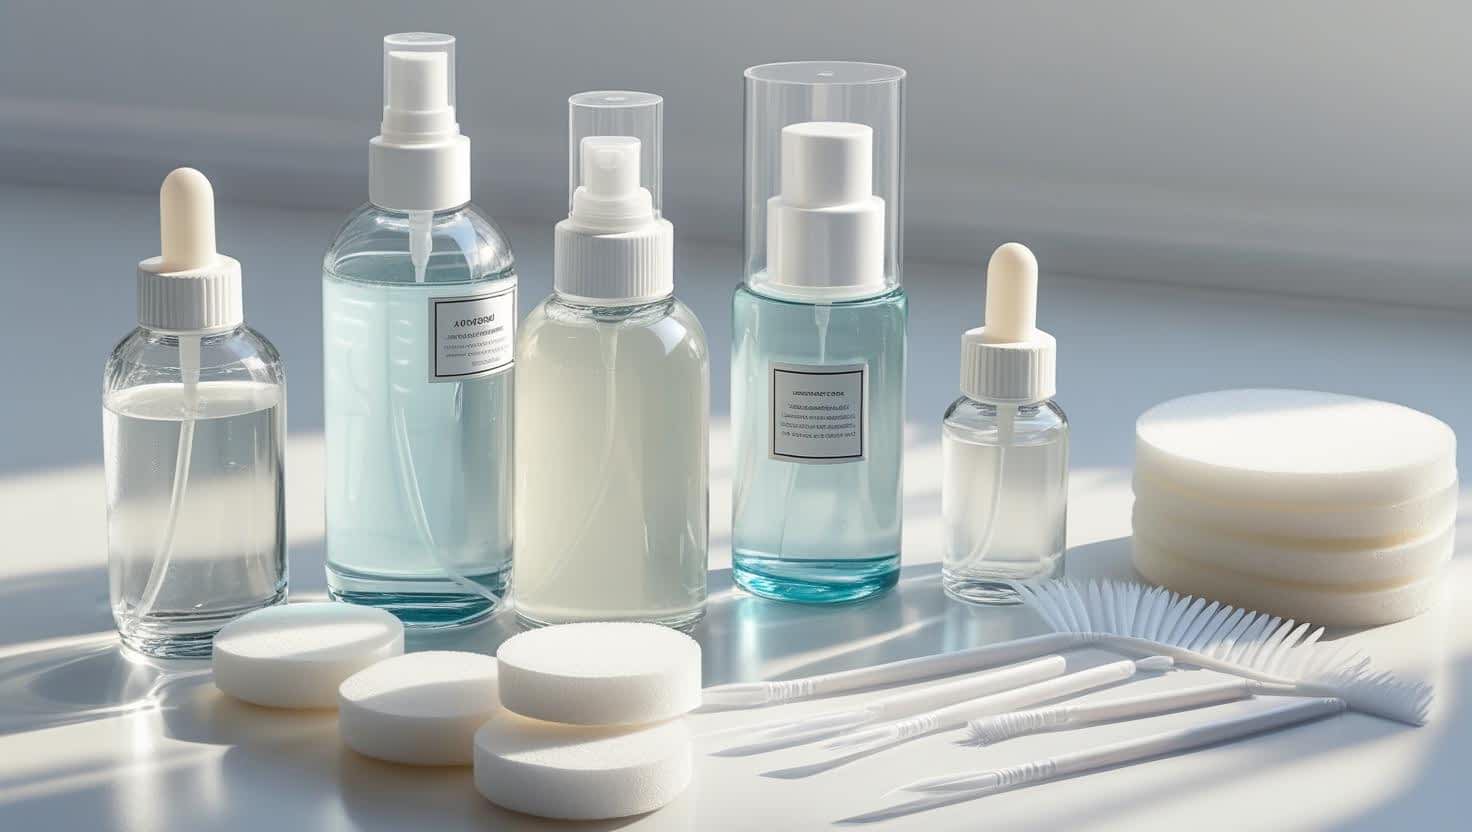
Product Hygiene Best Practices
Reduce the Exposure to Germs
- When you can, use products with pump dispensers (rather than things in pots or jars)
- If not, use spatulas to remove the product from containers to avoid transferring germs back into the product
- Close all lids tightly and promptly after use
- Don’t ‘double dip’ with a used applicator
- Never blow on applicators or products
- Avoid sharing personal care products – even with close friends or family members
- When purchasing, test products on your hand or wrist, not on your face
Sanitizing Makeup Products
Put 70% isopropyl alcohol (IPA) in a small spray bottle. You can use this to disinfect most of your makeup products. Use a light spray and wait at least 30 seconds until it’s dry.
- Powders and palettes: Spritz the powder directly on the product and let it air-dry
- Liquid foundation: Dip a cotton round into rubbing alcohol and clean the bottle’s nozzle and cap thoroughly
- Eye and lip pencils: Spritz alcohol on the tip before and after sharpening and before each use
Let’s navigate this together
Join a community that understands. Receive expert advice, useful resources, and compassionate tips throughout your cancer journey in the LGFB newsletter