Wigs & Scarves Workshop

Losing your hair during cancer treatment can be emotional and overwhelming. Learn about what to expect with hair loss, how to care for your scalp during and after treatment, all about wigs and other hair alternatives, including scarf-tying techniques.
About this Workshop
What you will learn:
Caring for your scalp during and after cancer treatment
What to expect with hair regrowth
Discover all types of head coverings and hair alternatives, including wigs
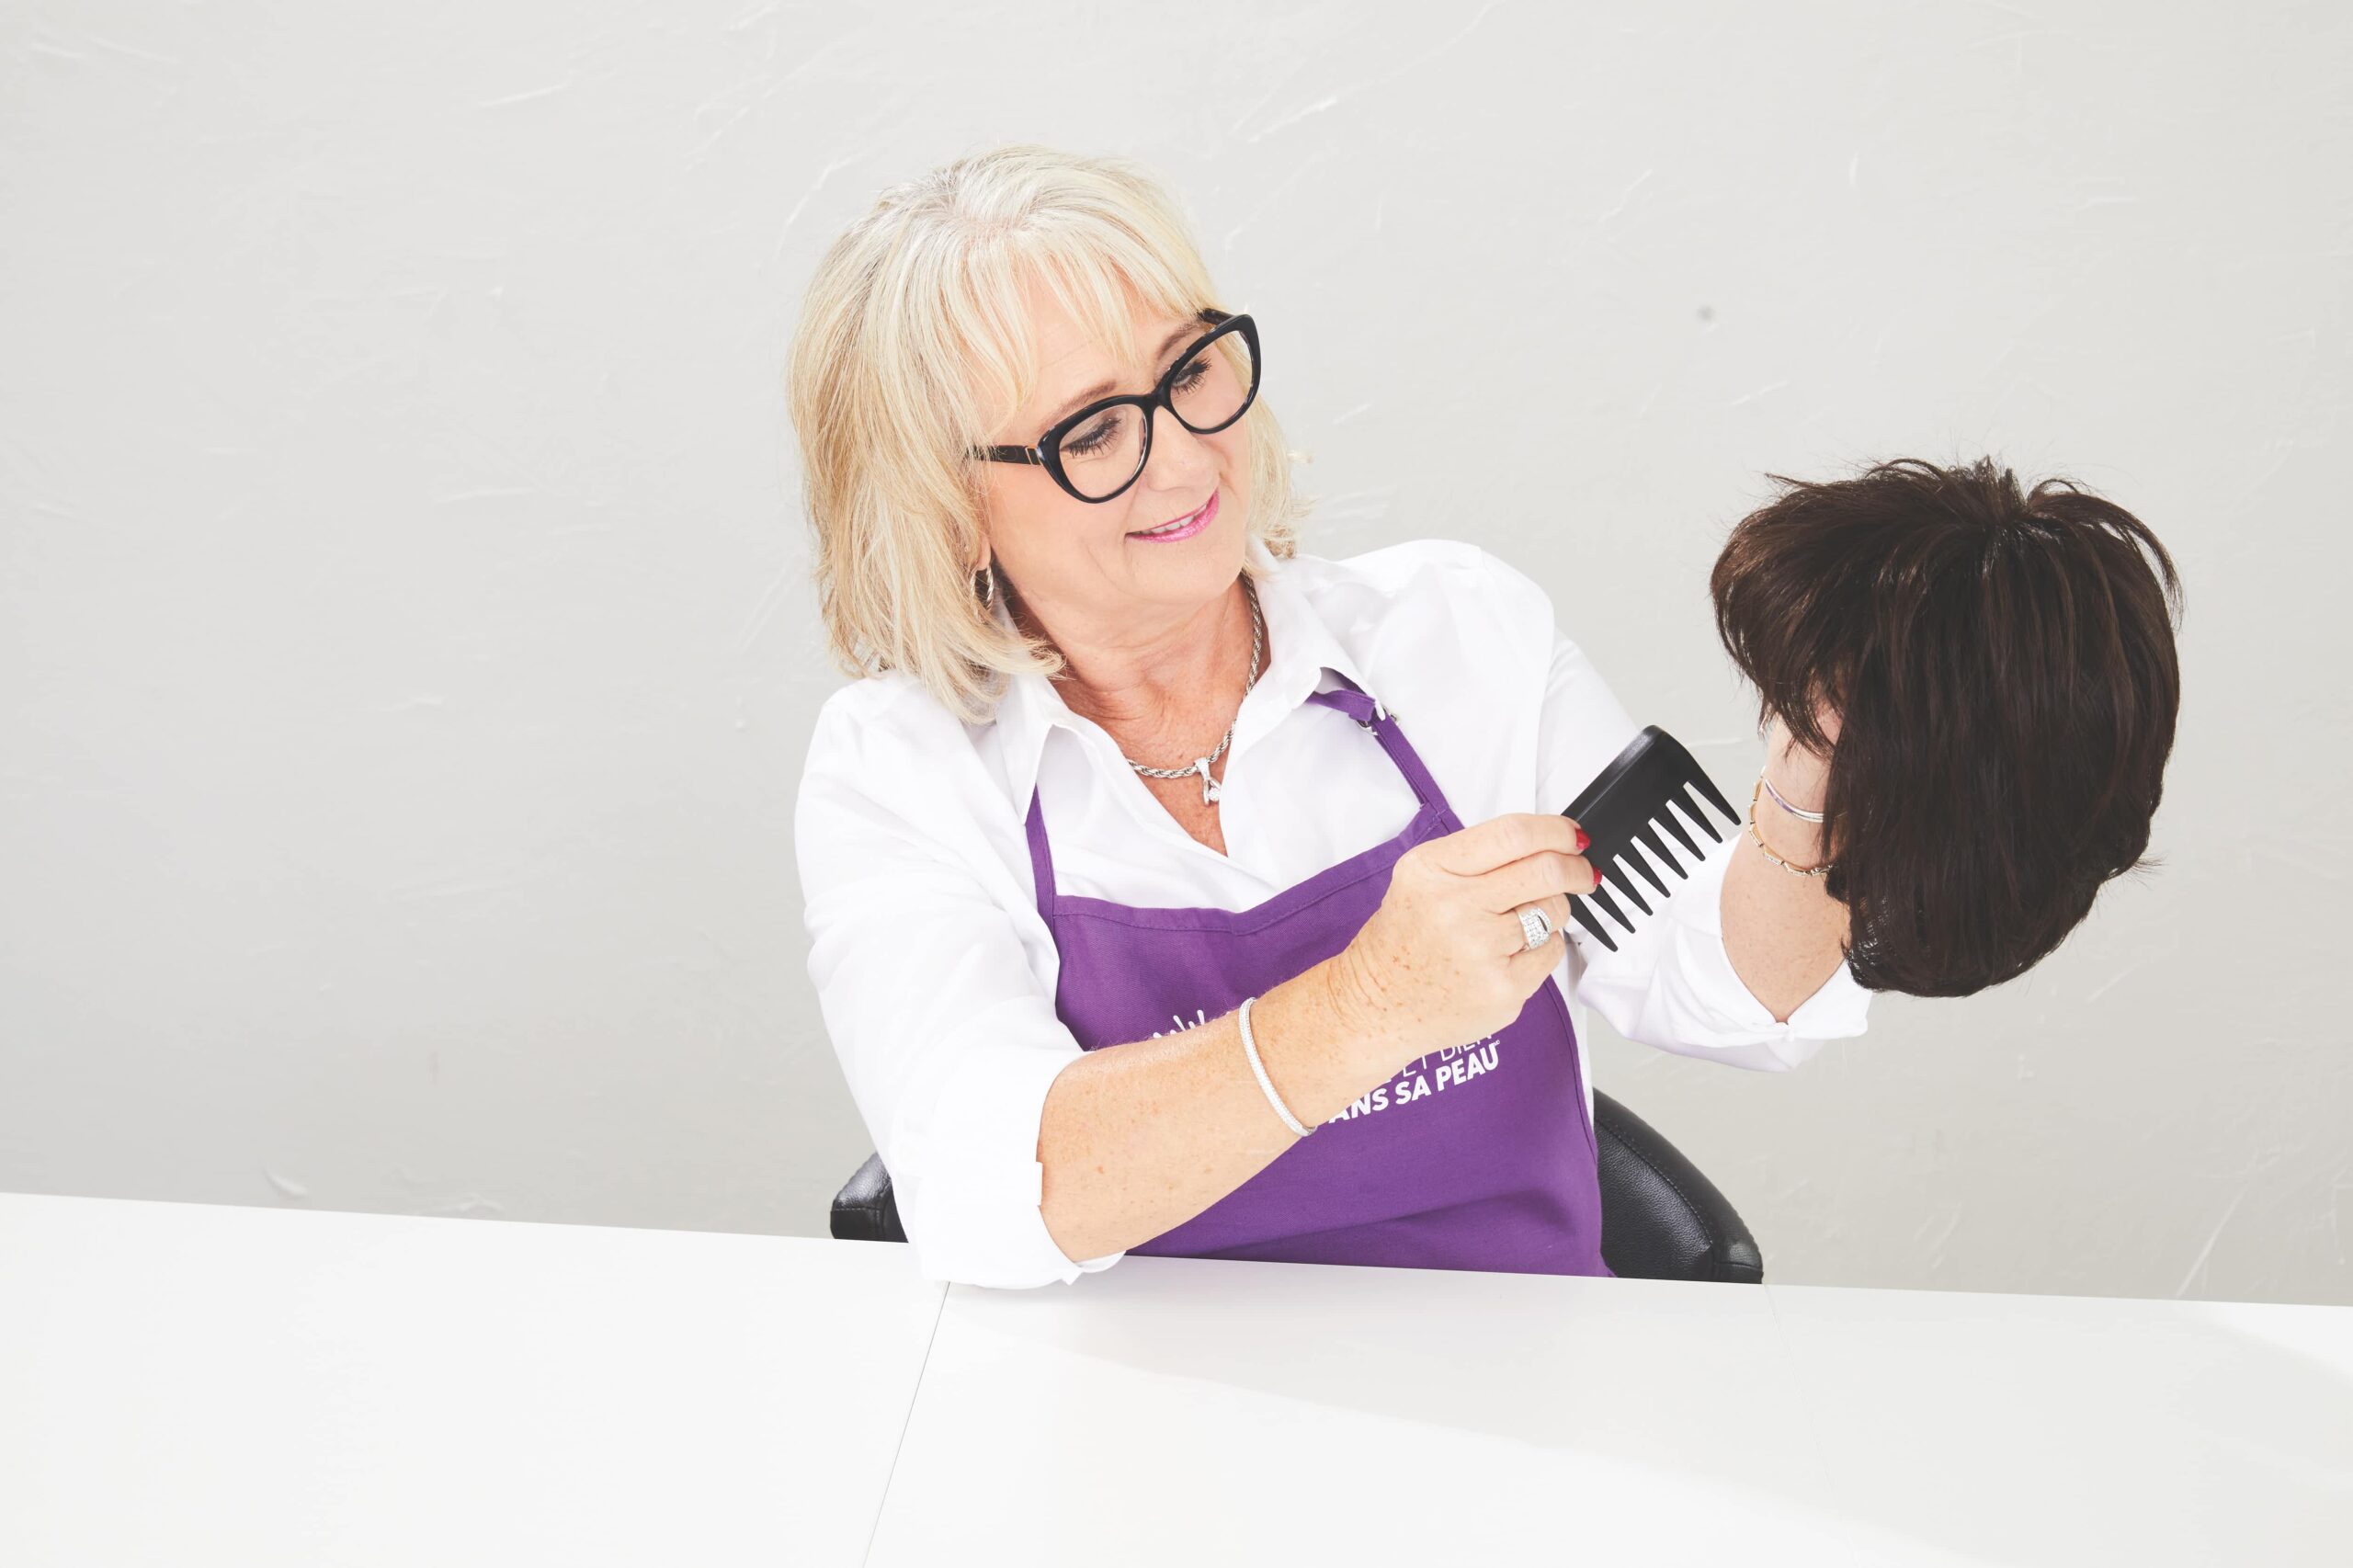
What to consider if selecting a wig, including how to take care of and style them
Pros and cons between synthetic and human hair wigs
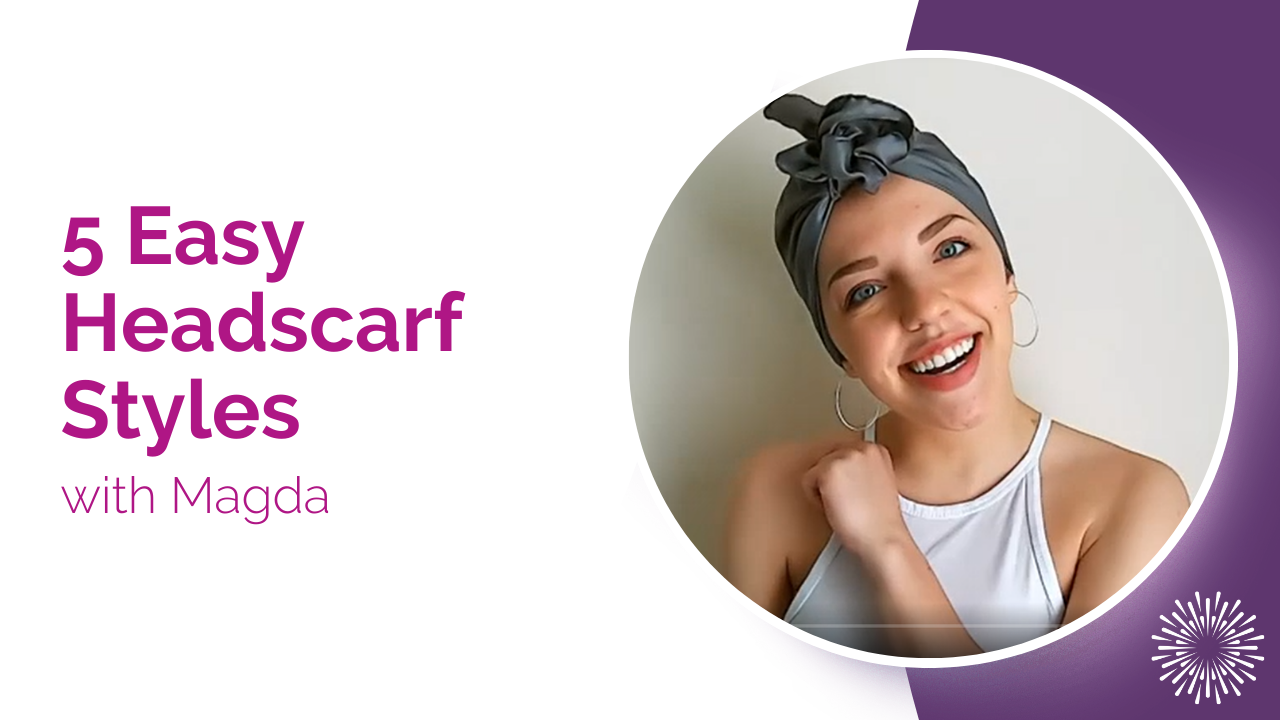
Easy scarf-tying techniques and more
The information and dialogues are designed to help you:
Manage the physical side effects of cancer treatment (including hair loss) with simple, practical guidance
Connect with others who may understand what you are going through
Know what to expect during treatment
Prepare for treatment to help minimize potential side effects
Feel more like yourself
This workshop is available ONLINE and IN-PERSON
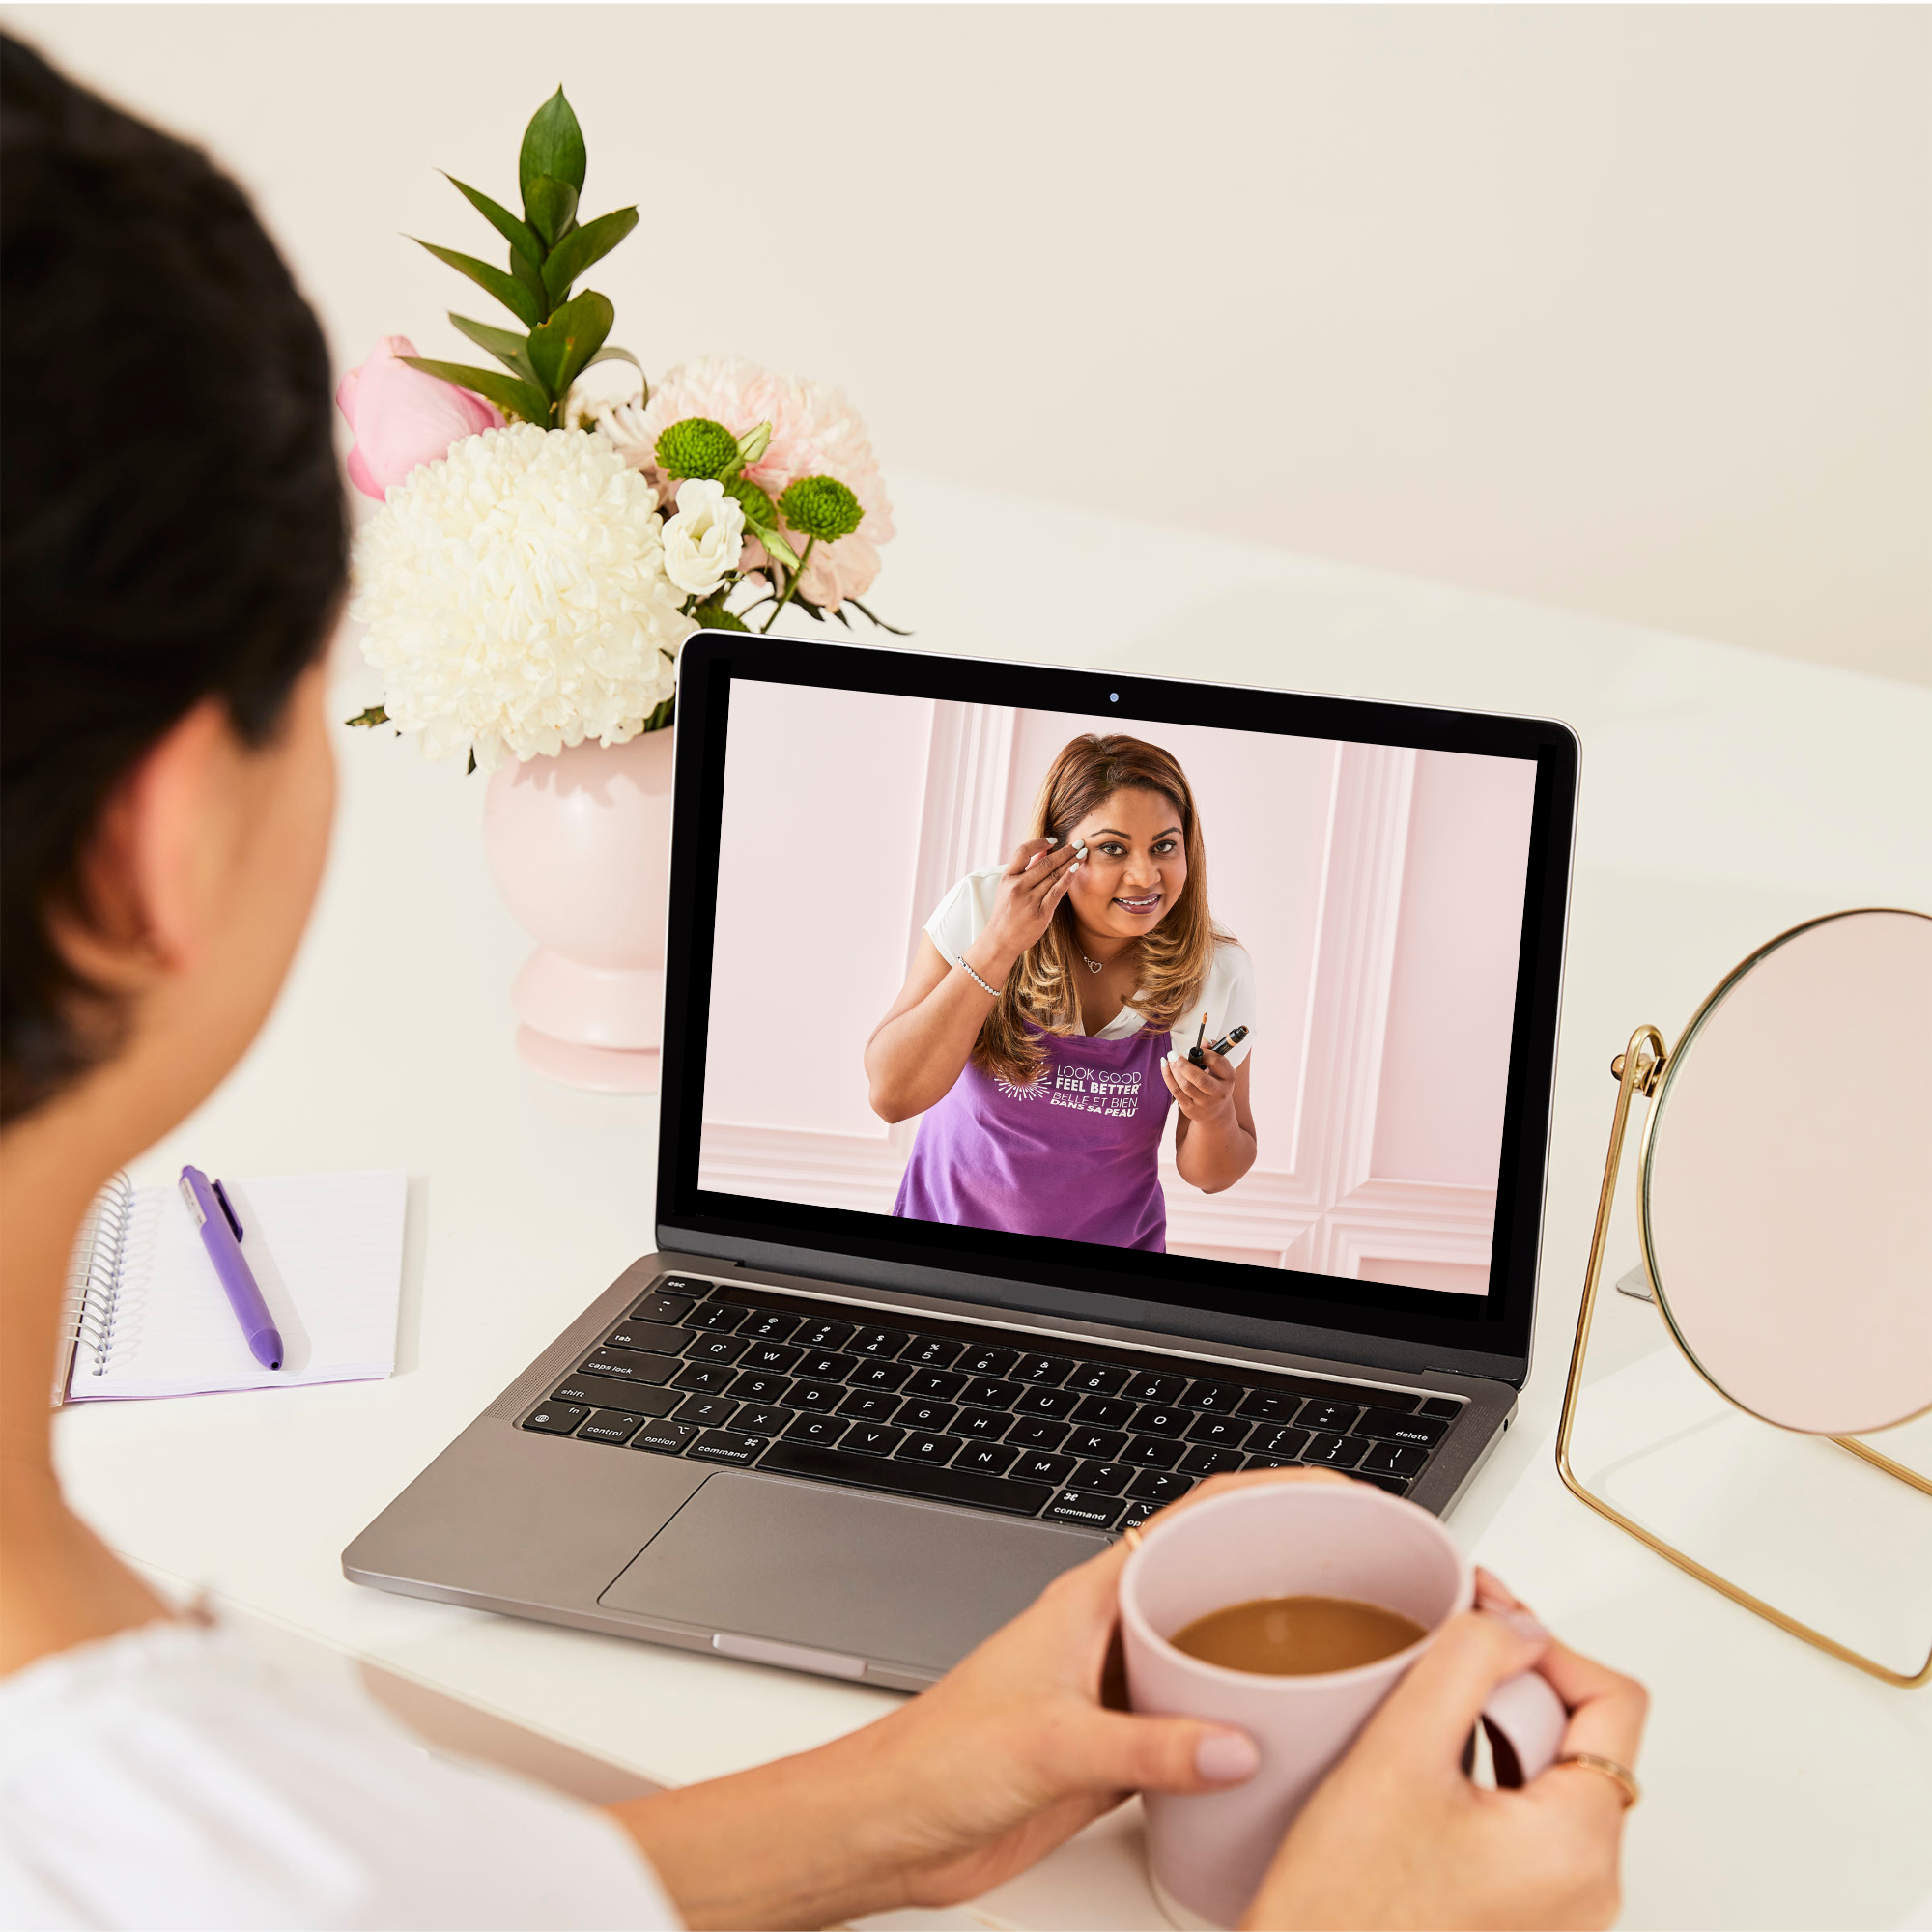
Online Workshop
- The ONLINE workshop is ONE HOUR long and is delivered via Zoom.
- Relax and join us from the comfort of your home.
In-person Workshop
- The IN-PERSON workshop is 2 HOURS long and is called Skincare, Makeup & Hair.
- It combines our Wigs & Scarves and our Skincare & Makeup Workshops into a single 2-hour session.
- The in-person workshop is only available in select locations around Canada.
Who should attend this workshop?
This workshop is available to anyone who is about to start cancer treatment, is currently in treatment or has completed treatment in the last 12 months and would like information about or support around hair loss, wigs, and other hair alternatives.
What are participants have to say
“The volunteers were excellent and so caring. It’s the first time I’ve laughed in awhile.”
- Workshop Participant
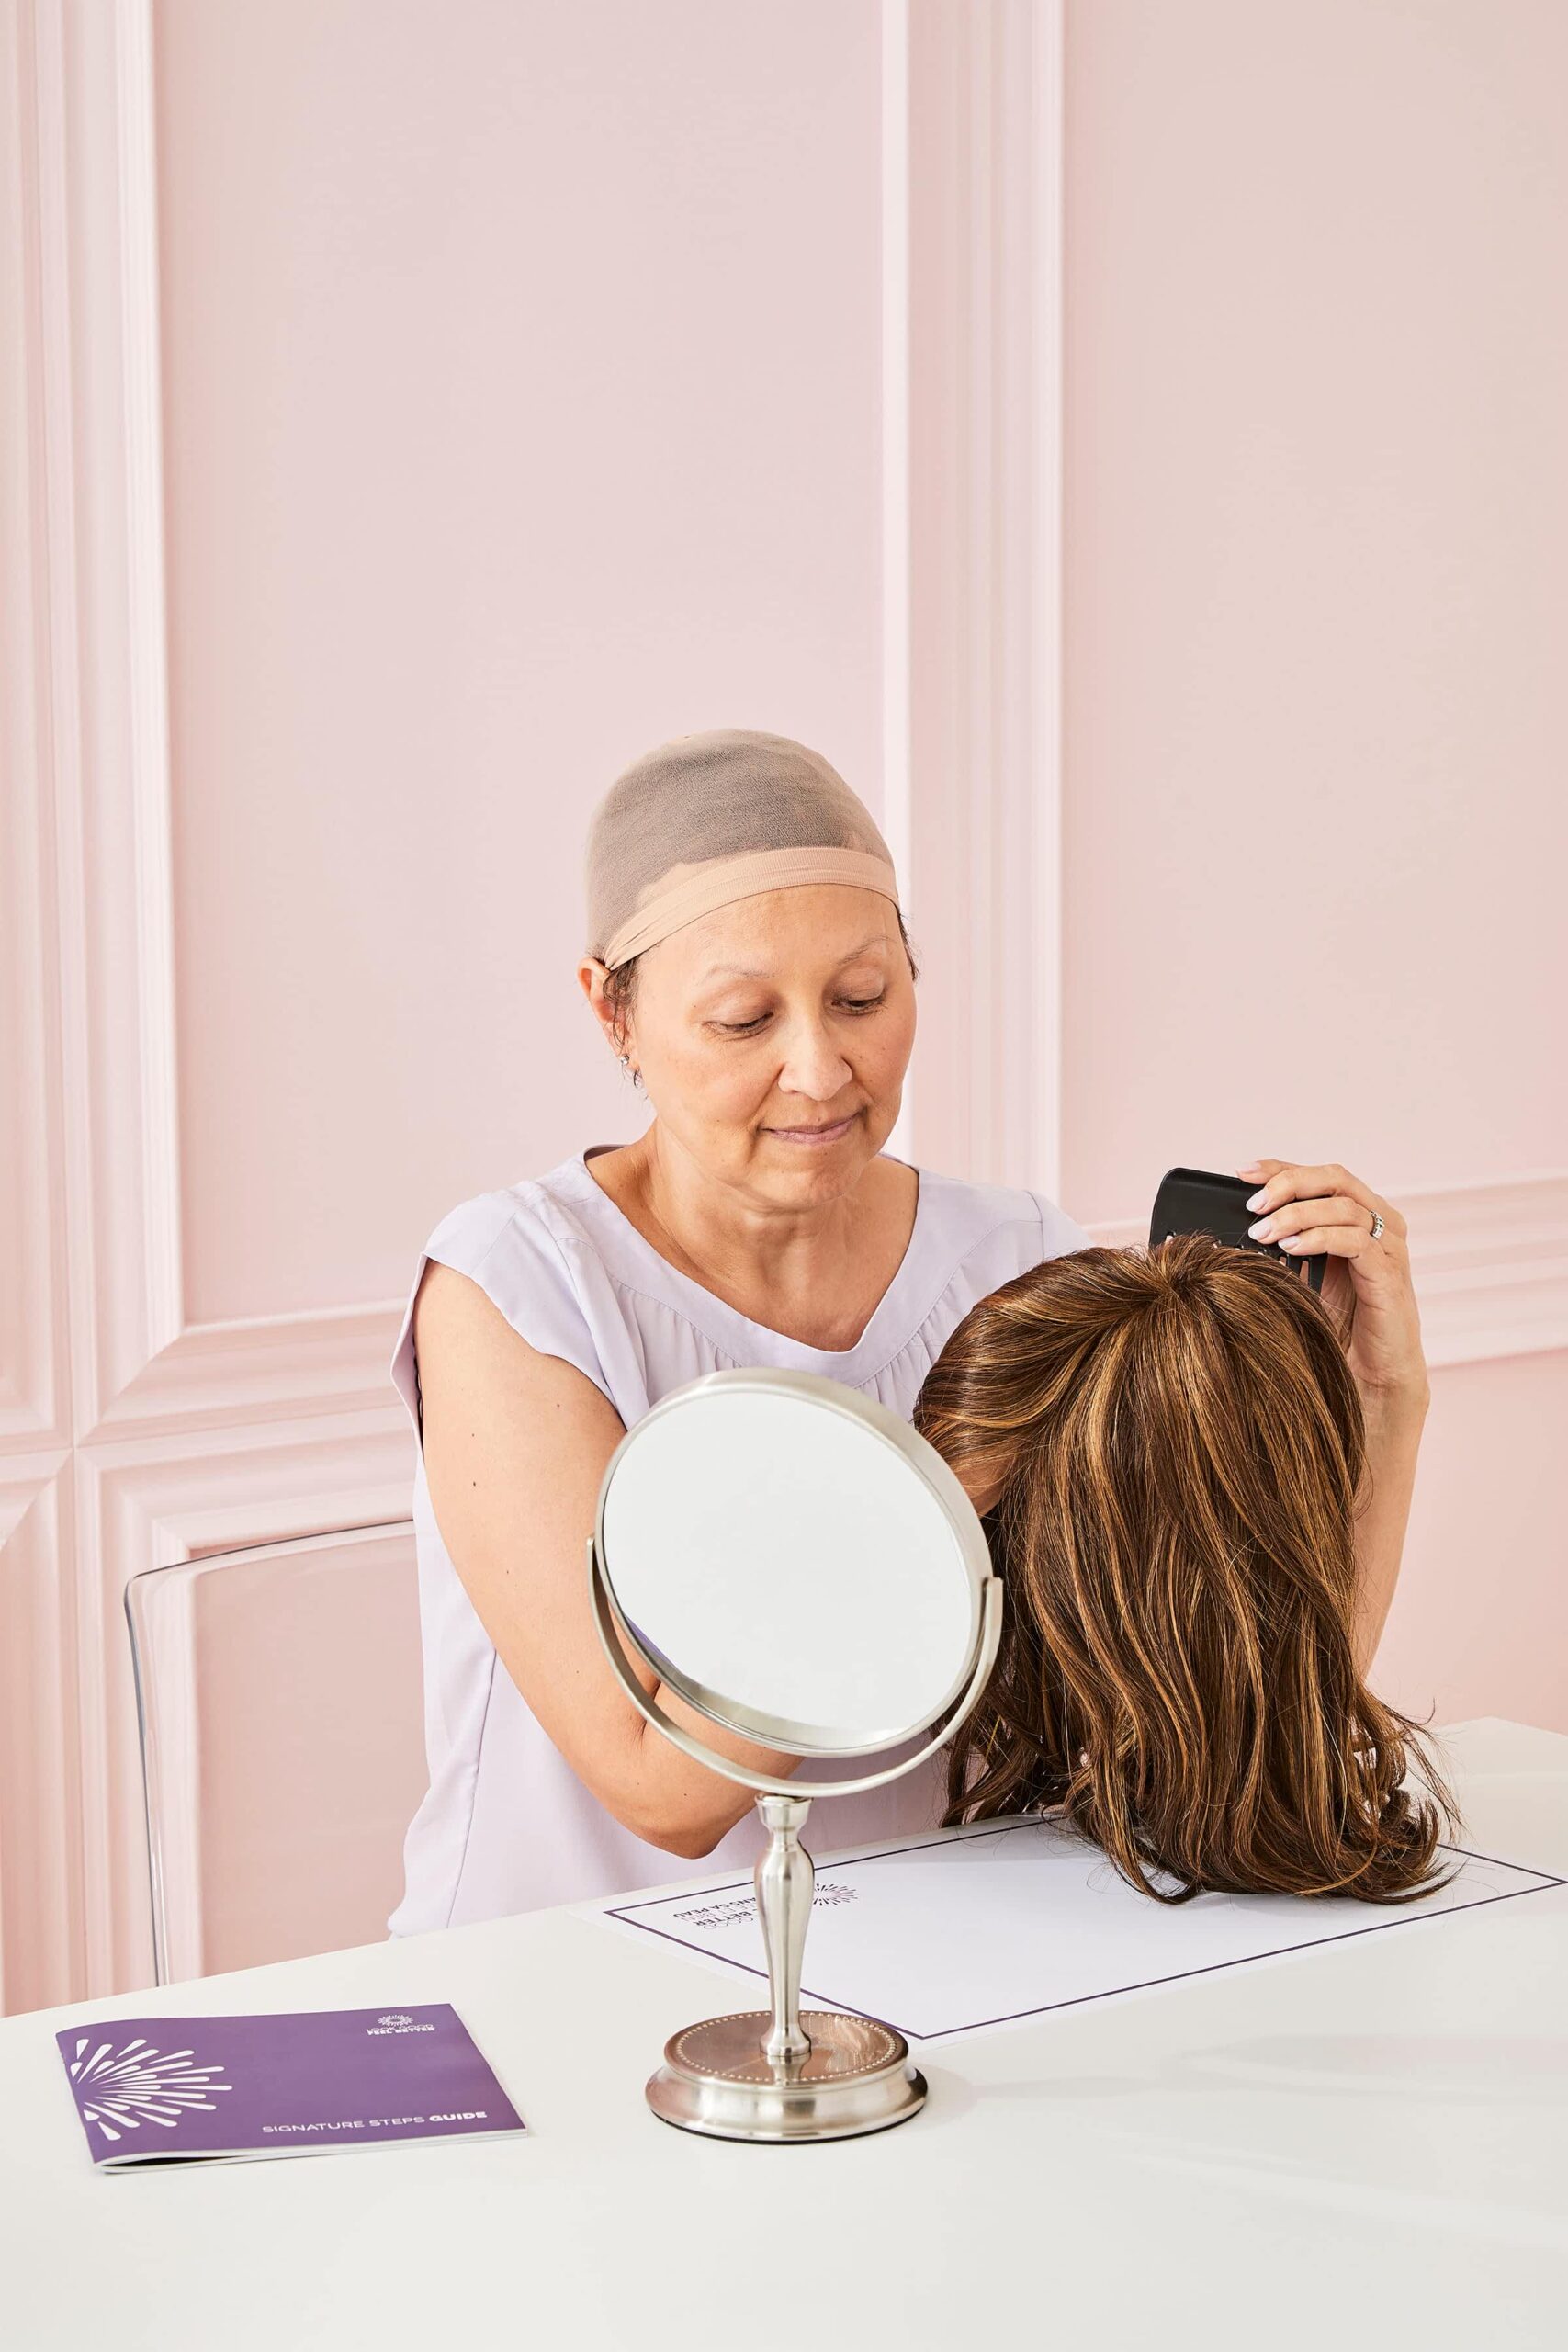
“This workshop exceeded my expectations. It helps to talk to an expert who is positive, fashionable and gives all the tips. One example – I had no idea how a chemo/sleep cap is such an important base layer!”
- Workshop Participant
Ready to Register for the Wigs & Scarves workshop?
Find the right one for you!
Let’s navigate this together
Join a community that understands. Receive expert advice, useful resources, and compassionate tips throughout your cancer journey in the LGFB newsletter
Newsletter Form
Skincare & Makeup Workshop

Skincare and makeup for people facing cancer should feel approachable, not overwhelming. Discover practical ways to manage the physical side effects of cancer treatment on your skin, hair, and face, including skincare, makeup, hair loss, wigs and other head coverings. Available online or in-person.
About this workshop
What you will learn:
Counteract side effects such as discolouration and dry skin
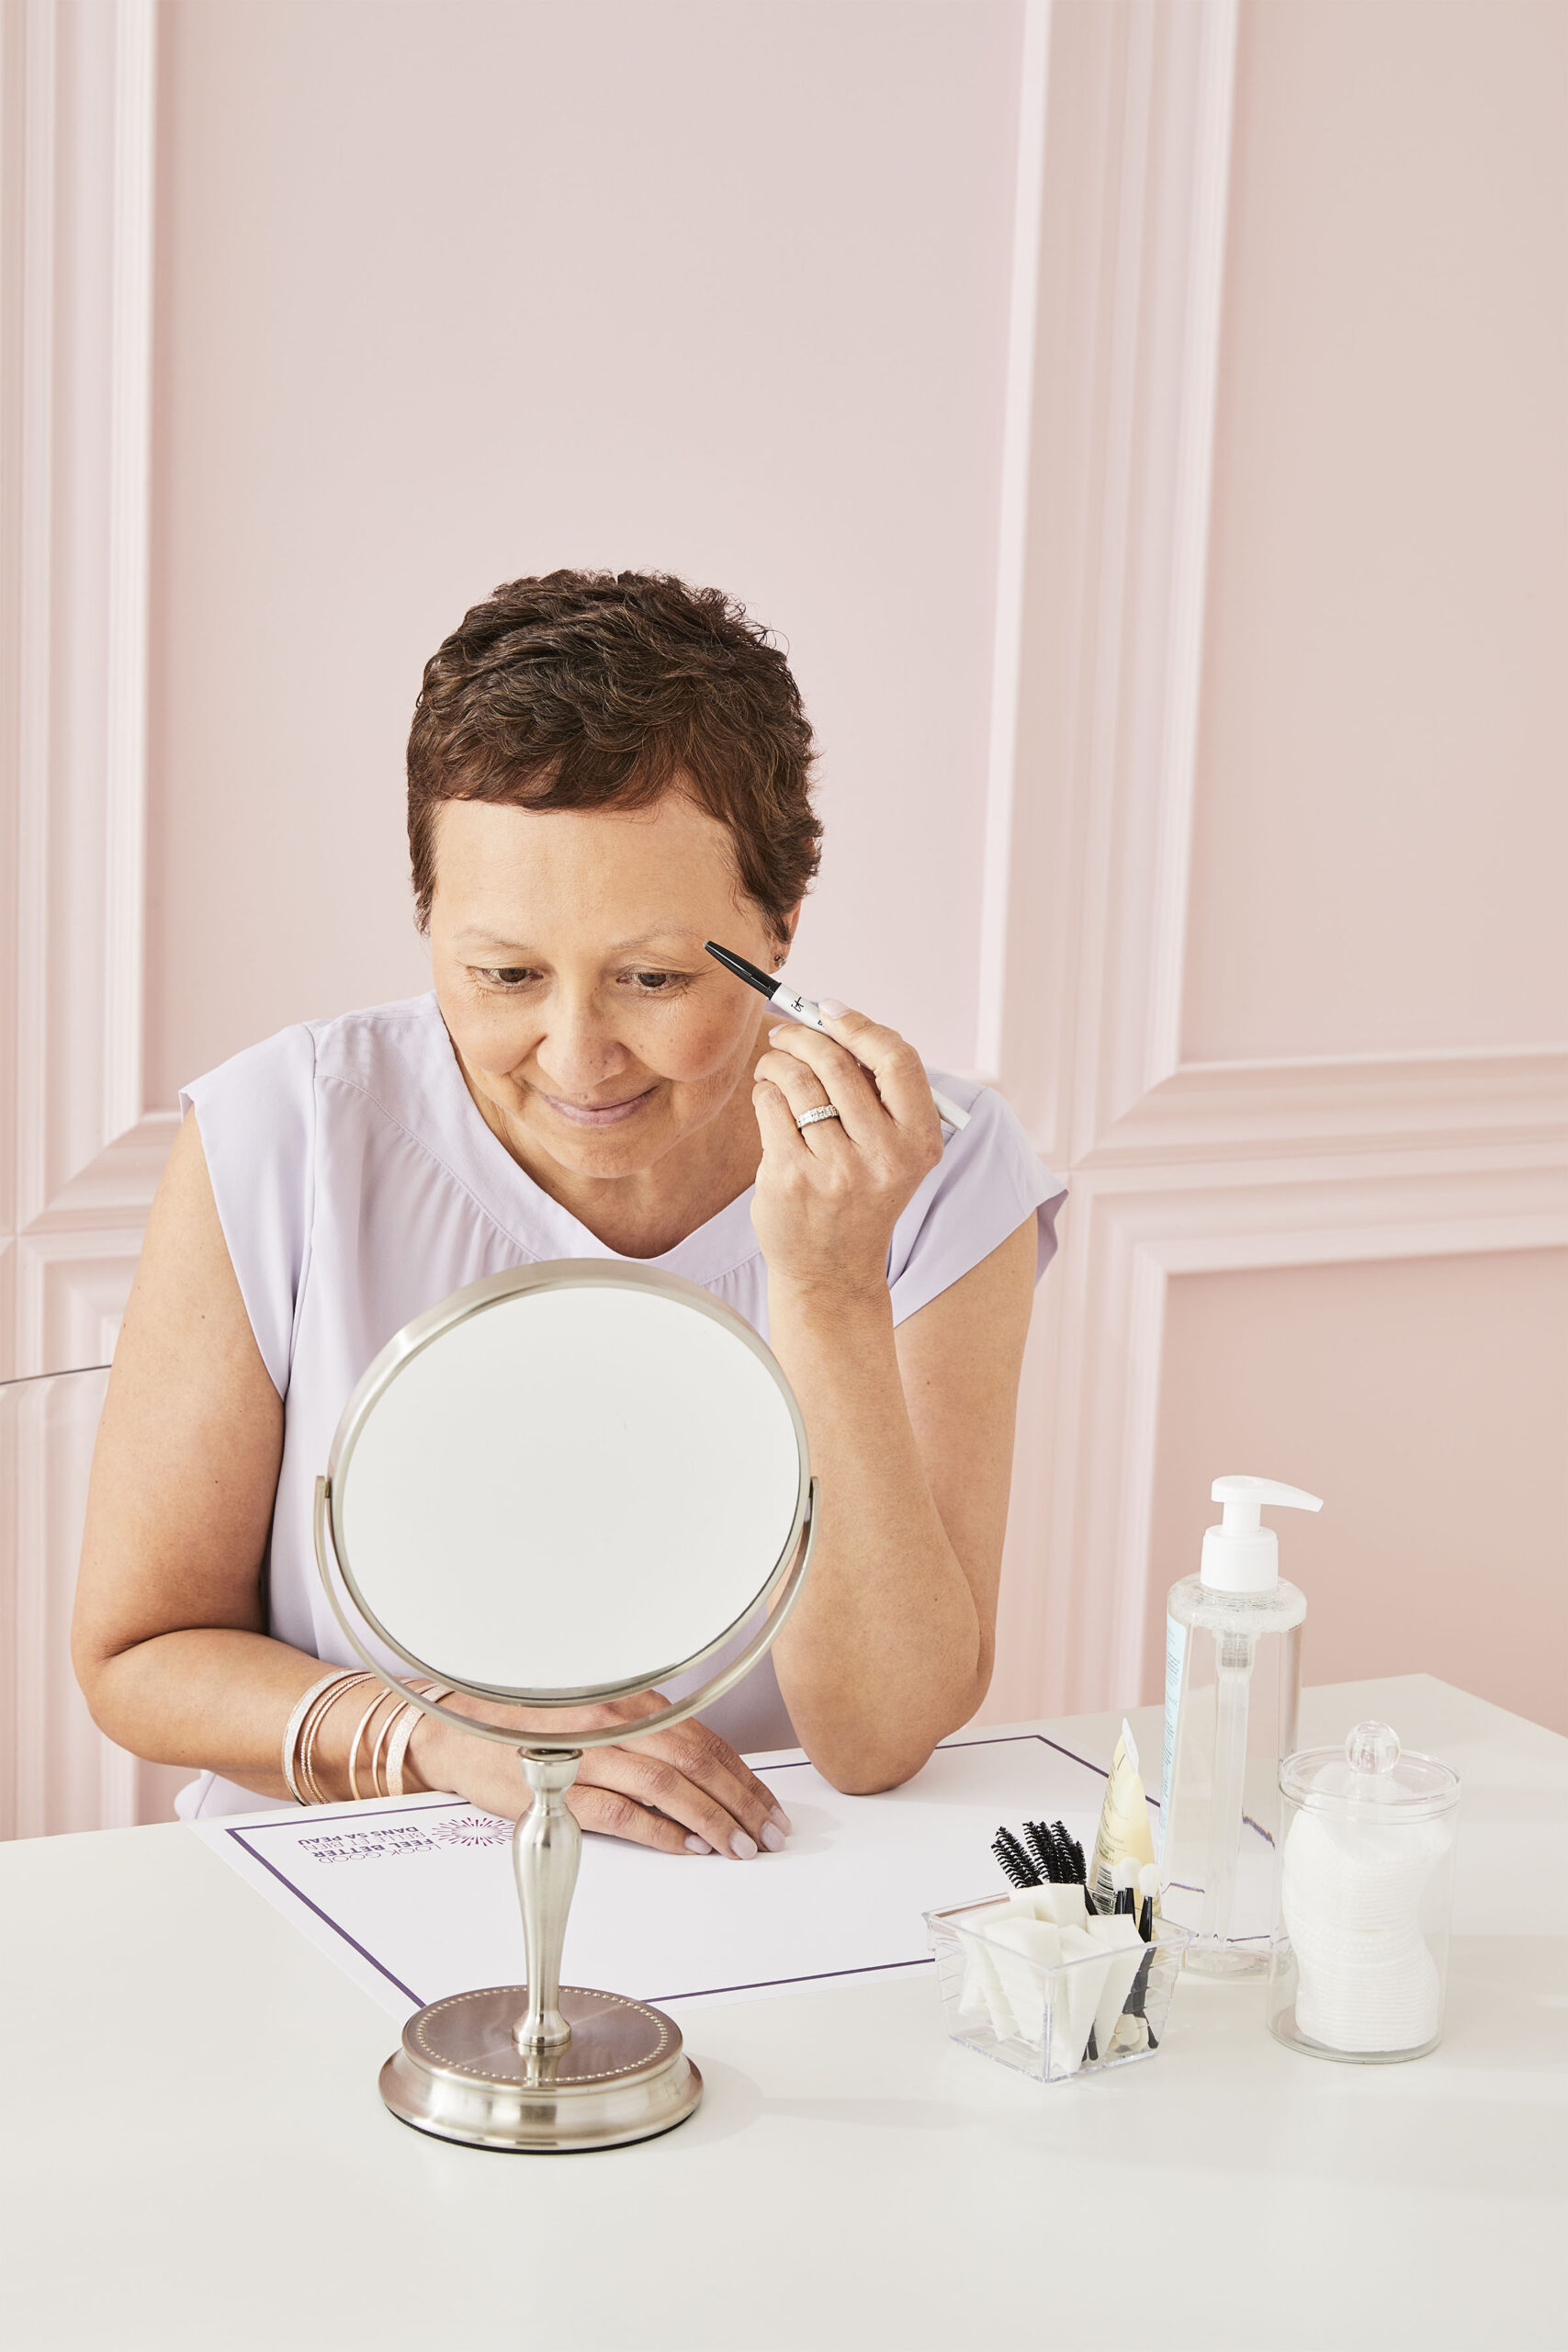
Find tips and techniques for managing the loss of brows and lashes
Practice simple makeup steps to add colour back to your face
Makeup hygiene and sun safety
The information and dialogues are designed to help you:
Manage the physical side effects of cancer treatment with clear, practical guidance.
Connect with others who may understand what you are going through.
Understand what to expect during treatment.
Prepare for treatment to help minimize potential side effects.
Feel more like yourself again.
This workshop is available ONLINE and IN-PERSON.
ONLINE
- The ONLINE workshop is one hour long and is delivered via Zoom.
- Relax and learn from the comfort of your own home.
IN-PERSON
- The IN-PERSON workshop is 2 hours long.
- Called Skincare, Makeup & Hair, it combines both our Skincare & Makeup and our Wigs & Hair Alternatives workshops.
- In-person workshops are only available in select locations around Canada.

Who should attend this workshop?
This workshop is available to anyone who is:
- about to start cancer treatment
- is currently in treatment or
- has completed treatment in the last 12 months and would like information about or support around this topic.
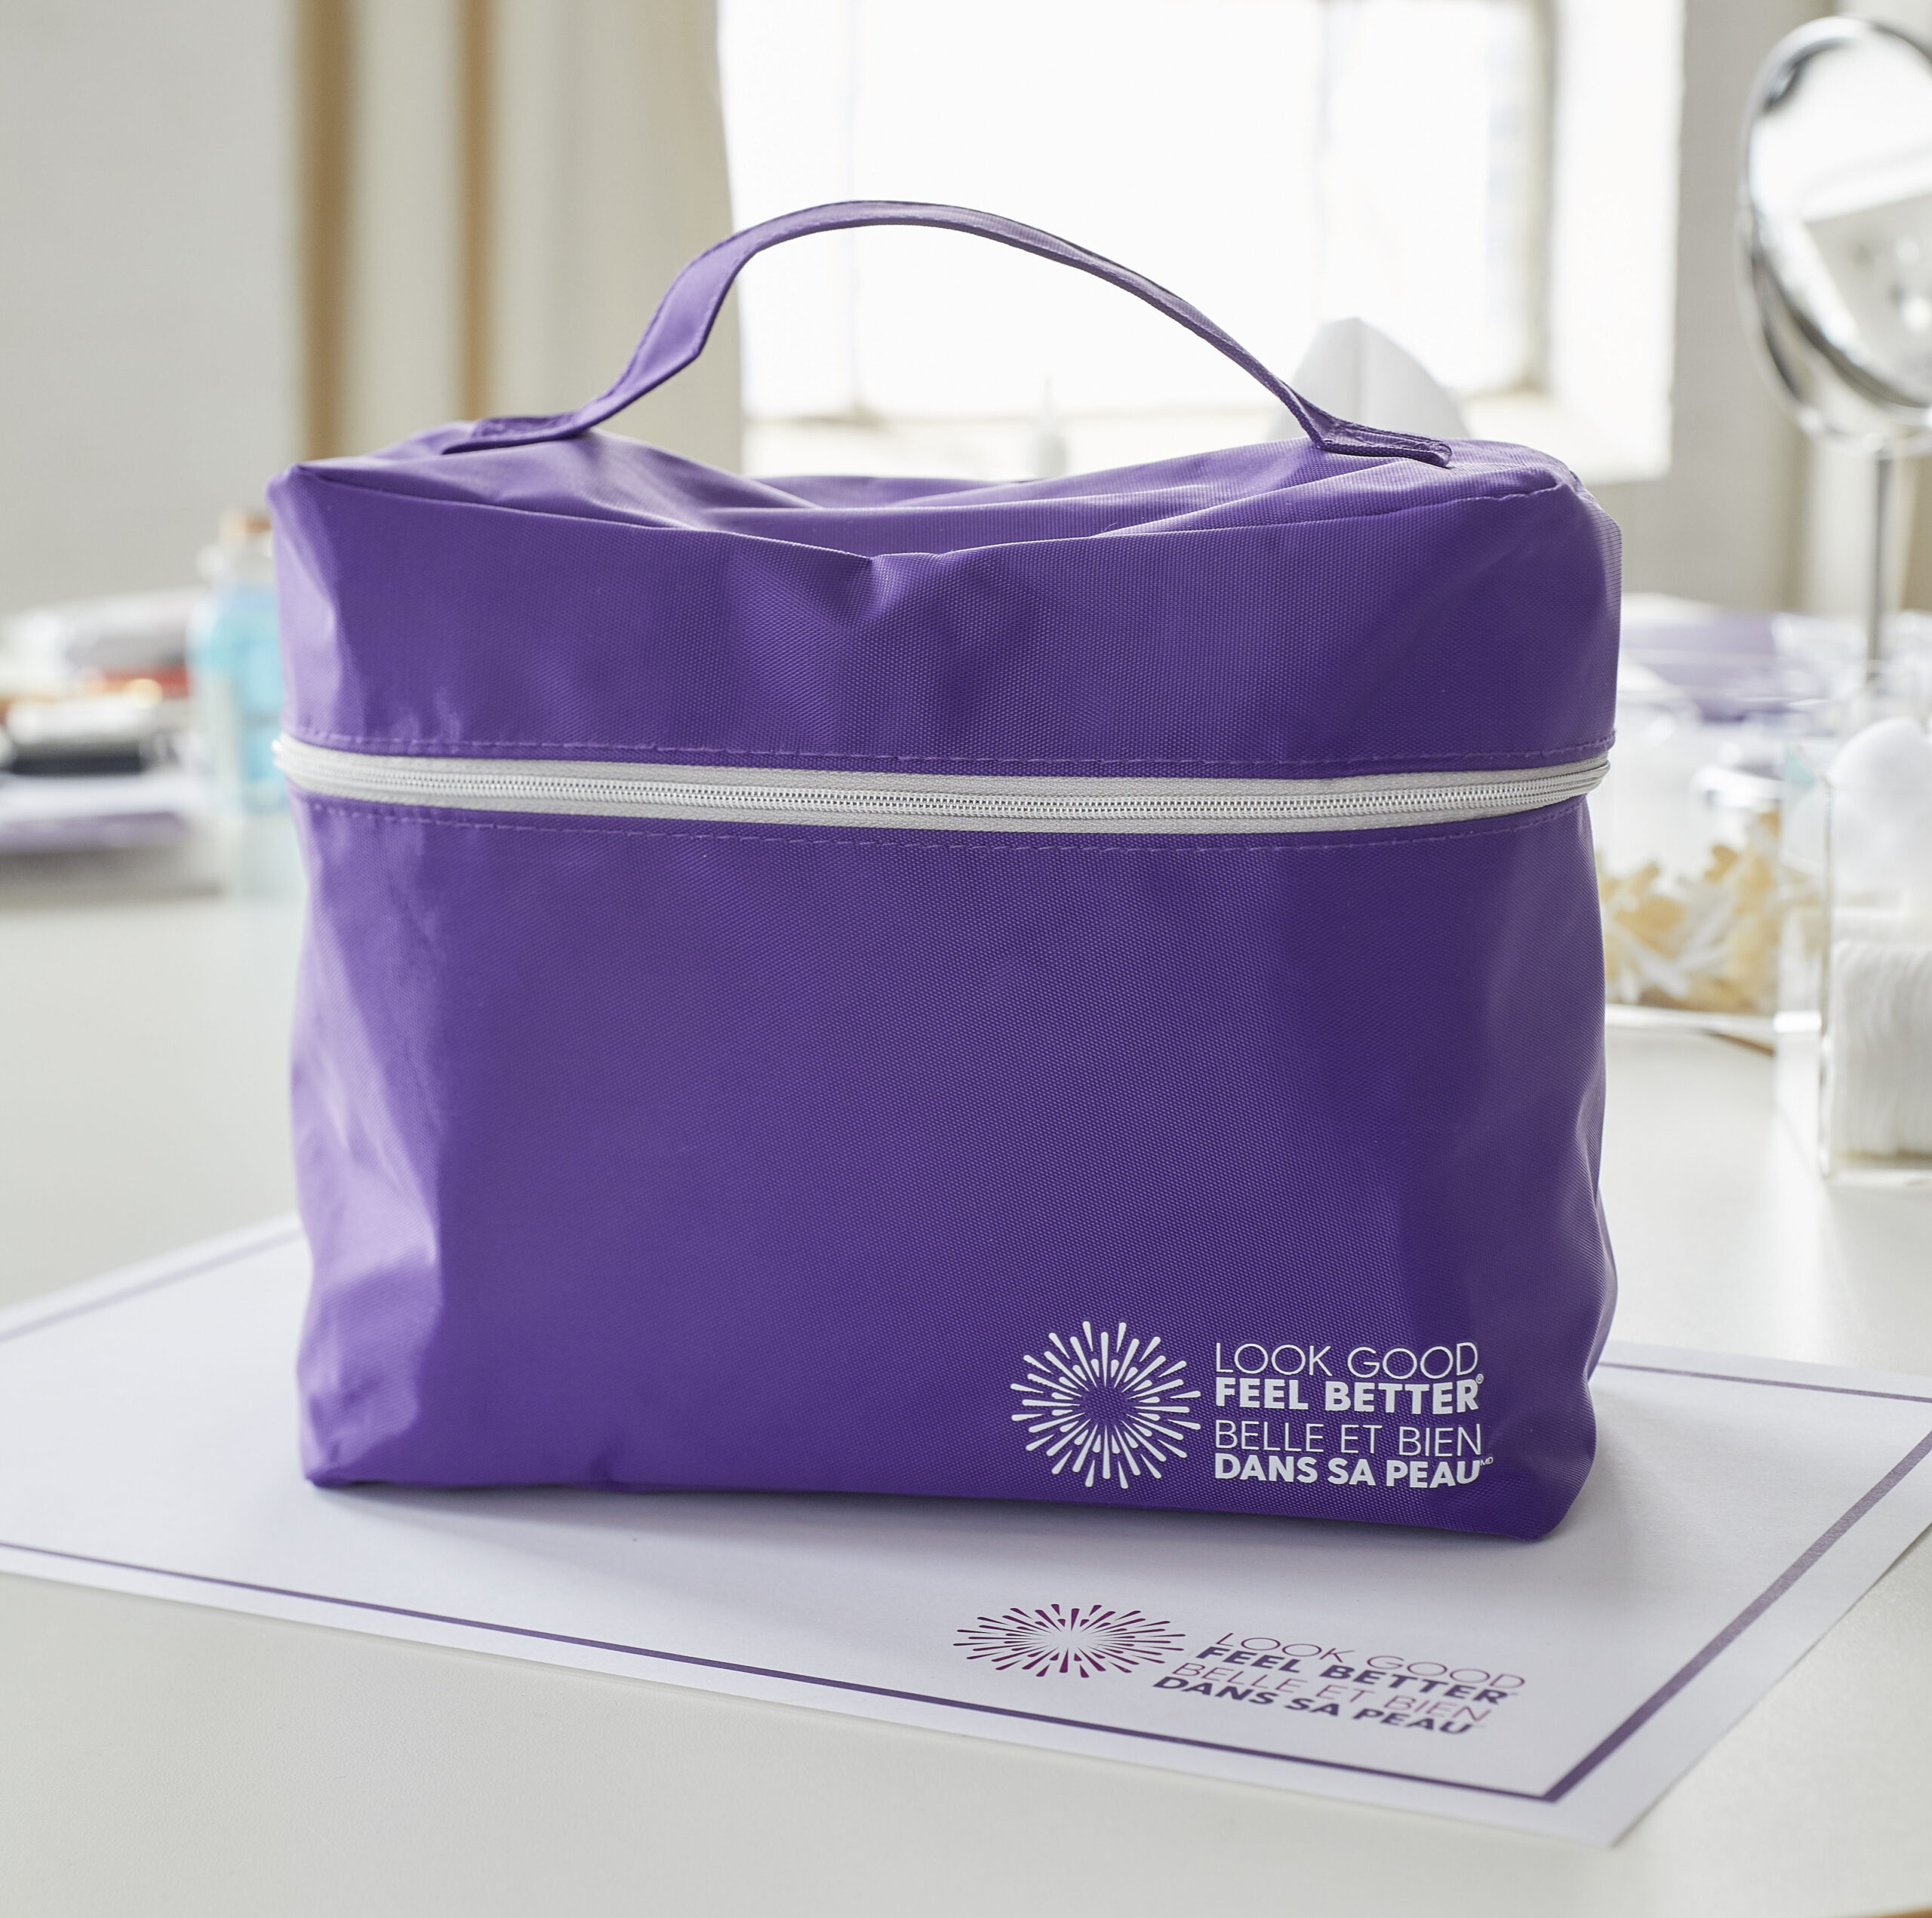
The Confidence Kit
Participants in the Skincare & Makeup workshop receive a free kit of skincare and cosmetics products.
These products are generously donated to Look Good Feel Better and meet the regulations set forth by Health Canada.
These products are for educational purposes, so you may practice the techniques explained in the workshop.
- In-person workshop: You will receive the kit in the workshop.
- Online workshop: The kit will be shipped to you. It generally arrives 15-20 business days AFTER the workshop.
What our participants have to say about this workshop
” This workshop was so useful because it wasn’t just information. It ‘normalized’ the techniques to cope with cancer & treatment related challenges to appearance. Yes, wear makeup and take care of your skin not just in spite of cancer and treatments but because of cancer and treatments! Here is how to do it well and safely!”
- Mirabel R., Workshop Participant
Participating in our workshops
97%
of Workshop Participants
would recommend our workshops to another person facing cancer.
32%
of Our Participants
feel somewhat confident BEFORE our workshops.
89.1%
of Our Participants
reported feeling somewhat confident or confident about their appearance AFTER our workshops.
Ready to Register for a Skincare & Makeup Workshop?
Find the right one for you!
Let’s navigate this together
Join a community that understands. Receive expert advice, useful resources, and compassionate tips throughout your cancer journey in the LGFB newsletter
Newsletter Form
Conceal
What does concealer do?
It diminishes the appearance of dark circles, covers broken capillaries, blemishes, and facial redness, brightens the eye area, and helps eye shadow last longer.
How to apply:
Lightly apply with a clean ring finger, a disposable product applicator, or disposable wedge sponge
For eyelid discolouration, apply dots of concealer starting from the inner corner of the eye and gently blend the dots to the outer corner of the eye
For dark under-eye circles, start at the inner eye corner and work outward toward the iris. Apply dots of concealer or colour corrector under eye using a clean ring finger or a disposable wedge
Foundation
What does foundation do?
It evens out skin tone, gives a soft touch of colour, protects the skin from the environment, and gives a more flawless appearance.
How to apply:
Choose a shade of foundation to match the colour of skin at your jawline
Apply dots of foundation to your forehead, nose, chin, and cheeks with clean fingers or a disposable cosmetic sponge
Blend outward and downward from the centre of your face to the edge
Blend well at the hairline and the jawline
Powder (optional)
What does powder do?
It sets foundation, evens out skin tone, and helps makeup last longer.
How to apply:
Apply a light application of translucent powder over face with a clean cotton ball
Gently dust downward and outward to remove excess powder and smooth facial hair
How to Neutralize Skintones

Let’s navigate this together
Join a community that understands. Receive expert advice, useful resources, and compassionate tips throughout your cancer journey in the LGFB newsletter
Newsletter Form
Some Women Say…
that the loss of their hair is more devastating than their cancer diagnosis. You may feel like your hair is essential to looking and feeling like yourself.
Hair loss is also a visible sign of illness and can impact self-image and self-esteem. You may feel vulnerable and anxious.
You’re not alone… support is here, every step of the way.
Prior to Hair Loss
- Depending on your specific treatment protocol, your hair could thin or fall out completely during treatment.
- Your oncology team will be able to inform you when to expect hair loss.
- If you want a wig to match your current hairstyle, colour and texture, consider looking for a wig before starting treatment.
- You can also take pictures of your current hair from all sides and bring those with you when choosing a wig.
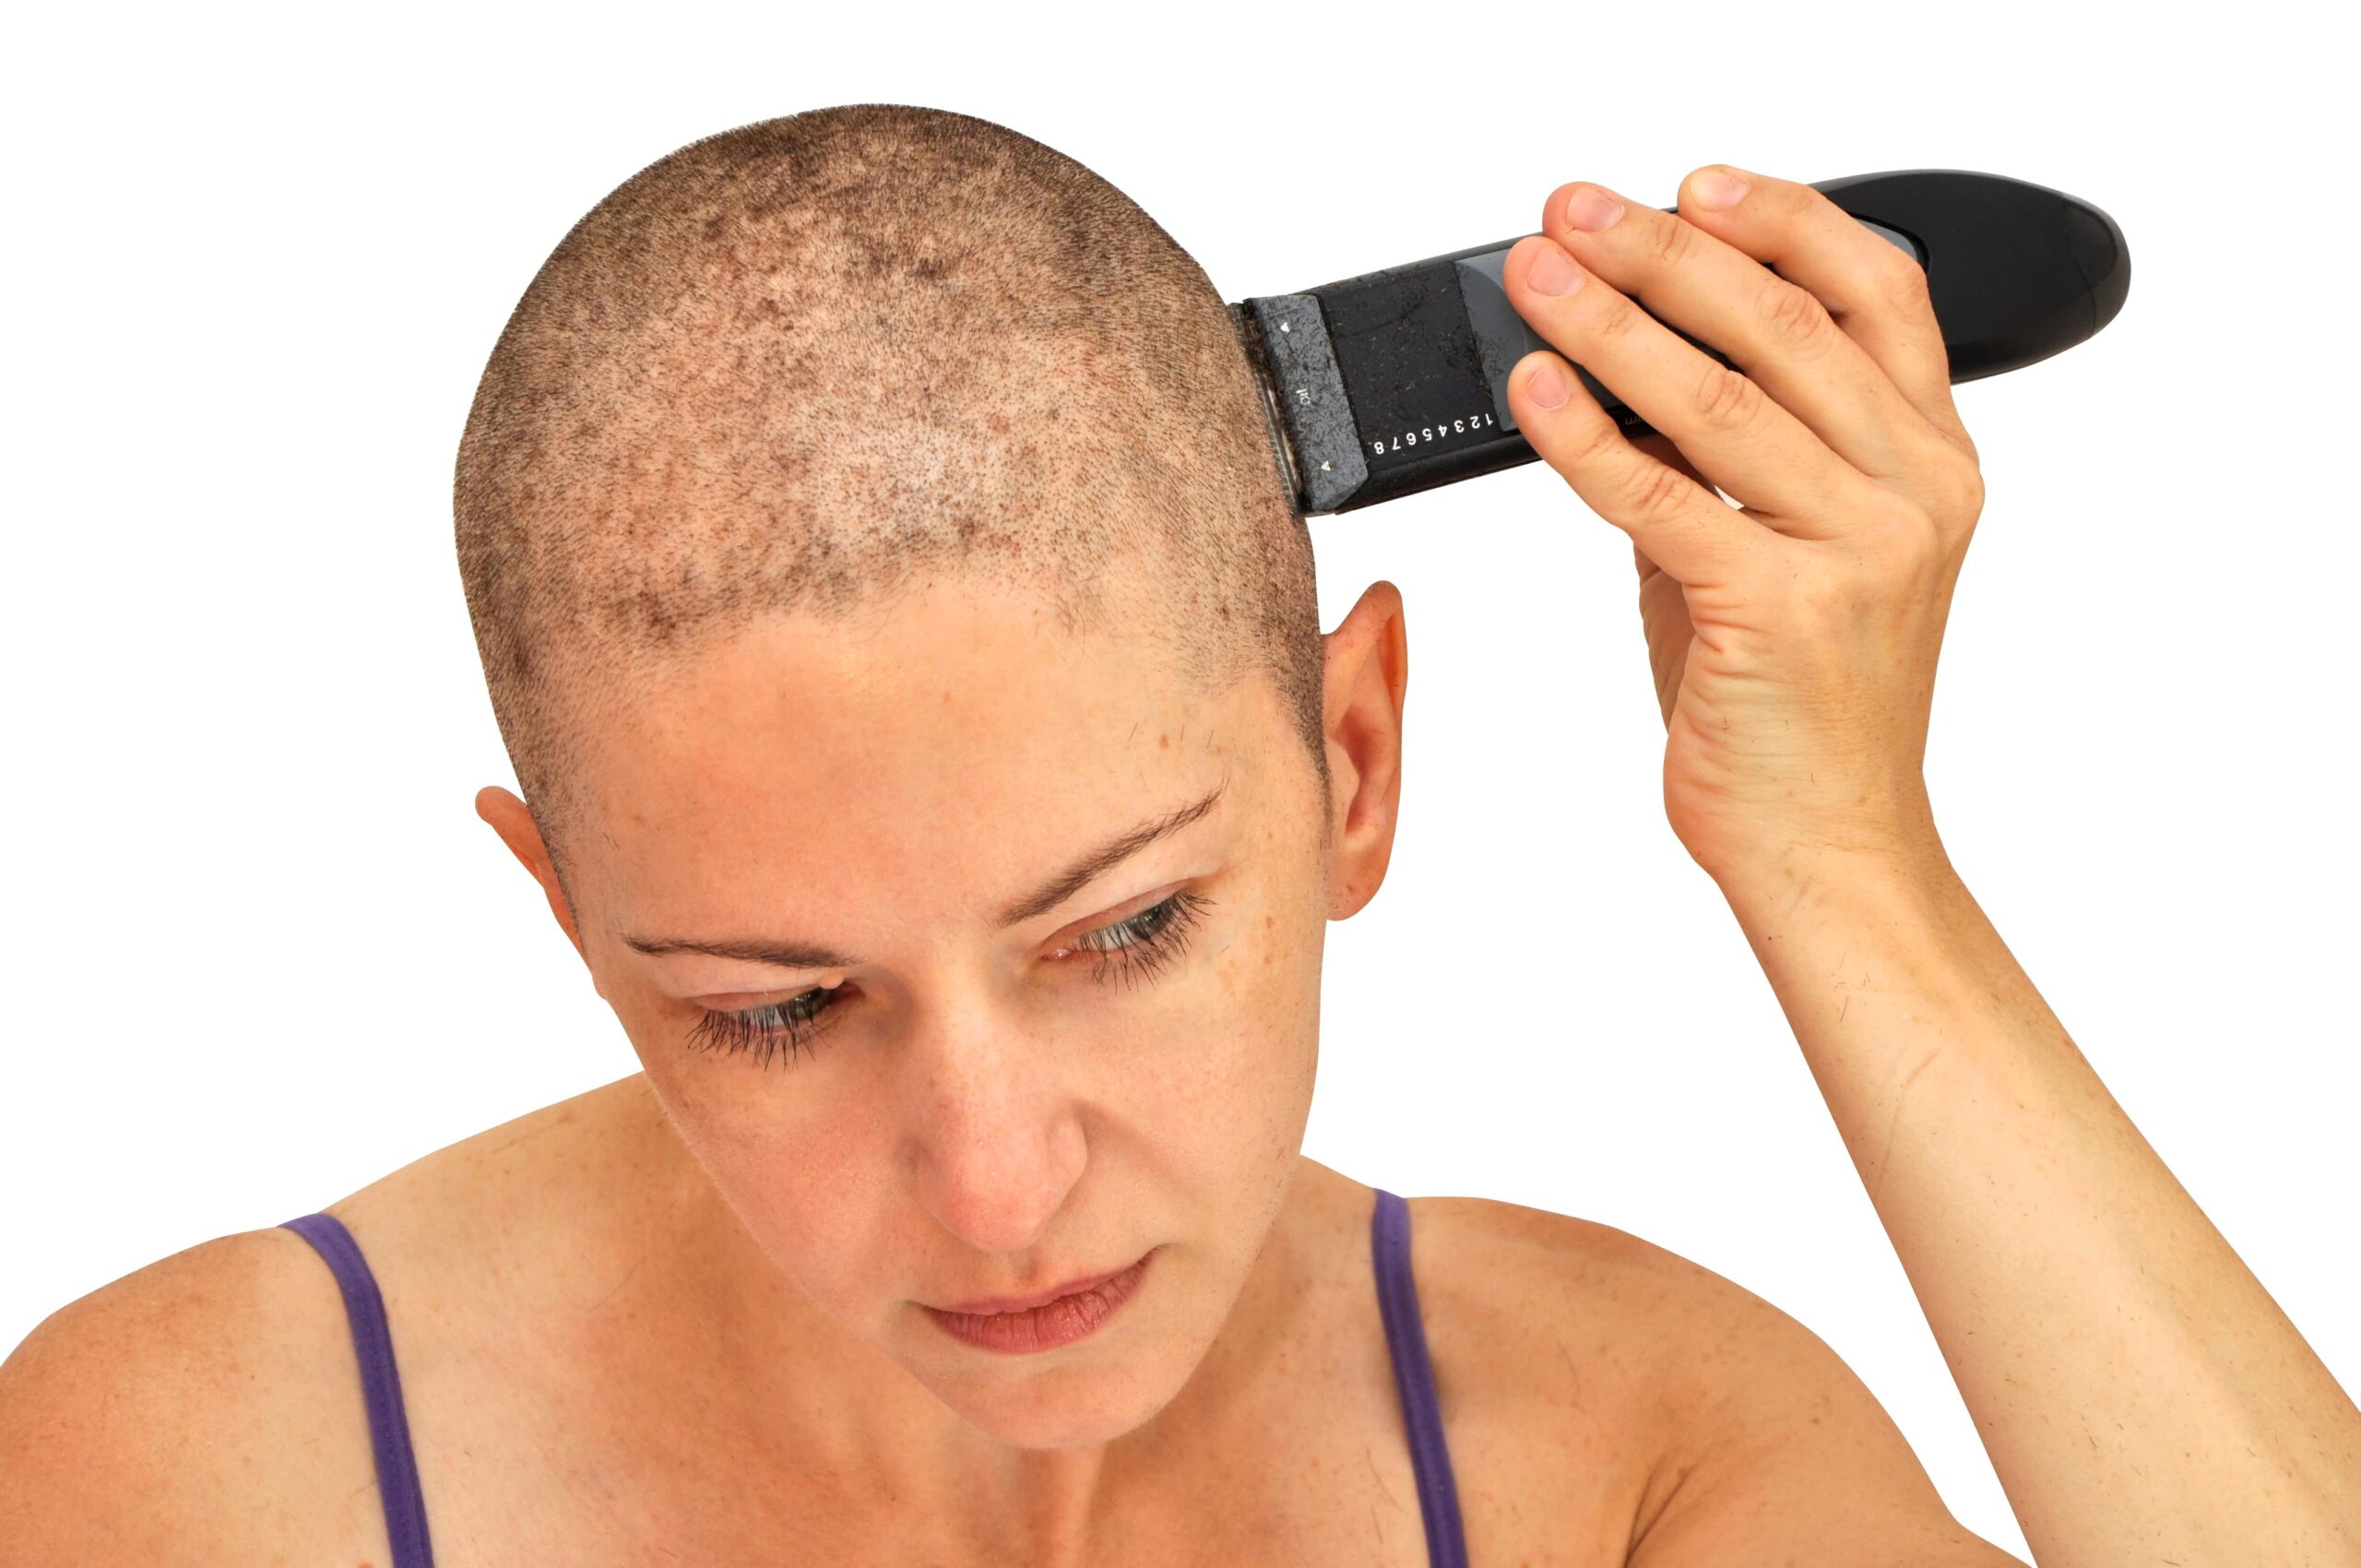
Shaving your head
- Watching hair fall out in clumps can be emotionally distressing. Some people prefer to shave it off before too much hair falls out.
- A very short haircut (e.g. 1/8 of an inch) can help ease scalp sensitivity and ease the emotional distress of seeing hair fall out in clumps.
Thinning Hair
If you notice that your hair is thinning, consider these things:
Don’t colour your hair right now. It may break and make it thin more quickly.
As the texture of your hair may change and become brittle, using a a hydrating shampoo and conditioner will help your hair feel softer.
Consider cutting your hair shorter than you usually wear it. It can help your hair look thicker and make hair loss less noticeable. Also, short hair doesn’t put stress on already weak hair follicles.
If possible, avoid overusing blow dryers, curling irons, hot rollers, hair sprays and any products with an alcohol base.
When sleeping, use a satin-like pillowcase to minimize tugging your hair at the scalp.
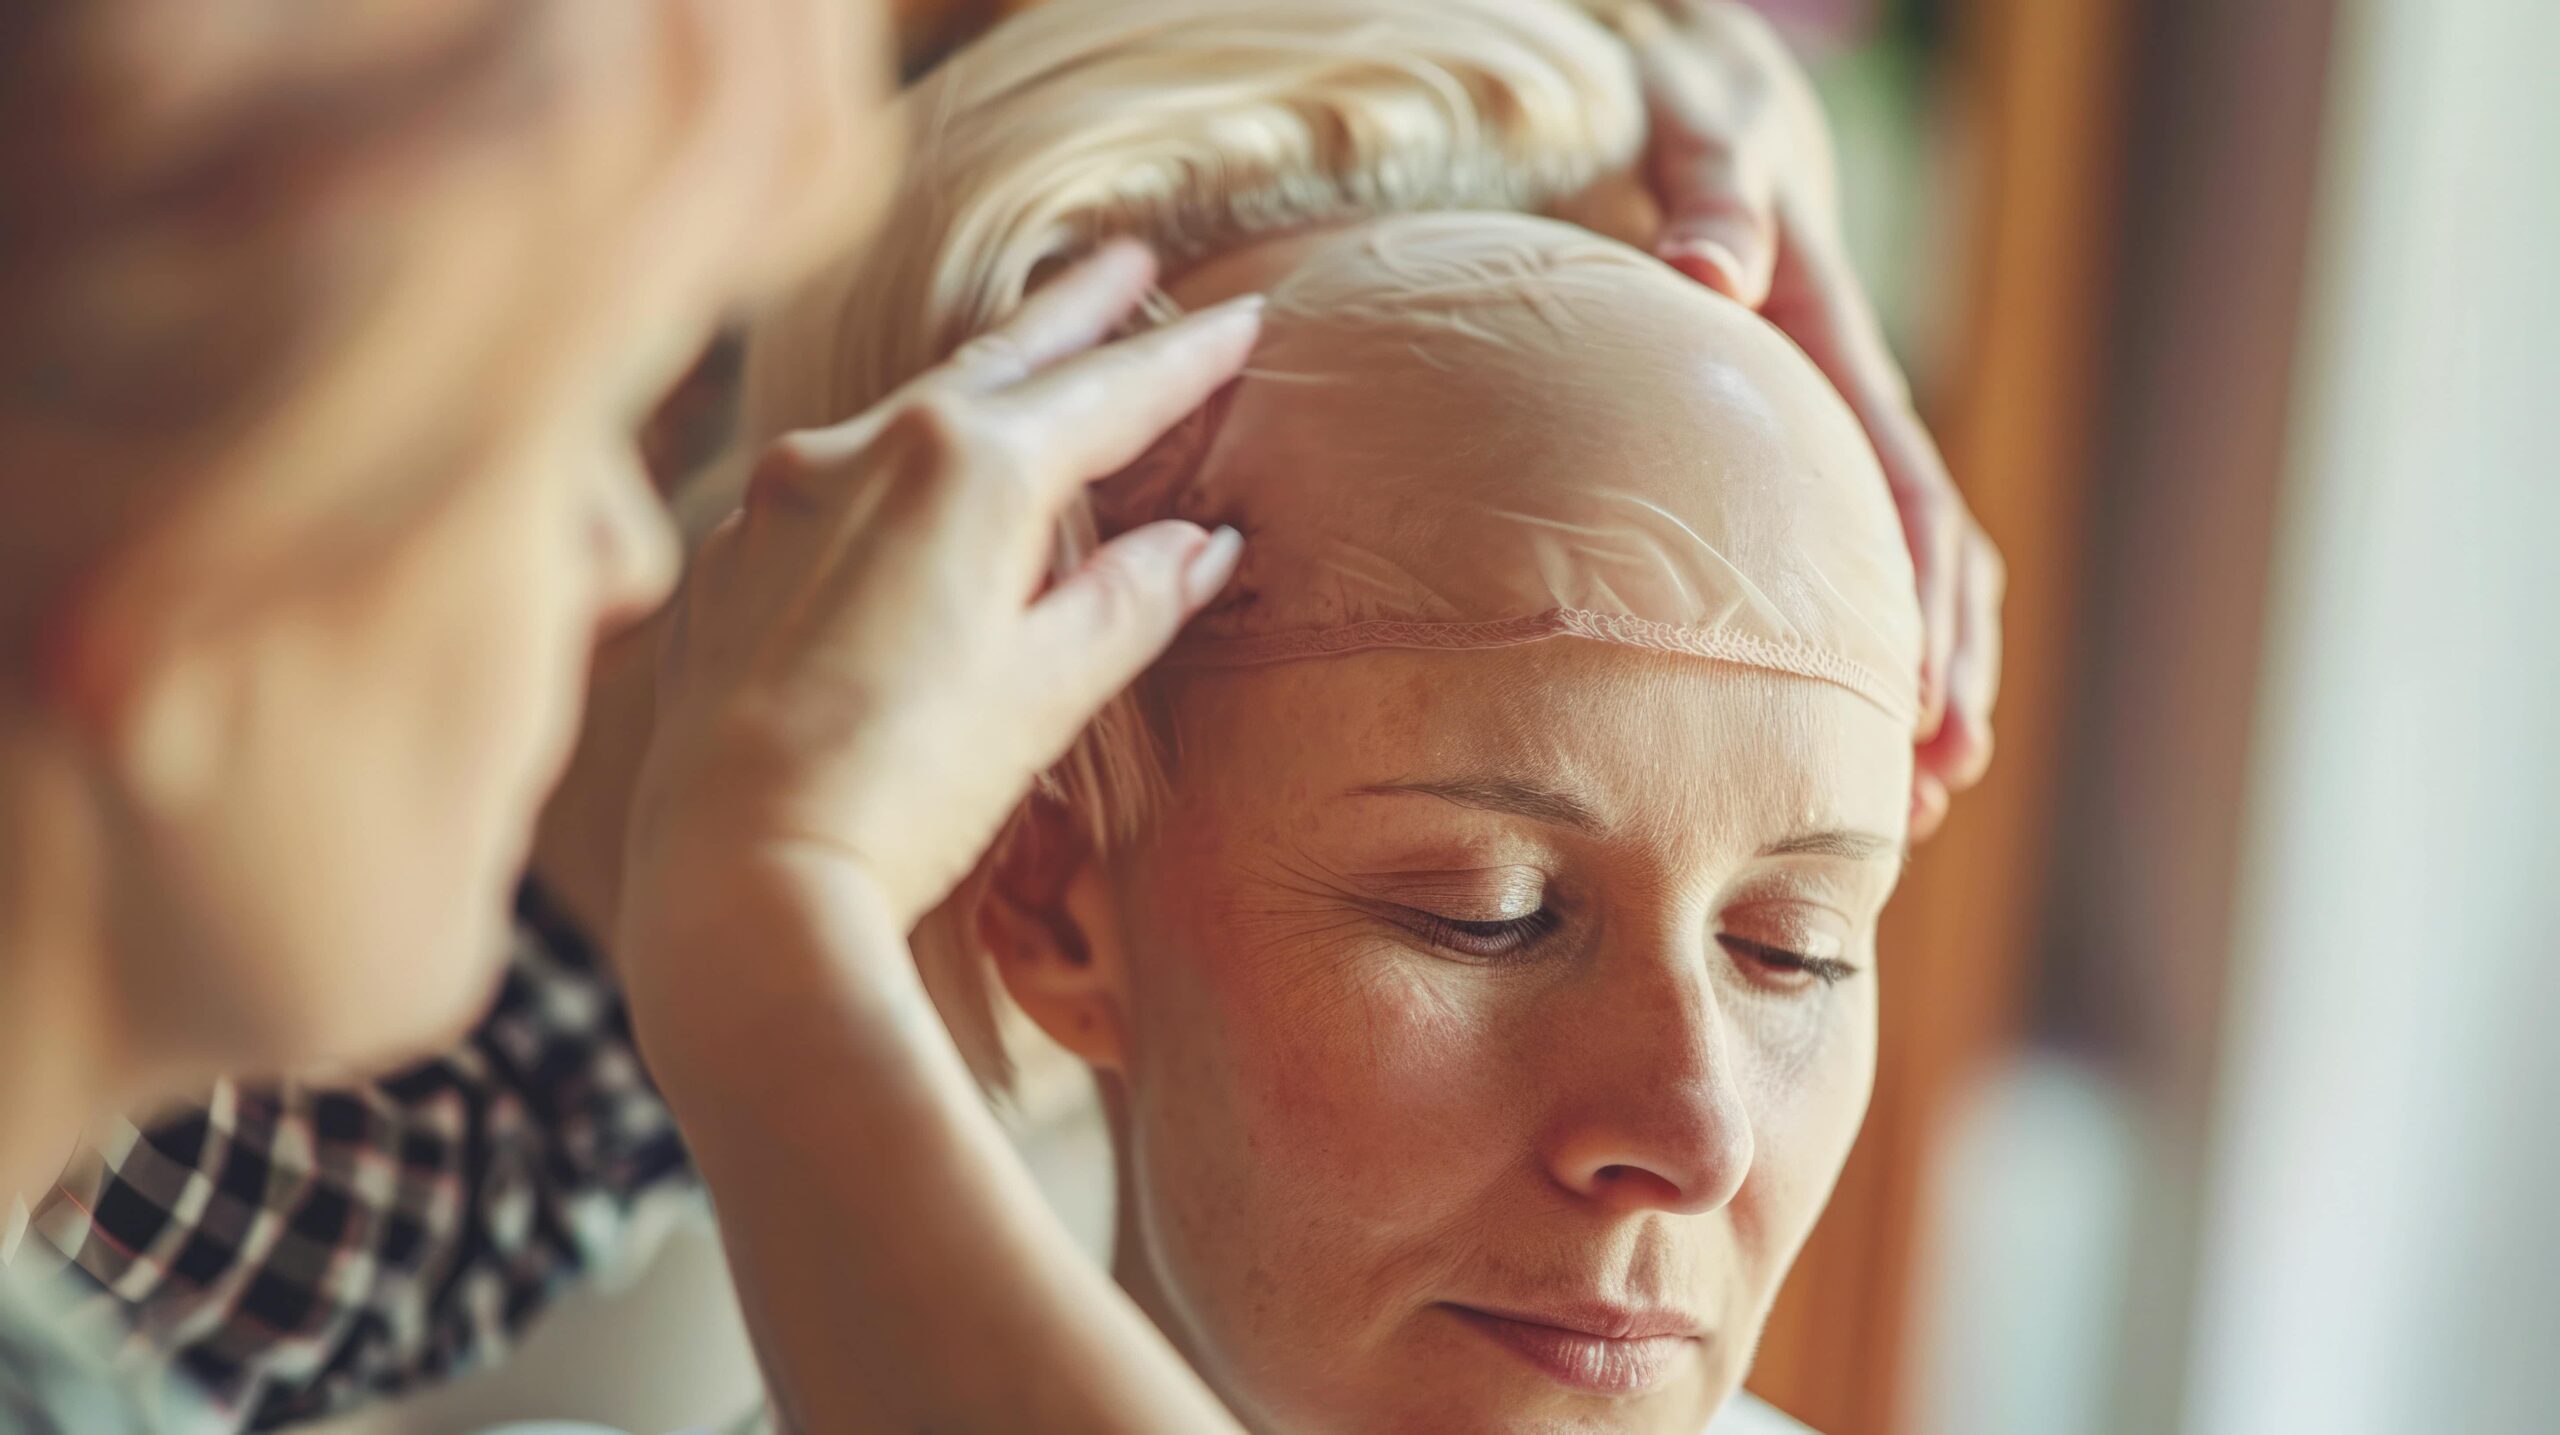
Full Hair Loss
- When hair loss starts, your scalp will be very sensitive, and hair will fall out gradually
- This is when you might want to cut your hair to at least 1/8 of an inch
- You also may want to wear a sleep cap during the day and at night to catch your hair
- Consider having two sleep caps – one for day, the other for sleeping
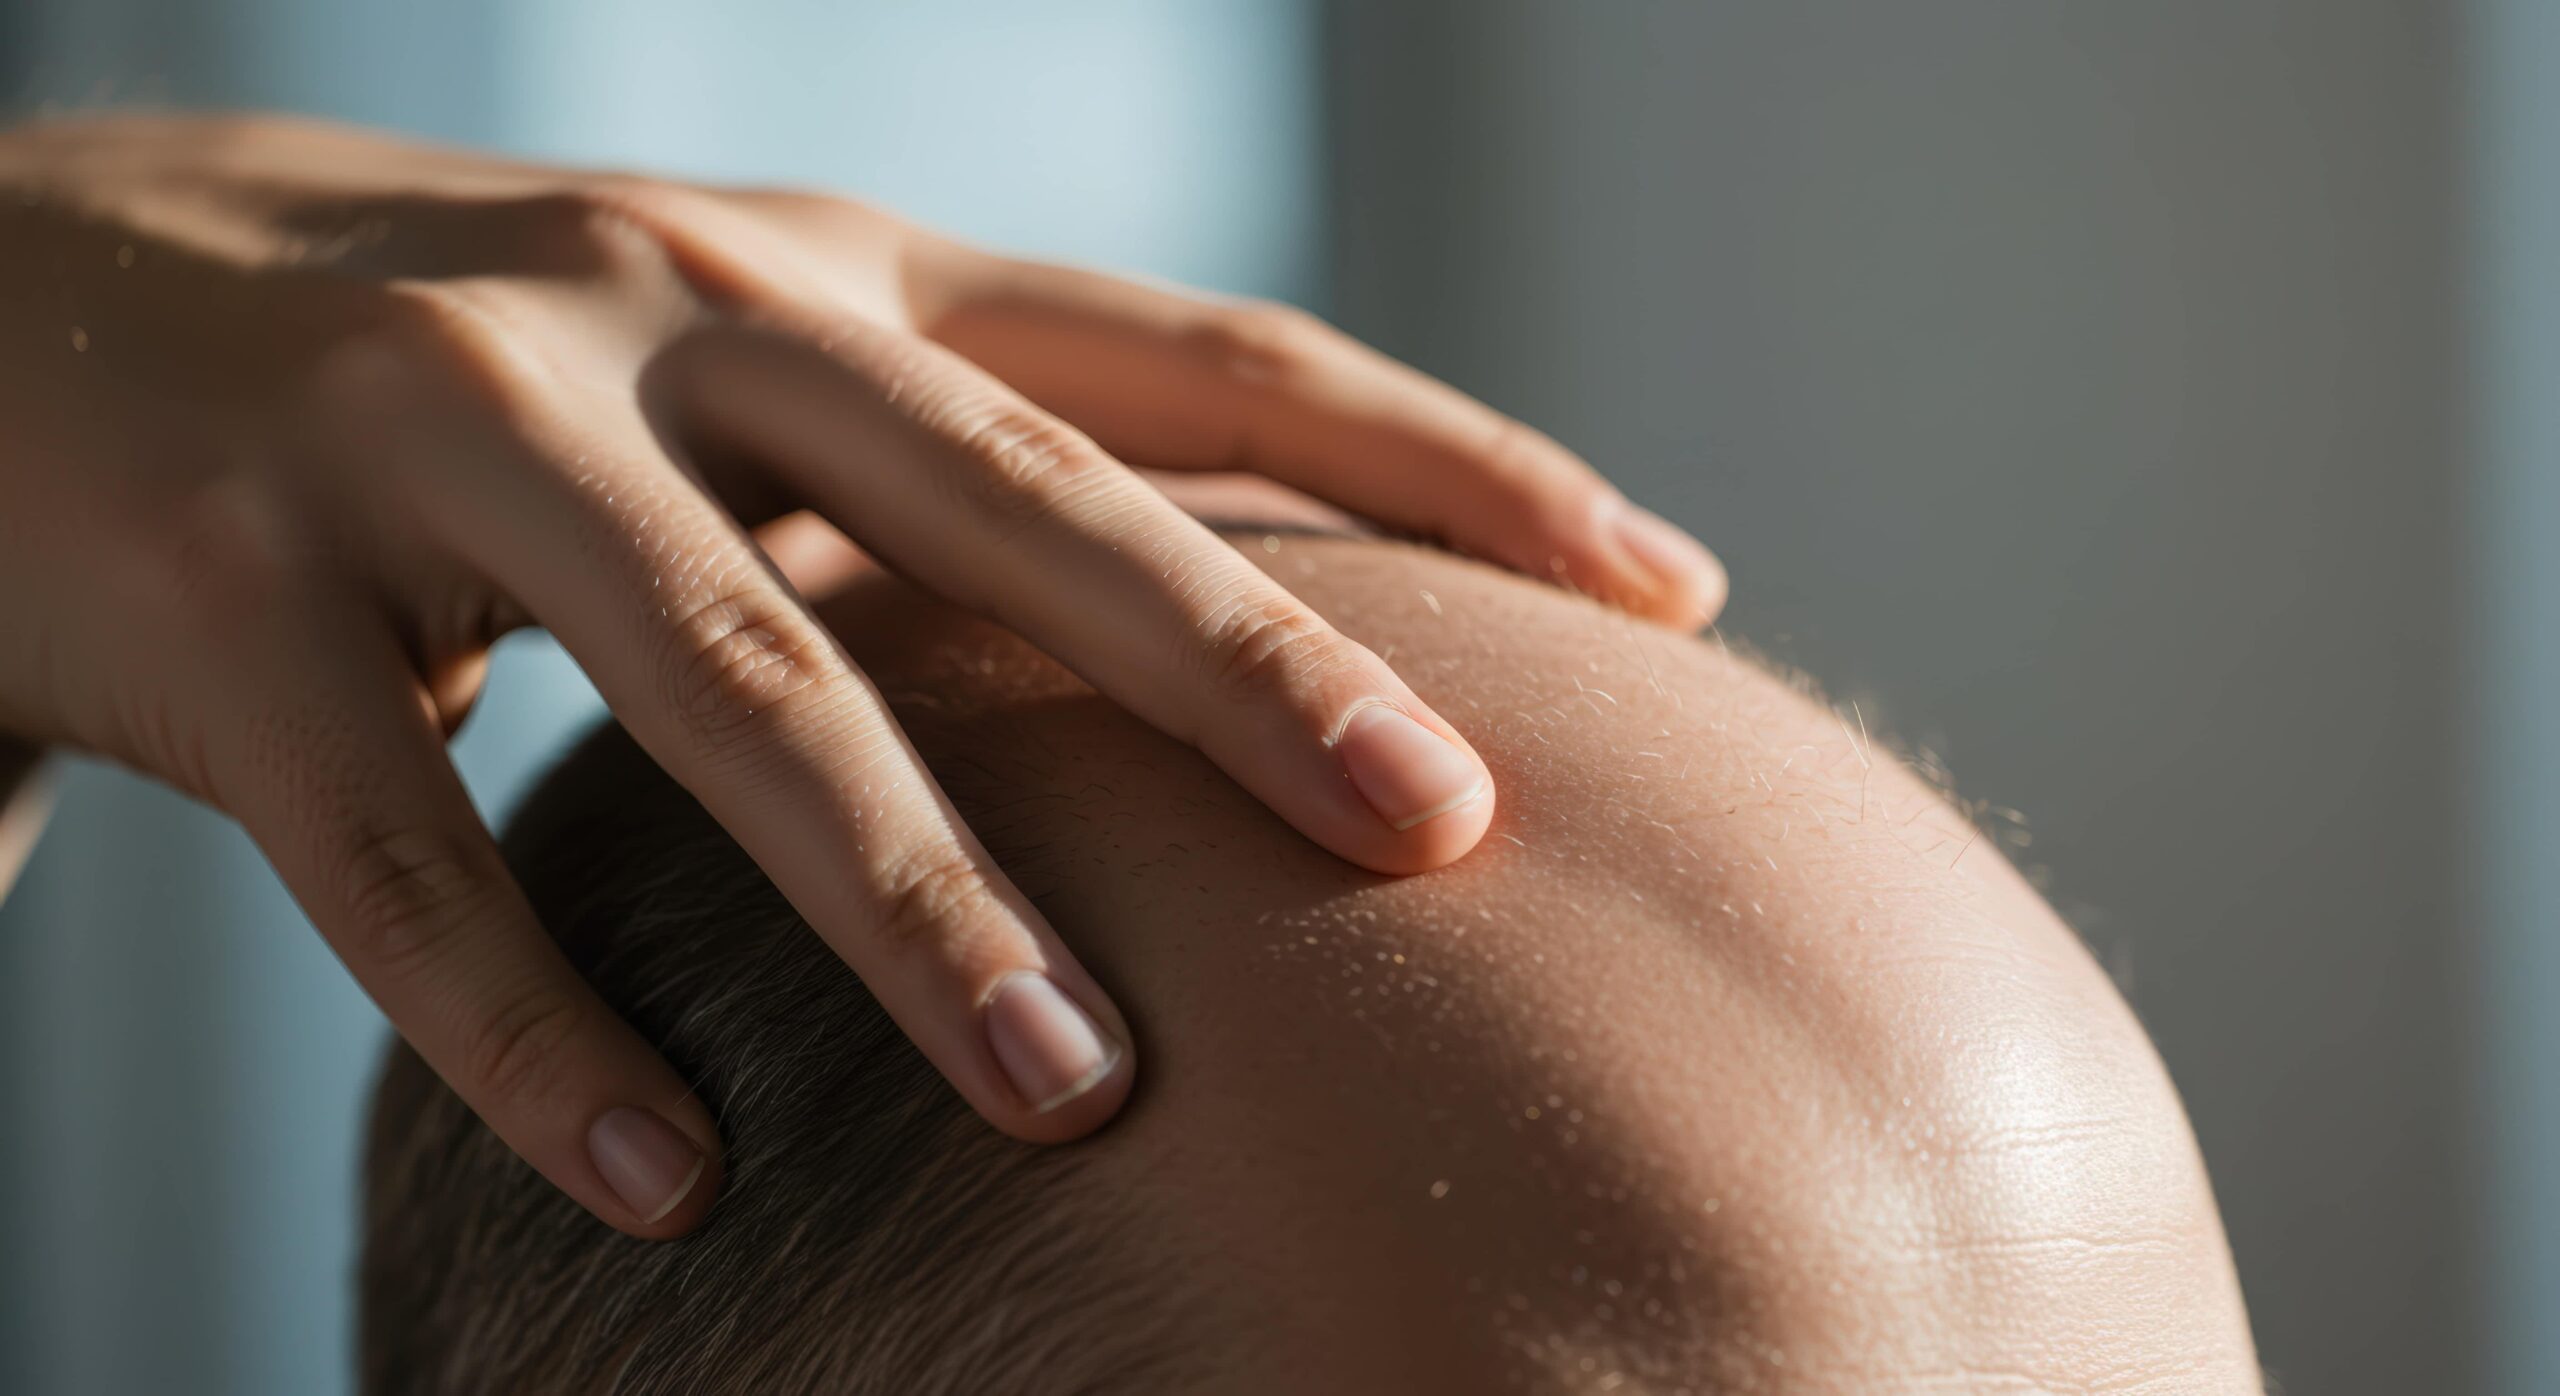
Caring for your Scalp
- When you’ve lost your hair, your scalp may become drier
- Gently massage your scalp with your facial moisturizer to make it feel more comfortable and increase circulation to your stressed hair follicles
- Caring for your scalp will greatly reduce sensitivity and itchiness, allowing you to wear a wig, scarf, or hat more comfortably
Let’s navigate this together
Join a community that understands. Receive expert advice, useful resources, and compassionate tips throughout your cancer journey in the LGFB newsletter
Newsletter Form
Easy Skincare Tips During Cancer Treatment
Taking care of your skin while going through cancer treatment might sound like a lot, but keeping it simple can really help. A gentle skincare routine can make your skin feel better and help with some of the side effects, like dryness or irritation.
Here’s a step-by-step routine that’s easy to follow, even on tough days. With the right products and a soft touch, you’ll be giving your skin the love it needs.
A healthy skin care regiment before and during cancer treatment gives you the best chance of lessening the severity of side effects on your skin.
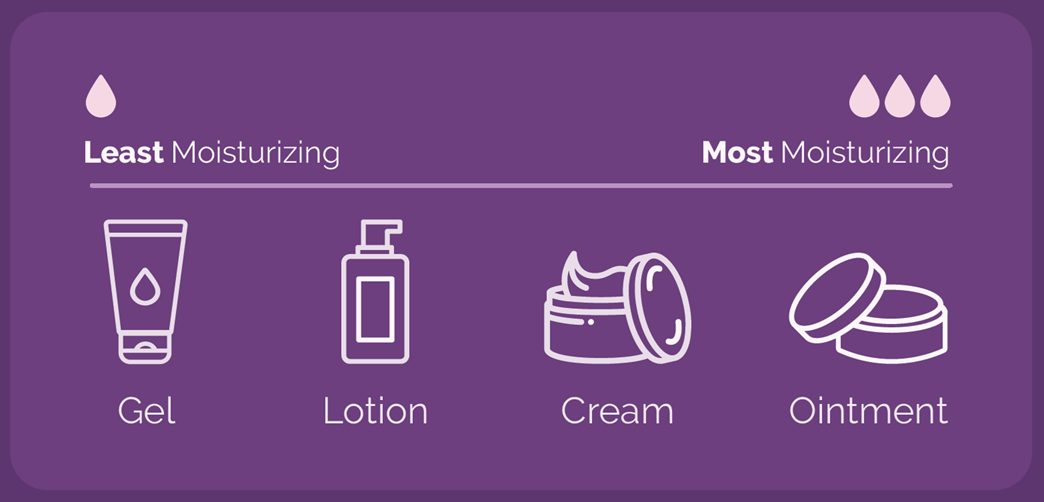
Product Info: Moisturizers (from light to rich)
Not all moisturizers are the same. Here’s the breakdown — start light and go richer if your skin needs more hydration:
Gels – super light, barely-there moisture
Lotions – light but a bit more hydrating
Creams – great for normal to dry skin
Balms – thicker, perfect for dry or flaky skin
Ointments – super rich, heavy-duty moisture
Not everything has to change during treatment.
Get tips about nails, skincare makeup and hair in our Teens Workshop.
Let’s navigate this together
Join a community that understands. Receive expert advice, useful resources, and compassionate tips throughout your cancer journey in the LGFB newsletter
Newsletter Form
Step 1 – Cleanse
The benefit of cleaning: Removes makeup, impurities, and dry flaky skin and helps stimulate circulation resulting in skin that is clean and feels pampered.
Eyes:
Remove eye makeup with a non- irritating makeup remover and a cotton pad
Hold the pad on the eyelid for a few seconds and then wipe downwards over the lashes, gently moving the pad from the inner corner of the eye towards the outer corner
Use a fresh cotton pad for each eye
Lips:
The same eye makeup remover can be used to gently wipe the lips until all colour has been removed
Face and Throat:
Apply dots of cleanser (either a lotion or cream) to your forehead, nose, chin, cheeks and throat
Gently massage in small outward circles to help stimulate circulation; on the neck, use an upward motion
Gently tissue off the cleanser or rinse thoroughly with lukewarm water and pat dry
Step 2 – Tone (optional)
The benefit of toner: Removes any lingering traces of cleanser or makeup and prepares the skin for moisturizer while restoring the skin’s pH balance.
Using a cotton pad and a gentle downward motion, apply a non- stimulating, alcohol-free toner being careful to avoid the eyes and mouth
Only use toners for sensitive skin that are alcohol and fragrance-free
Avoid any toners that exfoliate or contain “actives” like AHA or other acids
Step 3 – Moisturizer
The benefit of moisturizer: Helps your skin maintain its optimum moisture balance and alleviates dryness.
If you find that your skin is unusually dry, use the guide below to find the most moisturizing options available.
Eyes:
Using your ring finger (your weakest – and therefore gentlest), lightly tap eye cream on the orbital bone, above and below the eye – less is more
Don’t go too close to the eye
Lips:
Apply a hydrating lip balm several times a day and before bed
If your lips are very dry and cracked, try a thick ointment lip product (ointments seal in moisture longer than other products)
Face and Throat:
Apply dots of moisturizer to your forehead, nose, chin, cheeks, and throat
Gently smooth over your face and throat, using upward motions
Want to know more about moisturizers?
Least Moisturizing to Most:
- Gels (the lightest / least moisturizing)
- Lotions
- Creams
- Balms
- Ointments (the most moisturizing)
Oils can be used as an added step after moisturizing to seal in moisture. If you choose to use an oil, perform test to make sure it’s not causing irritation and look for an oil that doesn’t clog pores (one option is rosehip seed extract).
Step 4 – Sunscreen
After your morning moisturizer, apply sunscreen. Radiation and chemotherapy treatments (and some medications) can increase your susceptibility to sunburn and skin damage.
As a general rule, avoid sun exposure as much as possible when in treatment
Use sunscreen specifically for your face that delivers both UVA and UVB protection in a broad spectrum SPF 30 or higher
How to Prep Your Skin
Let’s navigate this together
Join a community that understands. Receive expert advice, useful resources, and compassionate tips throughout your cancer journey in the LGFB newsletter
Newsletter Form
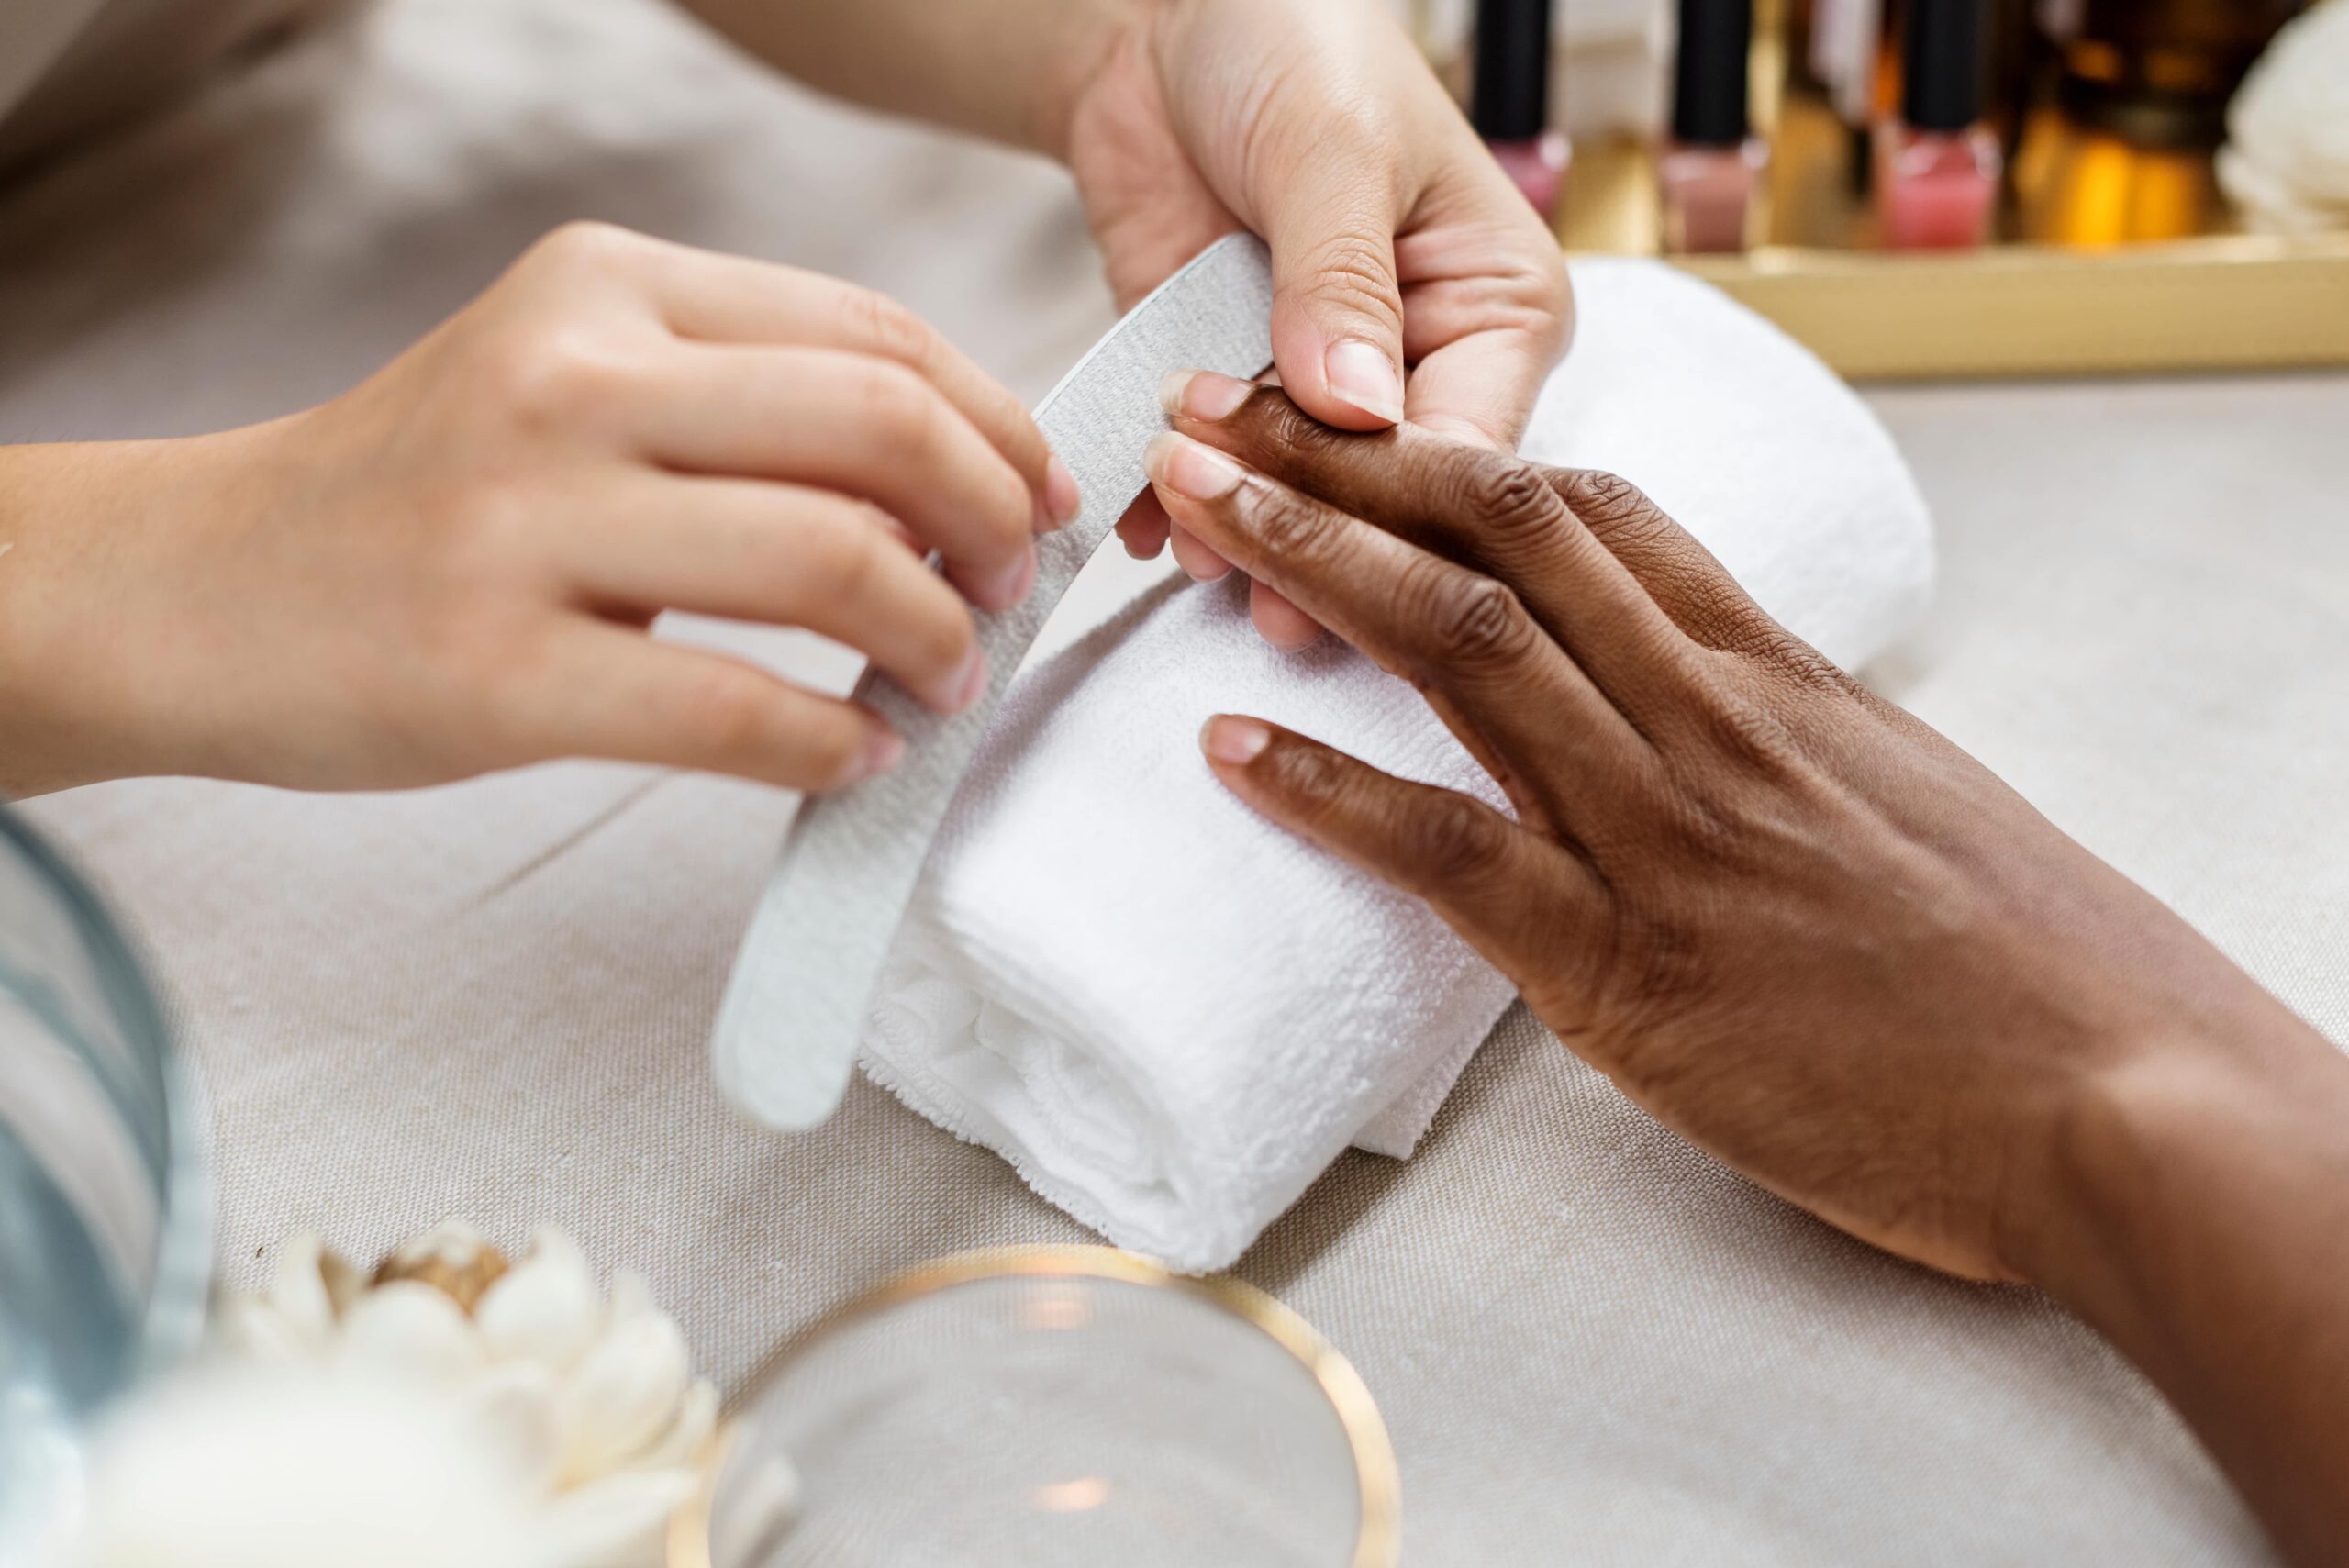
Tips to keep your hands and feet healthy:
-
Avoid cutting your cuticles. Instead, use cuticle cream to help combat dryness, splitting and hangnails.
-
Moisturize with a rich hand cream.
-
Keep nails short.
-
Wear rubber gloves while doing chores as excessive exposure to water can lead to fungal infection of the nail bed.
Nail Polish and Nail Salons
If you’d like to use polish, soft, neutral shades of pink will lend a healthy- looking finish
Use an oily acetone-free polish remover. Acetone is very drying and can make nail problem worse during treatment
When visiting a salon, make sure the staff has worked with clients undergoing cancer treatment (or at least knows how to take extra precautions to keep you safe and healthy)
Let’s navigate this together
Join a community that understands. Receive expert advice, useful resources, and compassionate tips throughout your cancer journey in the LGFB newsletter
Newsletter Form
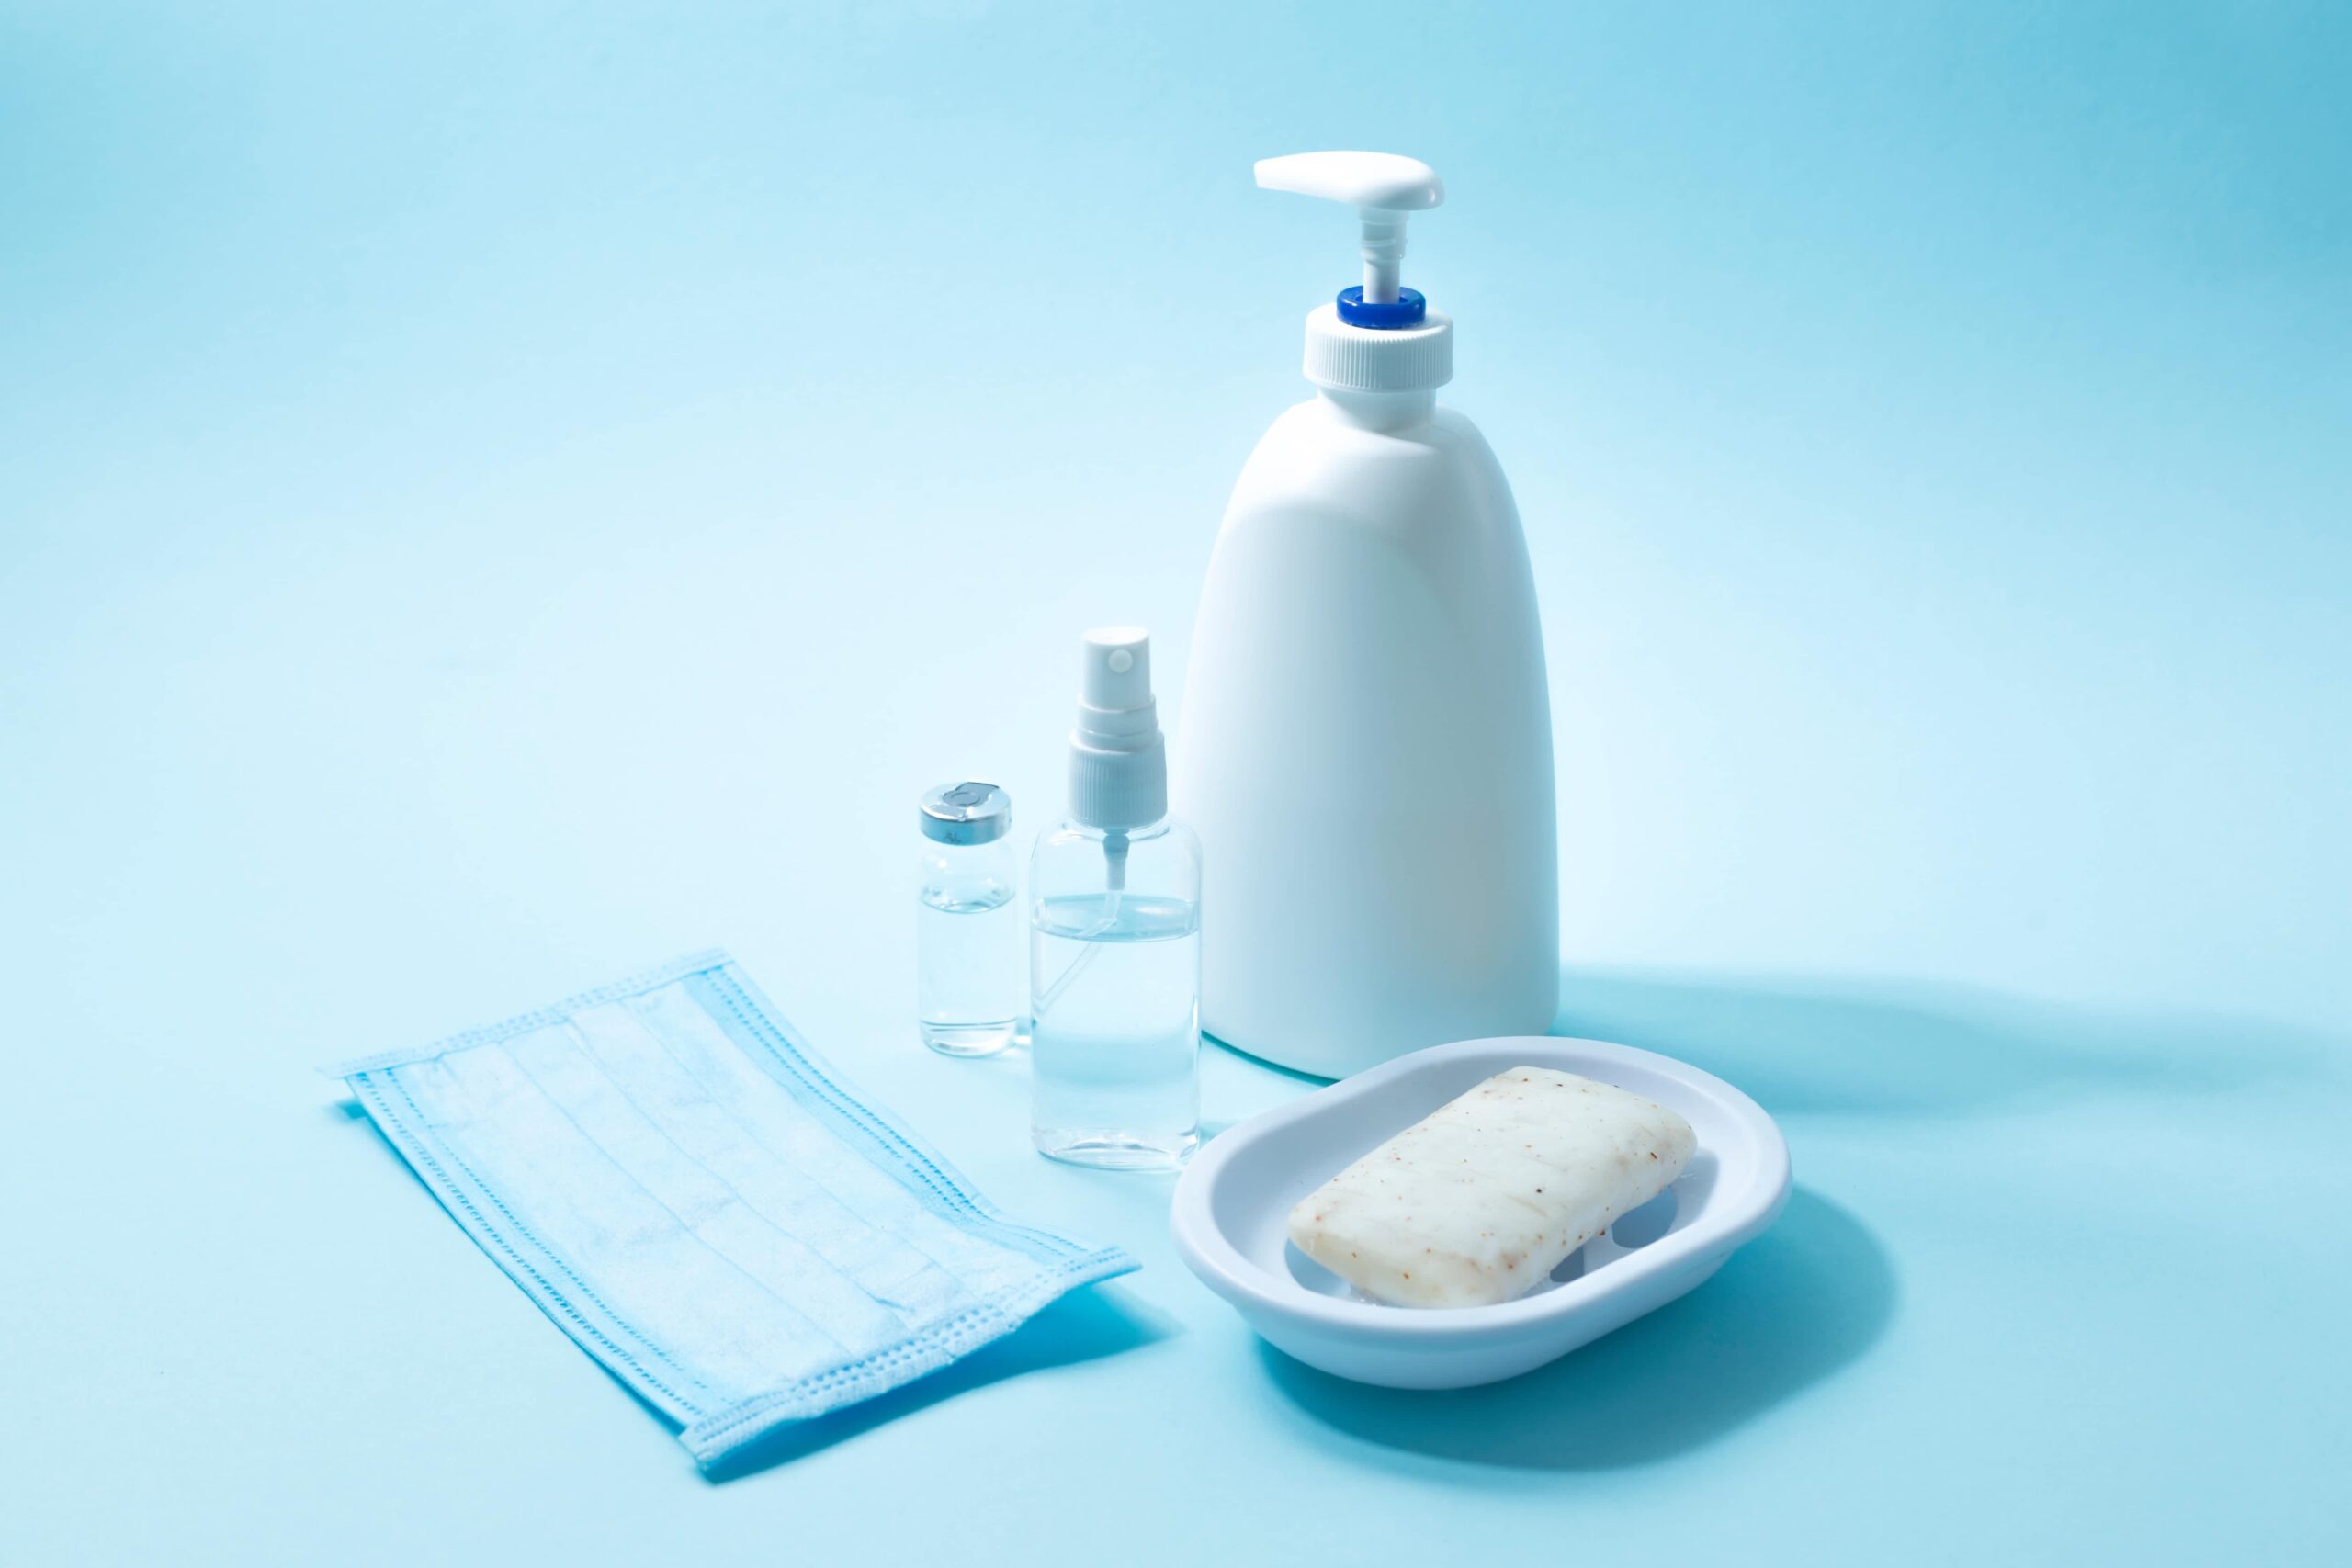
Before applying or removing makeup or skincare products…
Wash your hands thoroughly in lukewarm water with antibacterial soap
Use a disposable hand cloth or a clean towel to dry your hands. When on the go, use travel-size hand sanitizers to protect against germs.
Only use clean hands or clean disposable cotton balls, pads, sponges, cotton swabs, or cosmetic spatulas to apply cosmetics
Throw them away after each use
Once treatment is over, you can switch back to your regular makeup brushes. But, make sure they are cleaned often with a mild soap or a specialty brush cleaner.
Product Hygiene Best Practices
Reduce the Exposure to Germs
- When you can, use products with pump dispensers (rather than things in pots or jars)
- If not, use spatulas to remove the product from containers to avoid transferring germs back into the product
- Close all lids tightly and promptly after use
- Don’t ‘double dip’ with a used applicator
- Never blow on applicators or products
- Avoid sharing personal care products – even with close friends or family members
- When purchasing, test products on your hand or wrist, not on your face
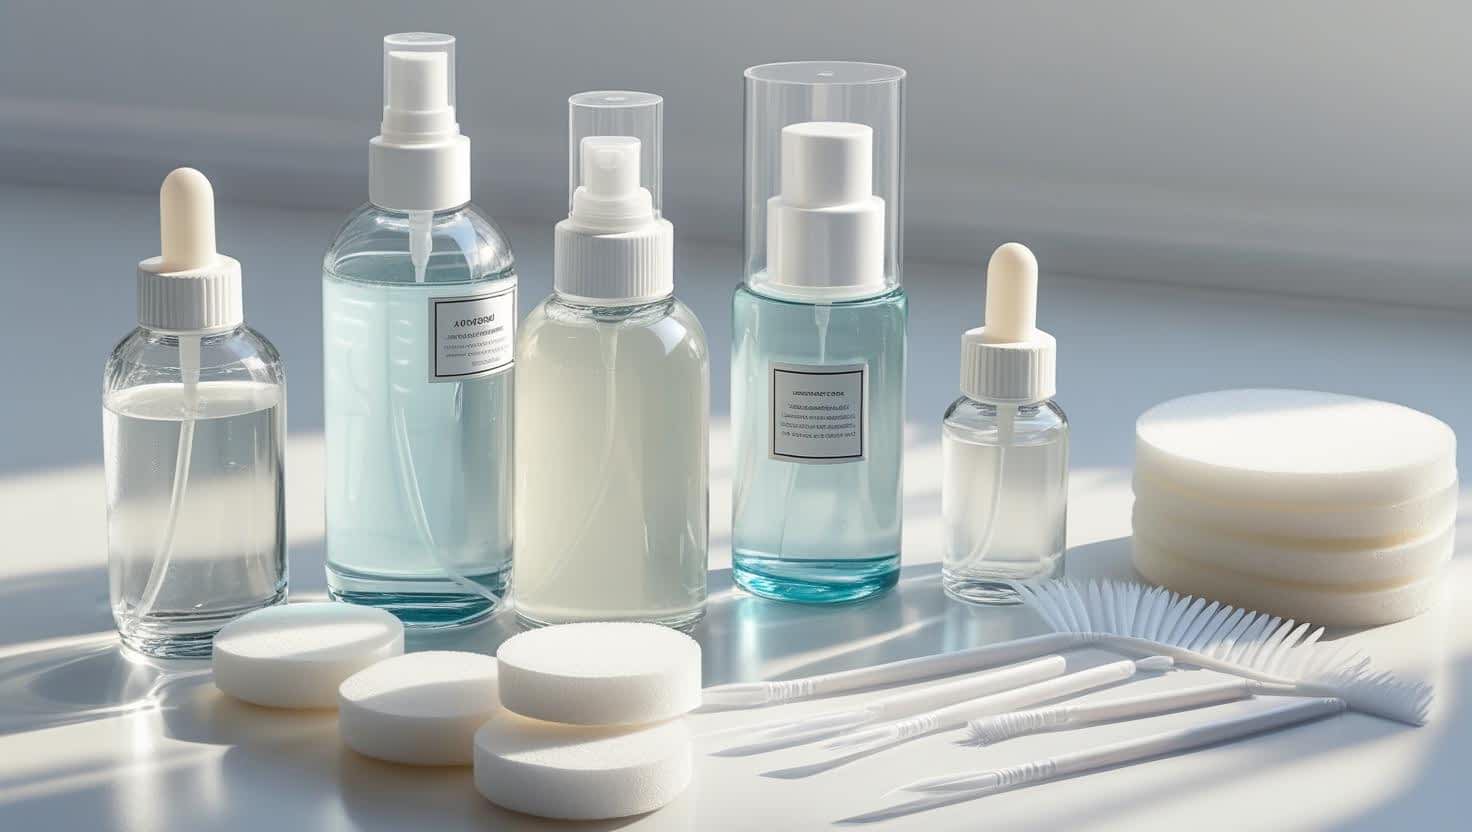
Sanitizing Makeup Products
Put 70% isopropyl alcohol (IPA) in a small spray bottle. You can use this to disinfect most of your makeup products. Use a light spray and wait at least 30 seconds until it’s dry.
- Powders and palettes: Spritz the powder directly on the product and let it air-dry
- Liquid foundation: Dip a cotton round into rubbing alcohol and clean the bottle’s nozzle and cap thoroughly
- Eye and lip pencils: Spritz alcohol on the tip before and after sharpening and before each use
Let’s navigate this together
Join a community that understands. Receive expert advice, useful resources, and compassionate tips throughout your cancer journey in the LGFB newsletter
Newsletter Form
By Adriana Lombardo
Let me be blunt with you. These past few months have been crap – to put it politely.
Only now is it hitting me: Survivor’s Guilt.
Why did I survive a deadly disease while I had to bury people I’ve met along the way?
Why am I finding it so difficult to move forward with my life without feeling extremely guilty?
This sucks!
I knew this feeling may come. I’d heard of survivor’s guilt and was aware of the emotions I had yet to face, but to be honest with you, I had started living and actually enjoying life without having to worry about appointments, etc, that I didn’t think it was going to happen.
I thought I was one of the lucky ones who wouldn’t go through it – who am I kidding.
As sad as this may be, or as weird as it may come across, I miss having cancer.
Weird, huh?
Who would ever say such words?
Let me explain:
Life was easier when I was sick; at least it seemed to be.
I didn’t have much to worry about other than chemo, appointments, procedures, if the cancer was going to kill me or not, you know, the usual “cancer stuff.”
Now that I’m back “in the real world,” I find myself struggling to accept that chapter has now closed.
It was two-plus long years of fighting and not having any worries about anything other than me.
I’ve moved on, almost as if nothing ever happened, but I find myself holding onto anger and pain and all these other emotions that I have never accepted until now.
I smiled all throughout my treatment – a genuine smile – but now I find I’m faking one to show people that I’m still alright.
How do you explain to people that while going through cancer I was genuinely doing fine, but now I feel as if I’m not?
I know it’s not up to me to explain this to anyone but that’s the thing about society – once you’ve gone through any sort of heartache, they expect you to pick up and keep going without actually acknowledging what you’ve gone through.
But that’s just it: once you’re “healed” or “cured”, people stop asking how you are because they assume everything is alright. That you’re “back to normal”.
I’m still trying to figure out my new normal while juggling these emotions.
It saddens me to know I had to remove my rose-coloured glasses at such a young age and that the benefit of the doubt doesn’t really exist once you’ve gone through cancer.
You see things and people for what and who they really are.
Anger and frustration followed.
Like I mentioned earlier, there are a lot of emotions that I’m battling now with Survivor’s Guilt.
It’s a matter of finding a balance between not letting go and moving forward.
I’m going to challenge myself for the next month. My goal is not to have it all figured out, but to accept what I’m feeling and just let myself feel it.
No one will ever have it figured out, so why should I?
I’m not sure that I’ll figure out why I’m feeling the way that I do, but I do owe myself ways of figuring out how to deal with it.
It’s going to be challenging but I’m going to learn to love myself all over again for the sake of my mental health and wellbeing.
By JC Chessell
It’s funny – as I sit here about to blog on my ‘expertise’ with hats and scarves, I find myself wearing a knitted toque aptly placed on my head. I do not know which came first: my love affair with hats or the loss of hair, which led me to my love affair of hats. Whichever it is, I still find myself wearing hats and head coverings A LOT. And I love it!
Today, I wear them out of personal freedom and choice but wearing hats during my treatment is forever a memory etched on my heart. Having cancer made it less of an option and more of a necessity for me to wear hats, but I enjoyed the look and the way they warmly protected my head.
I’d like to share my personal guide to “Covering Your Head During Cancer Treatment”.
Let’s say you’ve just been diagnosed and are thinking of covering your head with SOMETHING. You will discover there are various options for your head covering: hats, scarves and wigs (natural and synthetic).
Having so many choices gives us each more control as we move through our personal journeys. You will find that having a head covering, such as a scarf or hat, gives such a nice, quick pick-me-up and you may feel better about yourself and your outward appearance.
I mainly wore hats through my chemotherapy and radiation sessions. I kept my natural-hair wig for special occasions, like weddings and events.
Since I was diagnosed at the end of summer going into fall and cold winter weather followed, practically speaking, hats were my favourite and most sensible option. As you decide which head covering to go with, try to think about what look you want to present.
Hats give us SO many options, from fun and sassy to a more laid-back, practical type of look. You will see how your face changes as you wear different shapes, from the wide-rimmed to the smaller fisherman cap. And it only takes a second to put on a hat. Again, the choice is yours.
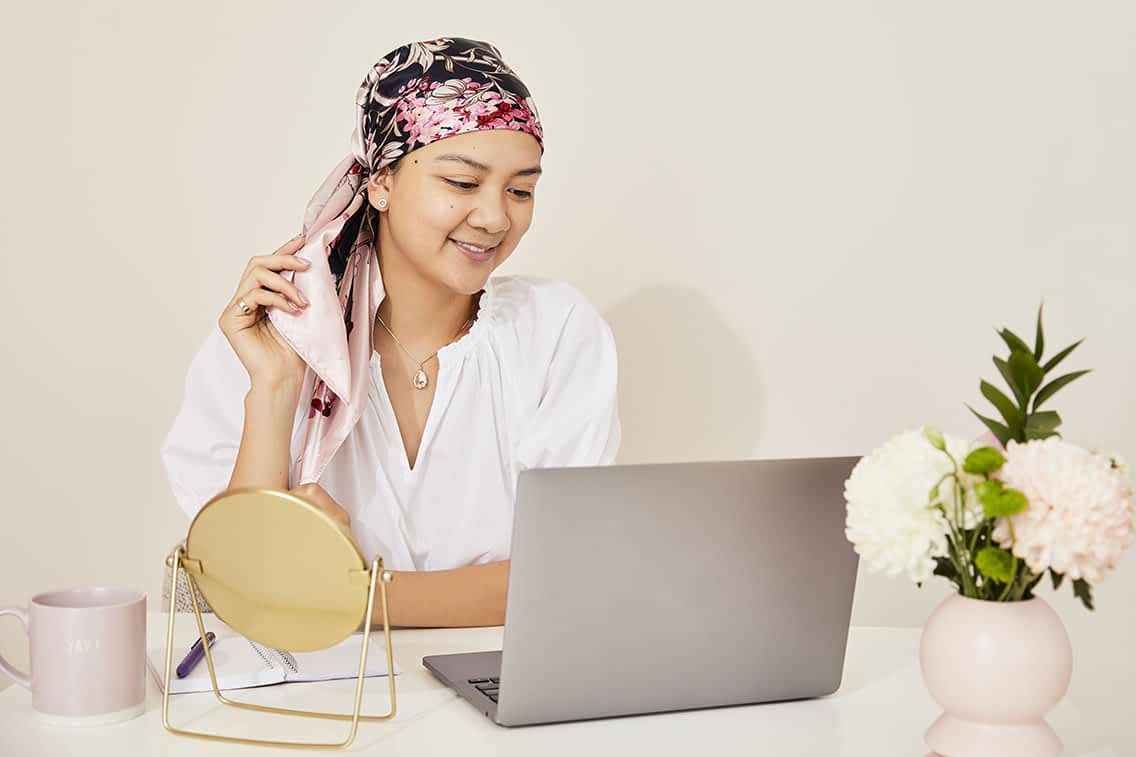
Scarves, I find, are a better option for spring/summer weather. Your scalp has breathing space due to the softer fabrics and overall, scarves have a lighter feel on the head. If you allow your imagination to run really wild, you can create a gorgeous scarf ‘up-do’ with layers of different scarves, thus allowing for height and dimension to frame your face—think Eryka Badu.
If you are deciding on a scarf option, my only advice would be to stay away from silk since the fabric slides off easily on bald or short hair scalp and will become more of an annoyance rather than anything else. The rest is up to you. And this is really where you get to play up different looks
Thankfully, new companies pop up offering us so many options with fabrics, colours and texture. And here’s a little do-it yourself tidbit: go to Fabricland, pick out a pattern that catches your eye—one that speaks to you. Ask the sales associate to cut off a specific amount of it (enough to wrap around your head at least twice) and make into a headscarf yourself. You may need to practice the wrapping a few times but soon enough, you’ll be an expert.
You should know that Look Good Feel Better workshops offer head/scarf wrapping info catering specifically to you and me, so that we can become more comfortable with how to wear our scarves in different ways. There are also lots of scarf-tying tutorials on YouTube, to give you even more ideas. You can start with this from Look Good Feel Better.